
In the world of dirt bikes, personalization is not just a trend; it’s an essential aspect of a rider’s identity. Graphic kits for dirt bikes play a significant role in this process, allowing motorcycle owners to express their individuality while enhancing the overall aesthetic of their machines. These kits feature a variety of vibrant designs, logos, and colors that can transform an average dirt bike into a unique statement on wheels. Beyond aesthetics, graphic kits also serve practical functions, providing an added layer of protection against debris and weather elements, which can damage the bike’s bodywork over time.
For motorcycle repair shops and technicians, offering graphic kits can be a valuable service that attracts customers looking to customize their rides. The demand for customization and unique designs has never been higher, as riders want their bikes to reflect their personality and style. A well-designed graphic kit can enhance the bike’s appearance, making it stand out in the crowded marketplace. Furthermore, shops that provide these kits can create additional revenue streams while bonding with customers over shared interests.
As you seek to delve deeper into the world of dirt bike customization, you can explore top dirt bike graphic options or transform your ride with custom graphics. Whether you’re an enthusiast looking to make a statement or a shop aiming to expand your services, graphic kits are an indispensable part of the dirt bike experience.
Overview of Graphic Kit Components for Dirt Bikes
A graphic kit for dirt bikes is a fantastic way to give your bike a fresh look, enhance its durability, and express your personal style. Below, we break down the main components typically included in a dirt bike graphic kit:
1. Fuel Tank Decal
- Description: This is often the largest and most prominently displayed decal. It can feature logos, custom artwork, or the rider’s name. The fuel tank decal not only enhances aesthetics but is designed to fit snugly against the contours of the tank.
2. Side Panel Decals
- Description: These decals cover both the left and right side panels. They wrap around the frame and sometimes extend towards the engine area, providing a cohesive visual look and protecting the plastic from scratches.
3. Front and Rear Fender Decals
- Description: The front and rear fender decals are crucial for completing the bike’s look. They help to unify the design and often reflect the overall color scheme and graphics theme of the kit.
4. Engine Cover or Fairing Decals
- Description: These decals serve a dual purpose. They offer protection to the engine compartment and add a stylish touch, often reflecting the same design elements as the other decals.
5. Radiator Shroud Graphics
- Description: These graphics are designed to cover the radiator area, enhancing both appearance and protection. They help resist mud and dirt build-up during off-road rides, ensuring both style and functionality.
6. Optional Extras
- Description: High-quality graphic kits may include additional components such as:
- Seat Decals: These decals add a customized touch to your bike’s seat, contributing to the overall theme.
- Headlight Cover Decals: These are less common but provide a unique visual flair.
- Transfer Tape & Application Tools: Many kits come with transfer tape for easy application and tools like squeegees for a smooth finish.
Durability and Quality
The best graphic kits are made from durable, UV-protected vinyl, ensuring they can withstand harsh conditions, including mud, dust, and sun exposure. They often include a protective overlaminate, enhancing the graphics’ lifespan.
For more on selecting the right graphic style that suits your bike, check out our guide on dirt bike graphics kits.
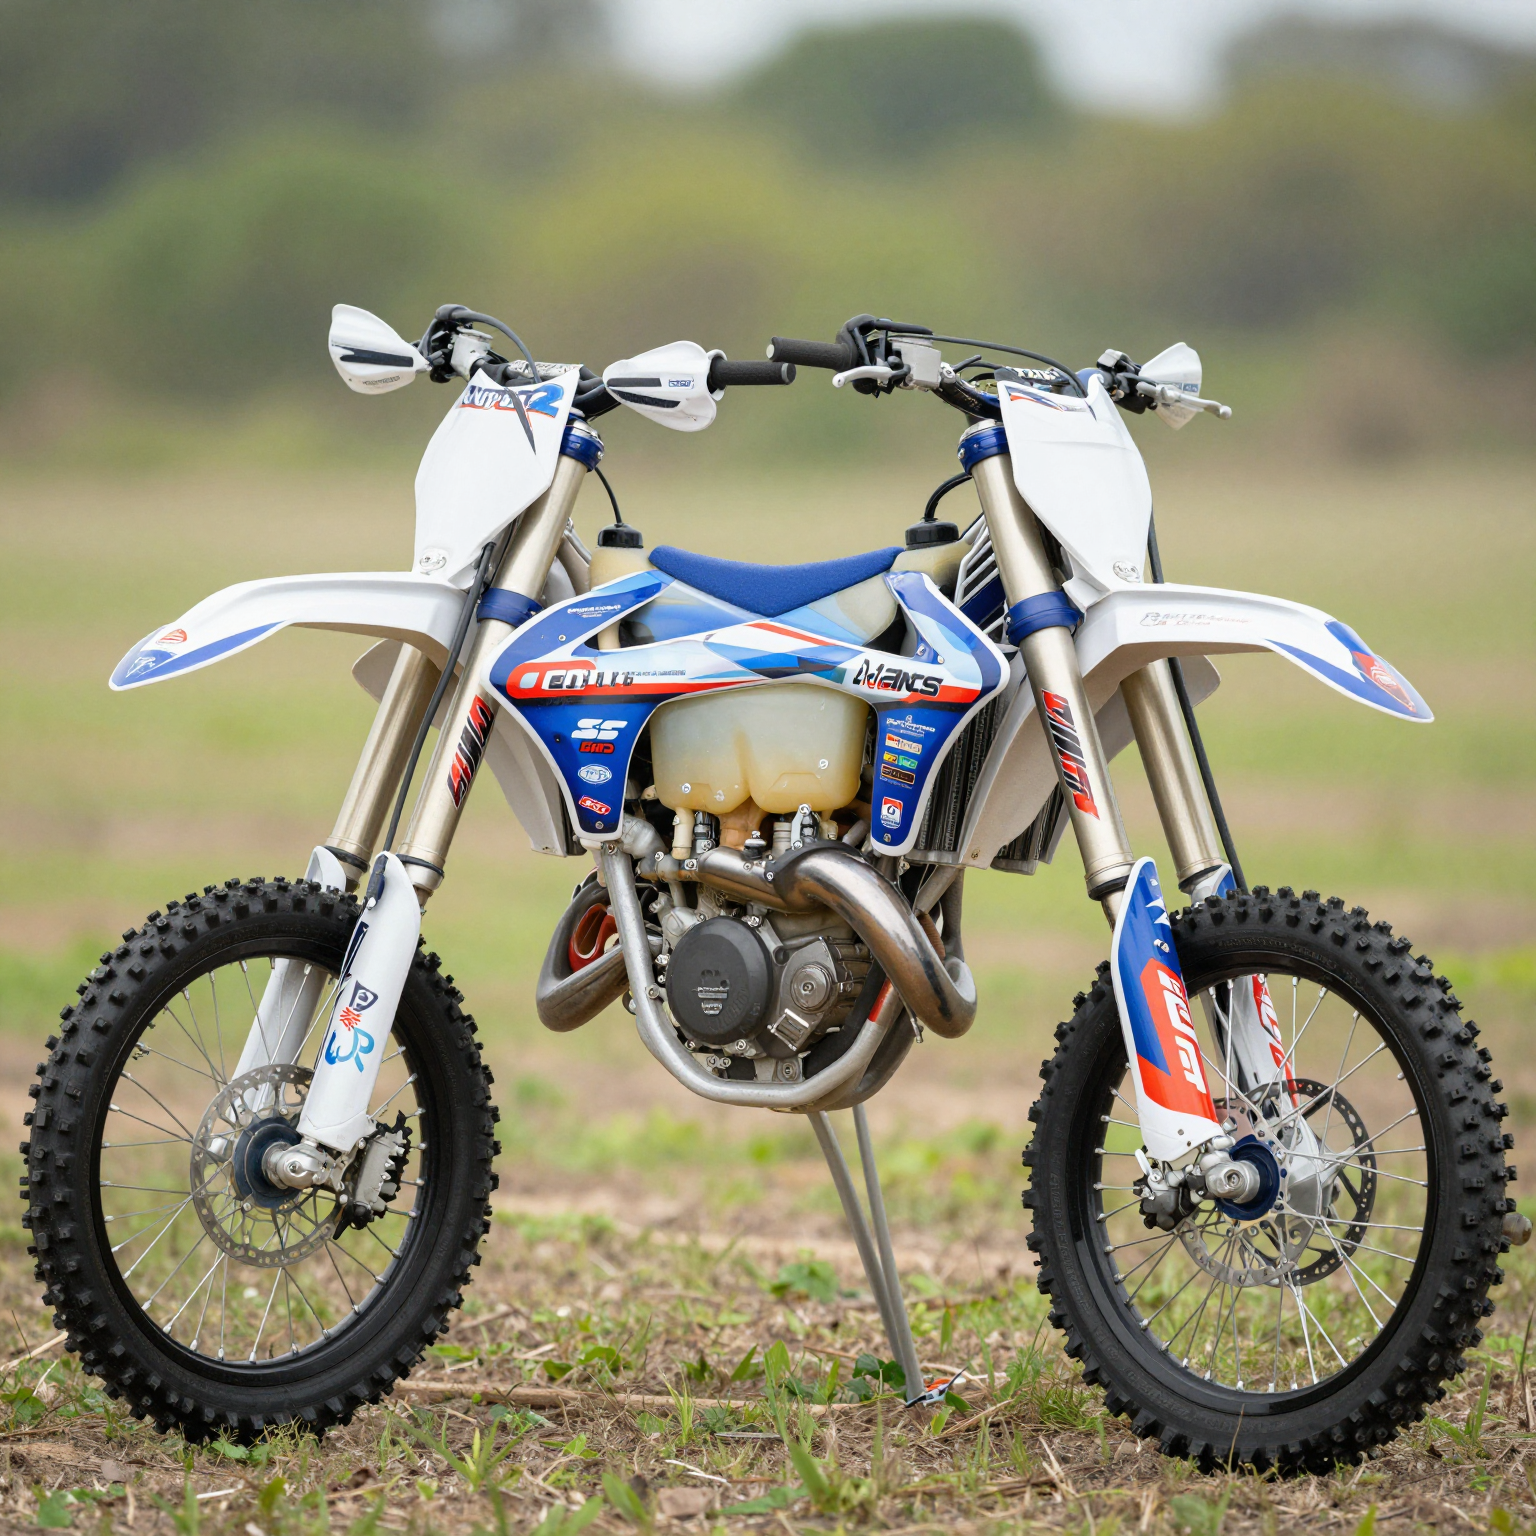
In conclusion, a well-chosen graphic kit can transform a standard dirt bike into a personalized ride that stands out on the track. Whether you are adding aesthetics or protection, these kits have versatile components designed to improve both looks and functionality.
The Benefits of Using Graphic Kits for Dirt Bikes
Graphic kits have emerged as a popular trend among dirt bike enthusiasts, not just for their aesthetic appeal but also for several functional advantages. Here’s a closer look at the multifaceted benefits of using graphic kits for dirt bikes.
Visual Appeal
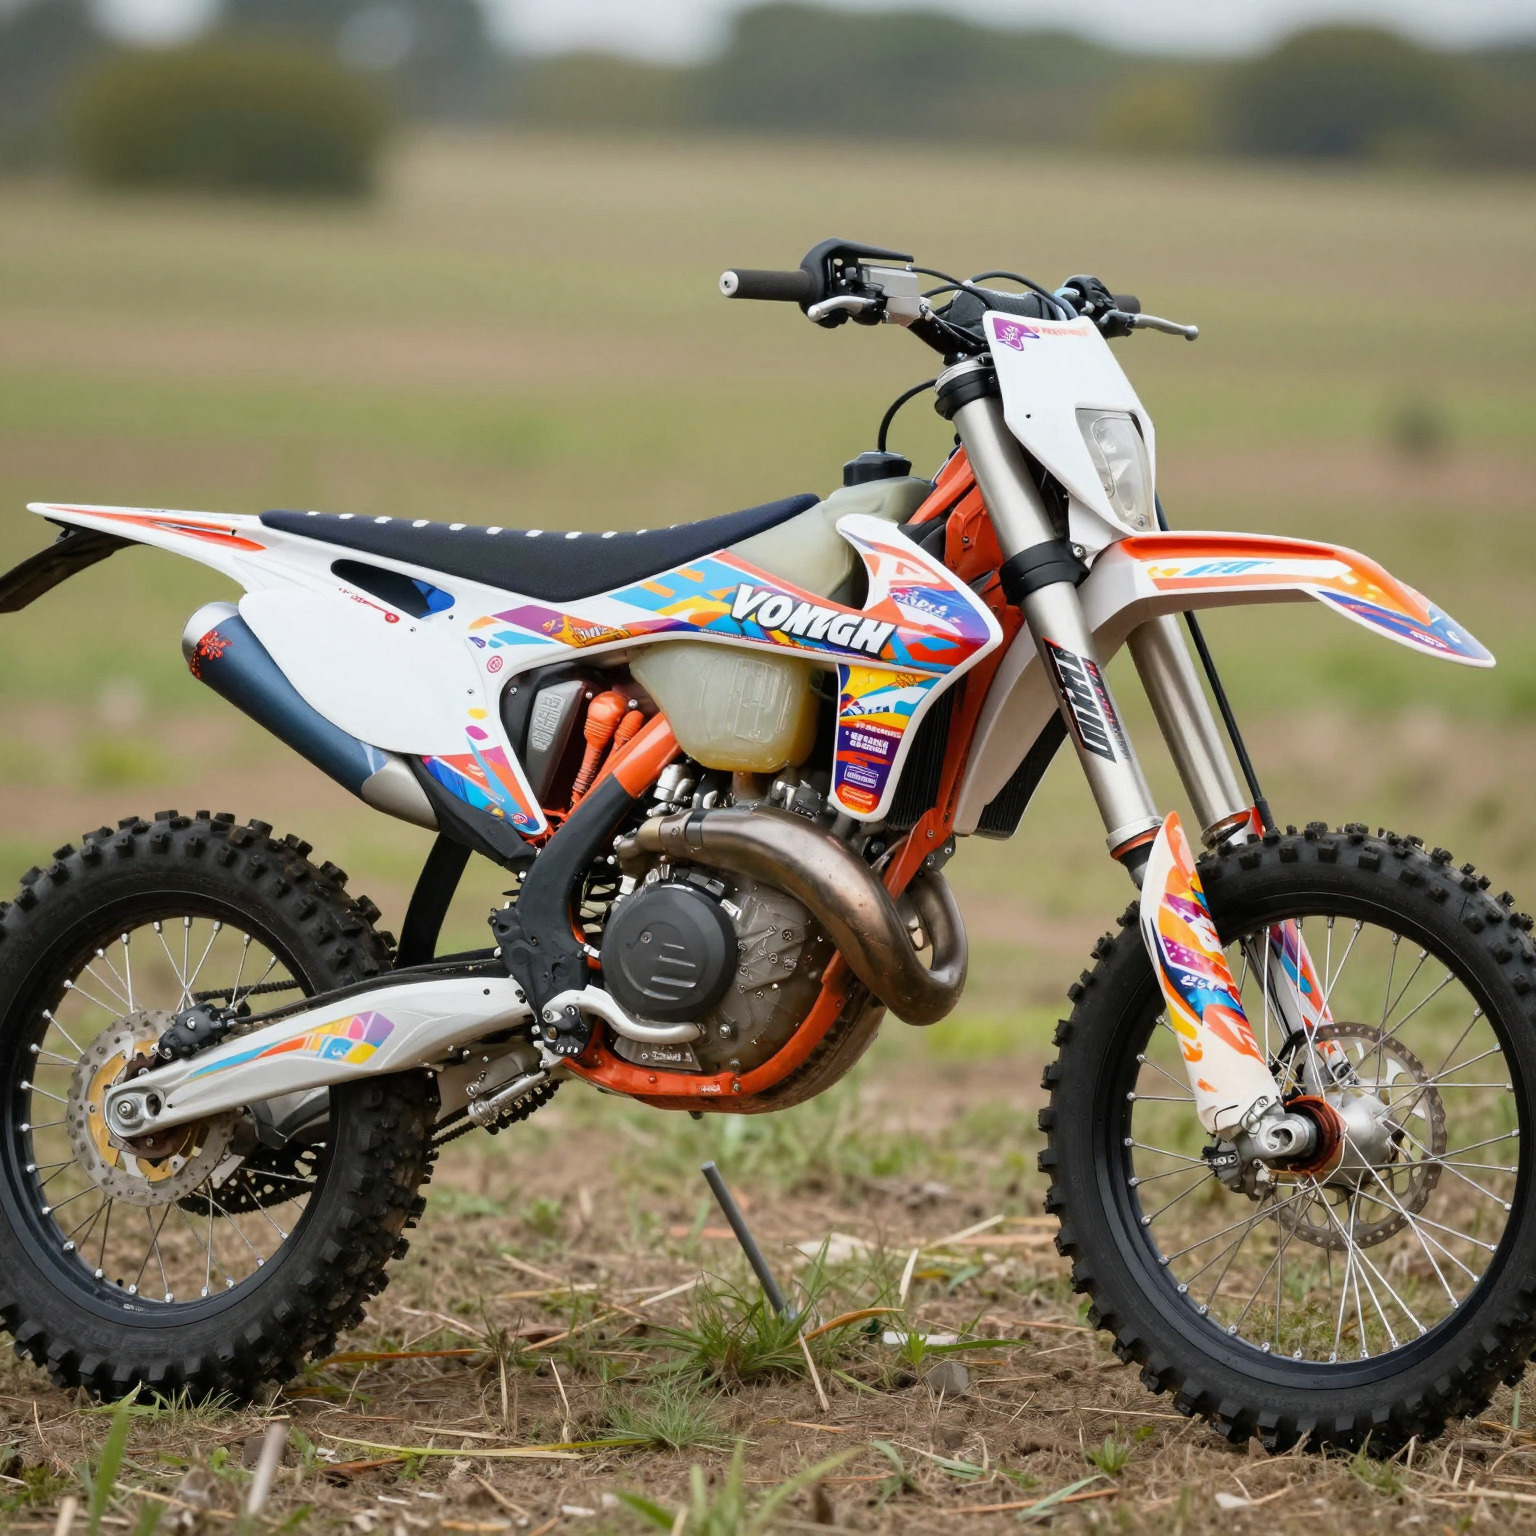
One of the most immediate benefits of graphic kits is the enhancement of the bike’s visual appeal. A custom graphic kit can transform a plain dirt bike into a striking piece of art, showcasing unique designs, vibrant colors, and personalized logos that reflect a rider’s personality and style. This is particularly important in competitive environments where having a standout look can be a deciding factor in presence and brand recognition. Whether it’s a scheme that complements the rider’s gear or a vibrant artistic design that turns heads, a well-designed kit can profoundly influence first impressions.
Moreover, these kits often utilize advanced printing techniques and durable materials, ensuring that the graphics remain vibrant and intact even after prolonged exposure to challenging elements like mud, sand, and sunlight. For more information on popular designs, check out our top 10 dirt bike wraps.
Brand Identity
For many riders and businesses, graphic kits are an essential tool for establishing brand identity. Custom designs can prominently feature personal logos or sponsor branding, effectively turning the dirt bike into a mobile advertisement. Athletes and teams often invest in graphic kits that help them stand out in competitions, making it easier for fans and sponsors to identify them.
This identity extends beyond just visuals; it cultivates a sense of community among enthusiasts, as riders often share similar styles or branding. This sense of belonging enhances the overall riding experience, making graphic kits not just decorative items but also symbols of camaraderie and passion within the dirt biking community.
Protection for the Bike
Another critically important benefit of graphic kits is the protection they provide for the bike’s bodywork. High-quality graphic kits are often made from durable materials, such as vinyl or thermoplastic, that safeguard the underlying paint from scratches, chips, and UV damage. This protective layer acts as a shield against the elements and the inevitable wear and tear of off-road riding.
Riders who frequently navigate rough terrain appreciate how these kits can reduce maintenance efforts. A well-applied graphic kit can minimize the need for repainting and repairs, as it helps preserve the integrity of the bike’s original finish. This means that riders can spend less time worrying about their bike’s appearance and more time enjoying their rides.
Impact on Resale Value
Graphic kits can significantly influence the resale value of a dirt bike. According to recent studies, bikes equipped with high-quality, well-maintained graphic kits often command higher resale prices than those without. Aesthetic appeal plays a substantial role in consumer choices; thus, a visually striking bike can attract potential buyers more effectively.
Furthermore, keeping the original components in good condition beneath a graphic kit can protect the bike’s overall value. A study highlighted that bikes with custom graphics maintained an average resale value that was 10%-15% higher than those with faded or damaged finishes. However, it’s important to choose designs wisely; overly customized graphics may limit the marketability to a broader audience. For detailed insights into this effect, you can refer to “How Bike Graphics Affect Resale Value” on BikeRadar.
Conclusion
In conclusion, graphic kits offer a myriad of benefits that extend beyond mere aesthetics. They enhance the visual appeal of dirt bikes, help establish brand identity, provide essential protection for the bike, and positively impact its resale value. As a rider and enthusiast, investing in a quality graphic kit can not only elevate your experience but also provide long-term benefits that are well worth the expense.
Whether you seek to personalize your bike or protect your investment, considering a graphic kit is a smart choice. For custom options, consider exploring our custom dirt bike graphics that can uniquely tailor to your style and needs.
Installation Tips for Graphic Kits on Dirt Bikes
Applying graphic kits to dirt bikes can significantly enhance their appearance while also protecting the underlying surfaces. Here are some essential tips and best practices to ensure a professional installation.
1. Preparation is Key
- Choose the Right Environment: Work in a dust-free, well-lit space. Avoid direct sunlight and high humidity as these conditions can hinder adhesion.
- Gather Necessary Tools: Ensure you have all required tools: squeegees, a heat gun or hair dryer, and cleaning supplies at hand.
- Clean the Surface: Thoroughly clean the bike’s body with isopropyl alcohol to remove any grease, dust, or residues. This step is crucial for achieving optimal adhesion.
- Remove Old Graphics: If applicable, carefully peel off old decals. A heat gun can help soften the adhesive, making removal easier without damaging the underlying paint or composite material.
2. Installation Steps
- Layout the Graphics: Before applying, lay out all graphic pieces on a flat surface to confirm alignment and fit. This visual check will save time during application.
- Start with Large Pieces: Begin with the largest graphic and work towards the edges. Using the squeegee, push out air bubbles as you go.
- Use Heat for Flexibility: Lightly warm the vinyl graphics with a heat gun as you apply them. This makes them more pliable and easier to conform to curves and contours.
- Small Sections at a Time: Work in manageable sections rather than applying the entire piece at once. This method allows for precise positioning and minimizes bubbles.
3. Post-Installation Tips
- Curing Time: Allow at least 24 hours for the graphics to cure before riding or washing the bike; this helps the adhesive bond better.
- Gentle Cleaning: After the curing period, clean the bike with soft microfiber cloths and mild soap. Avoid aggressive cleaning methods or high-pressure water jets for the first few days.
- Regular Checks: Inspect the graphics frequently for any lifting edges or bubbles, and reapply heat and smooth them if needed. This preventive maintenance will keep your graphics looking sharp for longer.
Key Takeaway
Installing graphic kits can seem challenging, but with proper preparation and technique, you can get a professional finish right in your own garage. For more detailed guidance on custom graphics and dirt bike wraps, check out our top dirt bike wraps or explore custom dirt bike graphics.
Visual Summary
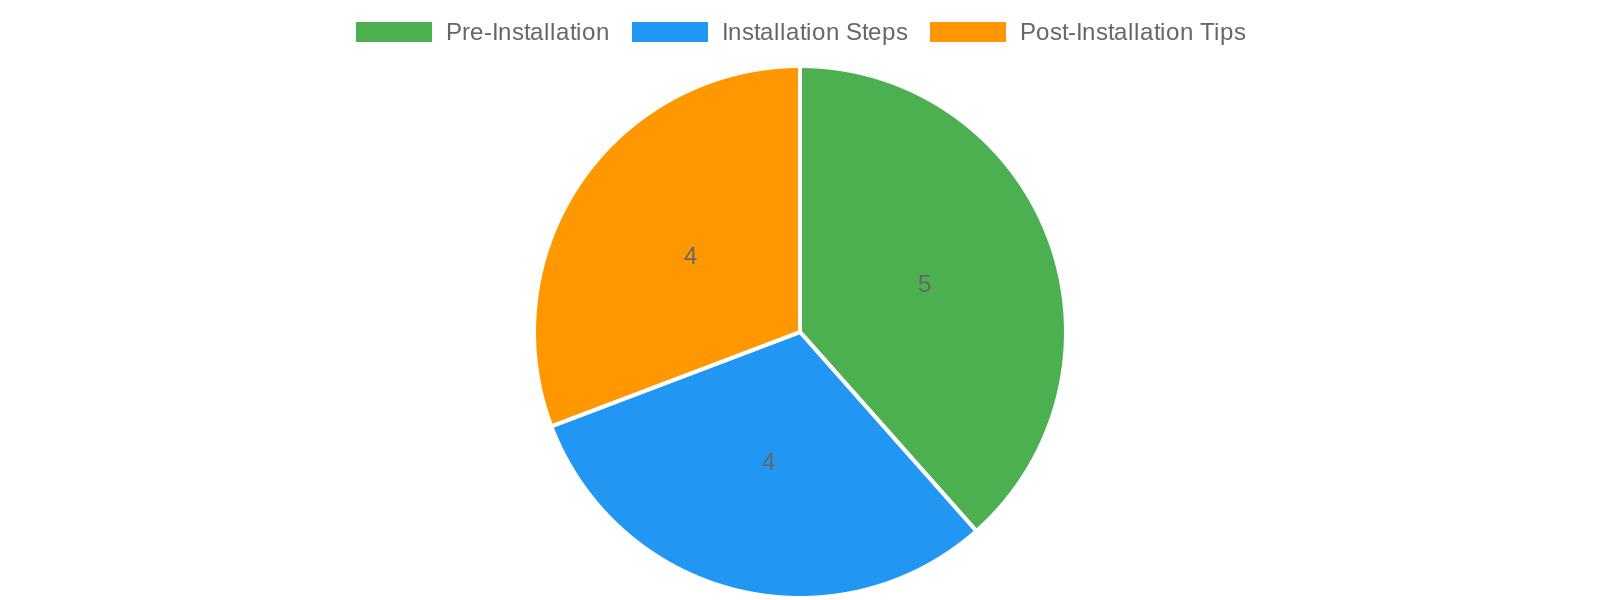
Below is a chart summarizing the installation process of graphic kits:
Conclusion
By following these tips, motorcycle owners, technicians, and shop owners can ensure a high-quality application of graphic kits on dirt bikes. Implement these practices for a smooth and durable installation that enhances both aesthetics and protection of the bike’s surface.
| Brand | Price | Material Quality | Customer Reviews (out of 5) | Warranty |
|---|---|---|---|---|
| ProTect | $129.99 | UV-resistant vinyl | 4.8 | 3 years |
| NitroGraphics | $79.99 | Printable vinyl | 4.3 | None |
| TuffGrip | $129.99 | Textured matte finish | 4.6 | 2 years |
| MotoCamo | $99.99 | 100% waterproof vinyl | 4.4 | 2 years |
| RacerX | $99.99 | Eco-friendly vinyl | 4.5 | Varies |
Learn more about dirt bike graphics kits and explore the top brands for dirt bike wraps.
Common Misconceptions About Graphic Kits: What Motorcycle Owners and Technicians Should Know
Graphic kits for motorcycles are popular among riders looking to customize their bikes and make them stand out. However, several misconceptions regarding their durability and ease of application can mislead potential users. It is essential to address these misunderstandings to enable owners and technicians to make informed decisions regarding graphic kits.
1. Misconception: Graphic Kits Are Fragile and Easy to Damage
One of the most prevalent misconceptions about graphic kits is that they are fragile and easily damaged. Many believe that once a graphic kit is applied, it can be scratched or worn away quickly, limiting its longevity significantly.
Reality:
Modern graphic kits are produced from high-quality vinyl materials designed specifically for durability. According to a Cycle World article, high-quality vinyl wraps can last anywhere from 5 to 7 years with proper care, resisting UV damage, scratches, and weather elements. Professional-grade kits feature fade-resistant materials that stand up to outdoor exposure, making them much more reliable than many users think.
2. Misconception: Applying Graphic Kits Is Too Complex
Many motorcycle owners fear that applying graphic kits is an overly complex and challenging task, often imagining that only professionals can handle the installation.
Reality:
While it is true that some skills are necessary for a successful installation, most graphic kits come with detailed instructions, alignment guides, and even video tutorials. The RevZilla blog confirms that many kits are designed for easy application, utilizing pre-cut templates and toolkits that streamline the process, allowing even beginners to achieve a professional-looking result with patience. This accessibility stands in stark contrast to the belief that only skilled technicians can apply these graphic kits effectively.
3. Misconception: All Graphic Kits Are the Same
Another common myth is that all graphic kits are created equal. Some users believe they can purchase any kit without considering quality and materials.
Reality:
Quality speaks volumes when it comes to graphic kits. There are numerous options available, which can vary greatly in terms of quality and durability. It’s crucial to invest in professional-grade products that are crafted for longevity rather than opting for low-cost alternatives that may yield disappointing results. For instance, as MCN points out, quality vinyl wraps resist wear and tear considerably more than cheaper variants, reducing the likelihood of premature peeling or fading.
4. Misconception: Graphic Kits are Temporary Solutions
Some enthusiasts might view graphic kits purely as temporary alterations to their motorcycles rather than long-term enhancements.
Reality:
In fact, when applied with care and proper technique, graphic kits can serve as a permanent and attractive feature of a motorcycle, enhancing its appearance for years. Cheap materials and poorly applied kits may indeed appear temporary and inadequate, but investing in good-quality graphic kits can lead to a more substantial and enduring aesthetic upgrade.
5. Misconception: You Can’t Remove a Graphic Kit
Finally, many owners assume that once a graphic kit is applied, removing it is either impossible or will damage the bike’s original finish.
Reality:
Removing a graphic kit is often a simple process when proper techniques are used. As indicated in the Cycle World guide, many kits can be safely removed without harming the underlying paint if undertaken correctly, allowing riders the freedom to change their bike’s look over time. This adaptability makes graphic kits attractive not only for their initial appearance but also for their removable nature based on the owner’s preferences.
Conclusion
Understanding the truths versus misconceptions surrounding graphic kits can empower motorcycle owners and technicians to make better choices. With high-quality materials, proper application techniques, and knowledge about the longevity of products, it’s easy to see that graphic kits are more versatile and durable than many assume. For those interested in custom motorcycle enhancements, consider checking out the best dirt bike graphic kits available to elevate your ride’s appearance without the common worries often associated with graphic kits.
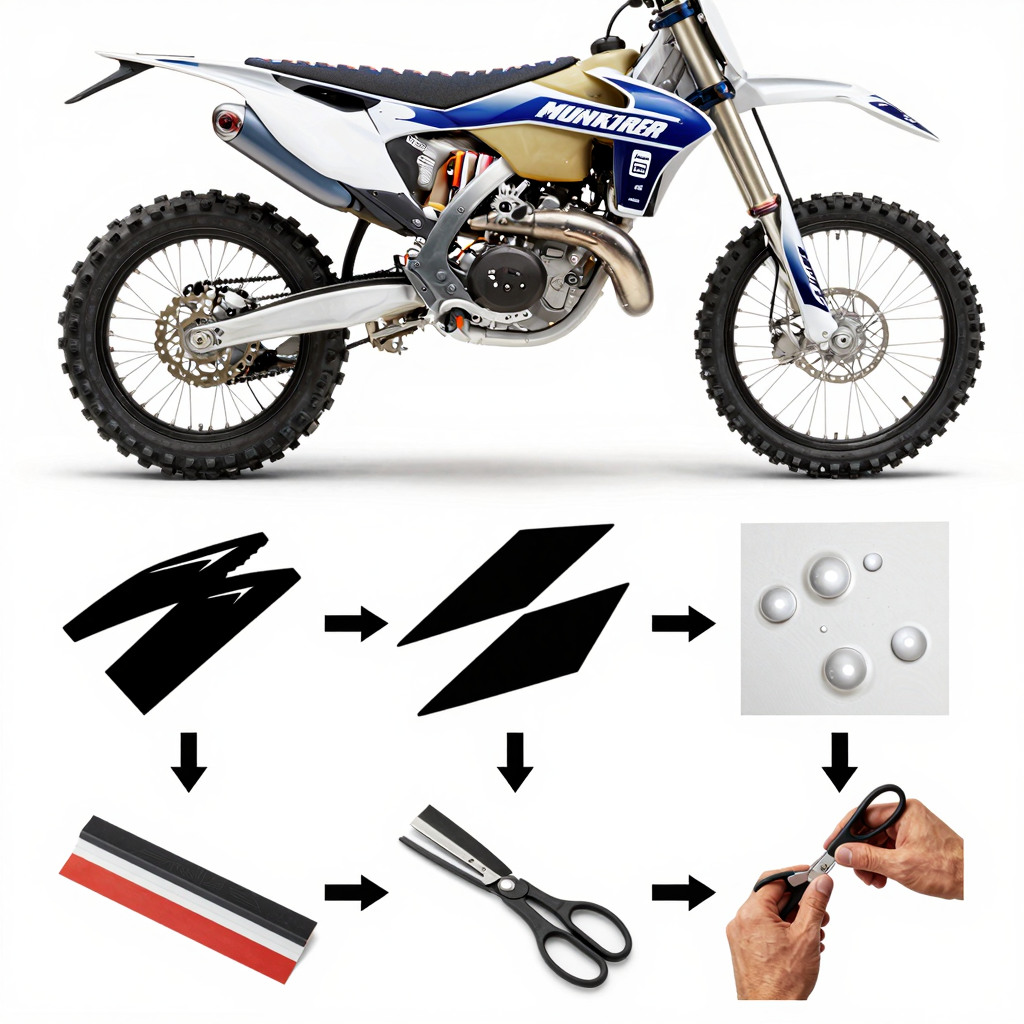
Installing a graphic kit on your dirt bike can enhance its appearance and protect the original plastic. Here’s a simple visual representation of the installation process. Follow these steps for a smooth application!
For more information on graphic kits, check out our overview of dirt bike graphic kits to find the perfect design for your ride!
Essential Maintenance Tips for Keeping Your Graphic Kits Looking New
Keeping graphic kits in pristine condition is crucial for motorcycle owners who want to maintain the aesthetic appeal and longevity of their rides. Below are best practices to ensure your graphic kits stay fresh and vibrant for as long as possible.
1. Regular Cleaning
- Frequency: Clean your graphics weekly to prevent buildup of dirt and grime.
- Method: Use a mild soap mixed with water and a soft microfiber cloth or sponge. Avoid using hard bristle brushes or abrasive pads which can scratch the graphic surface.
- Avoid: High-pressure washers and harsh cleaning chemicals, as these can damage both the graphics and the paint underneath.
- Tip: Always rinse from the top down to avoid streaks and ensure thorough cleaning.
2. Drying Techniques
- Post-Cleaning: After washing, dry your graphics with a soft microfiber towel to prevent water spots.
- Avoid Aggressive Wiping: Gentle blotting is preferred over aggressive scrubbing which can cause wear and tear.
- Air Drying: If possible, let your bike air dry entirely. Do not park it in direct sunlight until completely dry to avoid heat damage.
3. Apply Protective Coatings
- Vinyl Sealant: Consider applying a specialized vinyl wrap sealant every 6-12 months for added protection against UV rays and scratches. This enhances the lifespan of your graphics significantly.
- Additional Layer: For high-contact areas, like fuel tanks and fenders, adding a clear protective film over the graphics can further extend their durability.
4. Monitor for Damage
- Regular Inspections: Inspect your graphic kits every 2-3 weeks for any signs of lifting around edges or bubbling. Early detection can prevent more extensive damage.
- Resealing: If you notice any lifting edges, use a hairdryer on low heat to gently reheat the area and press it back down securely.
5. Avoiding Environmental Damage
- Storage: Store your dirt bike in a shaded area or indoor garage to minimize direct sunlight exposure which can lead to fading and deterioration.
- Proximity to Sharp Objects: Keep your bike away from sharp tools and rough surfaces during storage to avoid scratches.
- Direct Heat Sources: Be cautious of prolonged exposure to heat, such as from hot asphalt or exhaust areas, which can harm the graphics.
6. In Case of Scratches
- Touch-Up Options: Use a touch-up marker that matches the original color of your graphics to quickly repair minor scratches and maintain appearance.
- Professional Help: For extensive damage, consider seeking professional assistance to properly repair or replace graphics without damaging the underlying paint.
Additional Resources
For more detailed insights into choosing and applying graphic kits for your motorcycle, check out Top 10 Dirt Bike Wraps and Custom Dirt Bike Graphics.
Conclusion
Maintaining your graphic kits doesn’t just keep your motorcycle looking sharp-it extends the life of your investment. By following these simple maintenance tips, you can enjoy your bike’s aesthetic for years to come and ensure that it always stands out on the trail or road.
Conclusion
In summary, graphic kits for dirt bikes are not just decorative elements; they serve multiple essential purposes that significantly enhance both the functionality and aesthetics of your ride. Here are the key takeaways:
-
Customization and Personalization: Graphic kits provide a unique opportunity for riders to express their individuality and style. From vibrant designs to logos, these kits allow you to make your bike stand out on the track or trail. Whether you prefer the classic look or something highly customized, the options are abundant. Explore various designs with custom dirt bike graphics that reflect your personality and preferences.
-
Protection and Maintenance: Beyond aesthetics, graphic kits offer critical protection for your bike’s original paint against scratches, UV rays, and other abrasive elements encountered in off-road riding. By using quality materials, such as vinyl and polyurethane, these kits extend the lifespan of your bike’s bodywork and maintain its resale value, making them a smart investment for every motorcycle owner. Understanding how these kits protect your bike can also help you prioritize maintenance.
-
Cost-Effective and Easy to Apply: Unlike a full repaint, graphic kits provide a cost-effective solution to transforming the look of your bike. They are simple to install and can be changed out easily, making them perfect for riders who enjoy switching up their style frequently. For those interested in maximizing brand visibility or team identity, consider kits that feature sponsorship logos or cohesive designs.
As you contemplate how to improve your bike’s appearance and protection, take the time to explore all the wonderful options available. Visit Motographics today to find the ideal graphic kit that suits your needs and enhances your riding experience.