
Installing a Dirt Bike Graphic Kit in a Cold Garage? The Edges Will Lift – Here’s the Fix
Install a dirt bike graphic kit in a cold garage and the edges lift. Below about 60 degrees Fahrenheit it is less a risk than a likelihood. Cold shroud plastics and cold vinyl both stiffen, so the pressure-sensitive adhesive never fully wets out against the surface. You end up with curling corners, peeling number plate wraps, and decals that pop loose the first time you wash the bike or catch roost. The fix is straightforward: warm the film and the shroud before you squeegee. Bring both to roughly 70 degrees Fahrenheit or warmer, then press with steady, overlapping strokes. Warm vinyl stretches and follows curves, and warm plastic lets the adhesive grab and stay. Cold surfaces won’t. Before you peel the backing paper in a chilly shop, treat heat as a tool you need rather than an optional trick. The sections below cover how temperature affects adhesive chemistry and plastic flex, plus the warming and squeegeeing routine to run when the thermometer is fighting you. Whether you are refreshing a beat-up set or fitting a fresh dirt bike graphic kit for the season, those habits keep the edges sealed.
Why Cold Garages Make Edges Lift
Apply a vinyl wrap in a cold garage and the material stops cooperating. Cold stiffens the vinyl, so a flexible film starts behaving like a rigid sheet. It can no longer stretch into curves, corners, and recesses, and it fights the shape of the plastic instead of flowing over it.
The cold weakens the pressure-sensitive adhesive as well. That adhesive is built to flow under pressure and grip the surface. When it is cold, its initial tack drops, so it grabs weakly instead of bonding firmly.
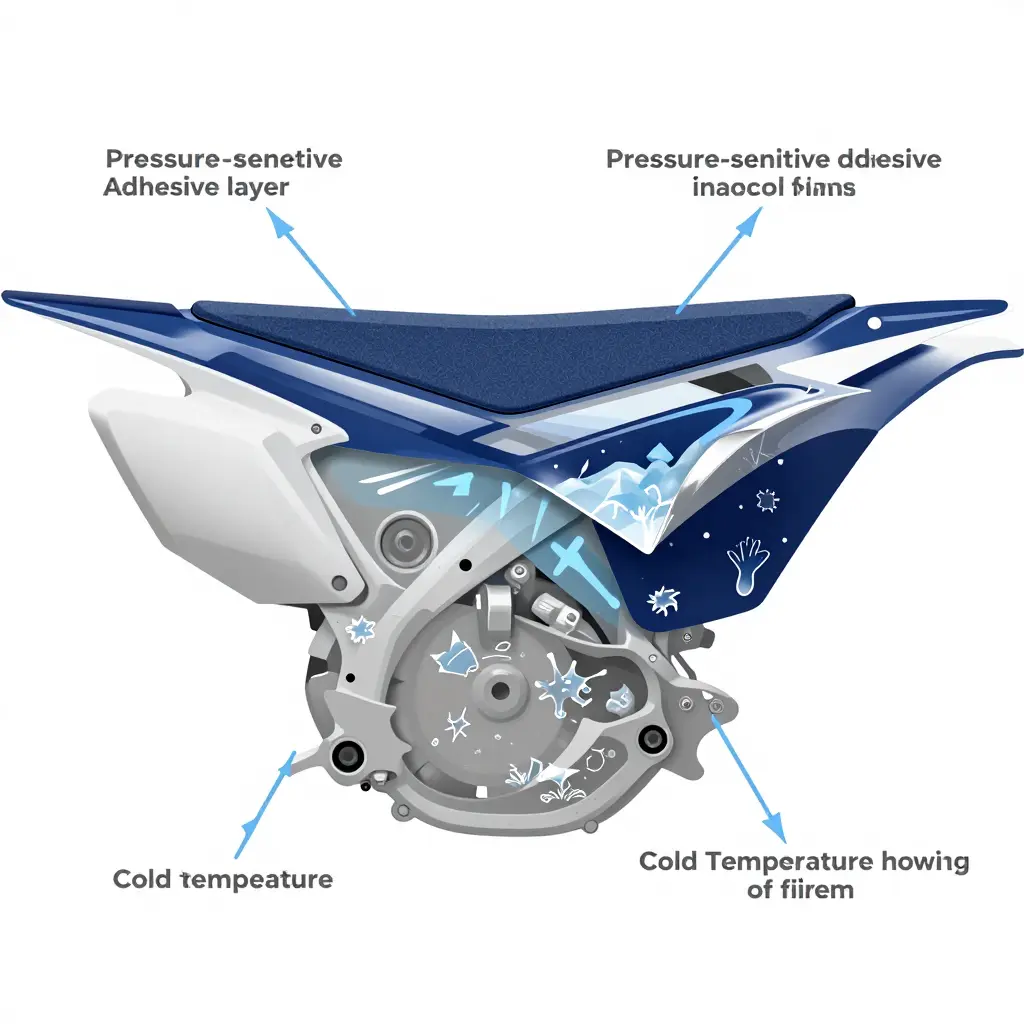
There is a second problem, and it is the one most riders overlook: a cold shroud or plastic panel pulls heat straight out of the film. The surface acts like a heat sink, so the adhesive never reaches the temperature it needs to flow and bond. Instead of a lasting grip you get graphic kit edges lifting almost immediately, especially along tight curves and high-stress areas where the film is already under tension.
Warm both the film and the shroud before you squeegee and the vinyl stays supple while the adhesive activates. For more hands-on guidance, these graphic kit installation tricks cover how to keep every edge stuck down.
The right installation temperature is what keeps a dirt bike graphic kit stuck tight, and cold surfaces are the most common reason edges lift.
| Surface/Film Temperature | Vinyl Behavior | Adhesive Bonding Strength | Recommended Action |
|---|---|---|---|
| Cold (below 15°C / 60°F) | Stiff, rigid, and reluctant to conform to curves | Weak – adhesive stays dormant and tacky edges lift fast | Stop. Warm the shroud and film with a heat gun or hair dryer to 21-27°C before squeegeeing; never stretch cold vinyl |
| Cool (16-20°C / 60-68°F) | Semi-flexible but slow to relax around bends | Moderate – bonds eventually but edges are prone to creeping up | Warm the film gently, work in small sections, and press edges firmly with a squeegee and thumb |
| Ideal (21-27°C / 70-80°F) | Supple, pliable, and easy to wrap over tight curves | Strong – adhesive flows and grabs almost instantly | The sweet spot: clean, apply, and squeegee from the center out. No extra heat needed |
| Hot (above 28°C / 82°F) | Over-soft and stretchy; can distort or over-stretch | Aggressive – bonds fast but traps air and can wrinkle | Work in shade, apply with light pressure, and use a felt-tip squeegee to avoid marring or pre-sticking |
For a closer look at clean-edge technique, see these pro graphics installation tricks.
Warm the Shroud First
Squeegeeing a graphic onto stone-cold plastic is the quickest way to watch those edges peel back the next day. The goal isn’t just to make the film stick. It is to bring the receiving surface up to a temperature where the adhesive can actually bond. In a cold garage, shrouds, fenders, and side panels soak up the chill, so the glue stays stiff and tacky instead of flowing into the micro-texture of the plastic. Warm the shroud and the adhesive finally has a chance to grip.
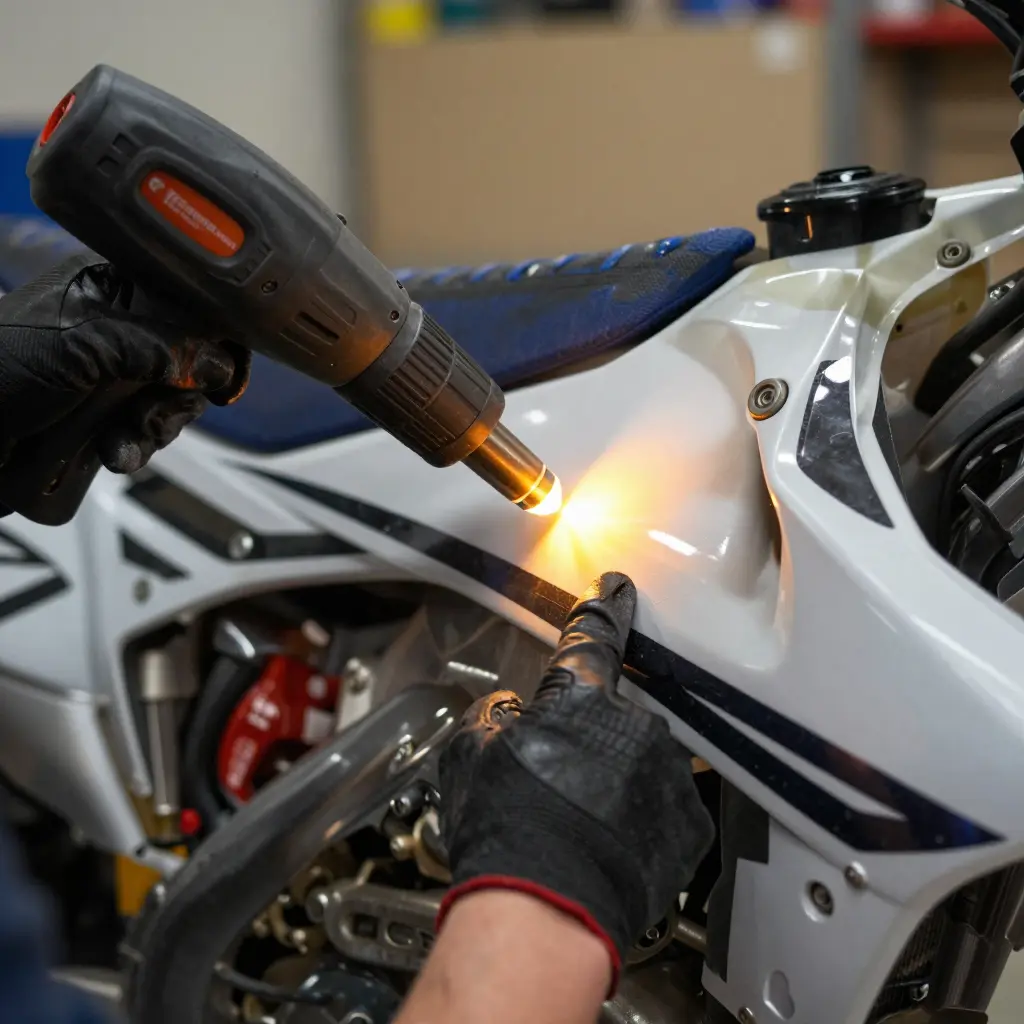
Here’s how to warm it safely:
- Run a heat gun on its lowest setting, keeping it moving so no single spot cooks.
- A hair dryer works just as well if you don’t own a heat gun; it’s slower but gentler.
- Keep the garage warm ahead of time. A space heater running an hour before you start beats rushing the panel.
- Warm the plastic gently and evenly, side to side, until it feels just slightly warm to the touch, never hot.
Resist the urge to blast one area. Overheating softens the plastic, and a warped or glossy shroud is far harder to fix than a lifted edge. You want warmth, not heat.
The trick is warming the film and the shroud together. When both reach a similar temperature, the adhesive and the surface meet in a matched state, and that matched temperature is what stops edges from lifting later. If you’re choosing the right dirt bike graphic kit, keep this warm-both-sides habit in mind from the first panel to the last.
Step-by-Step: Warm the Film and Shroud Before You Squeegee
- Wipe the shroud with isopropyl alcohol and a lint-free towel to remove dirt, oil, and old adhesive so your dirt bike graphic kit bonds cleanly.
- Pre-warm the bare shroud with a heat gun on low, sweeping it back and forth until the plastic feels warm but never hot.
- Warm the film evenly by holding your heat gun or hair dryer about six inches away and moving it across the decal for ten seconds.
- Gently peel the backing paper from one corner, keeping the sticky side dust-free as you work slowly to avoid creases.
- Position the warmed decal on the shroud, aligning it with the bolt holes and edges before it grabs.
- If the film cools and stiffens, briefly warm the film again to restore its stretchy, pliable feel.
- Activate the adhesive by pressing with a squeegee at light pressure, starting at the center.
- Work from the center outward in smooth strokes, chasing trapped air toward the edges, just as the top dirt bike graphics tricks suggest.
- Finish by post-warming the edges with your heat gun, then press them firmly so the film resists lifting.
Why Cold Kills Your Bond
Vinyl adhesive is temperature-sensitive, and its grip peaks in a comfortable “room temp” window. Install in a frigid garage and you are fighting physics before you even pick up a squeegee.
Bond Strength by Temperature
| Application Temp | Relative Bond Strength | What It Means For Your Edges |
|---|---|---|
| Cold (~40F) | 30 | Weak tack, edges lift fast |
| Cool (~55F) | 60 | Workable but risky |
| Ideal (~75F) | 100 | Maximum grab, tight edges |
| Hot (~95F) | 75 | Tacky and stretchy, harder to control |
Takeaway: In the cold the adhesive never fully activates, so the film just sits on top of the plastic instead of biting in, which is exactly why your edges peel and lift. Warming the film and the shroud before you squeegee brings the glue into its ideal range so every edge locks down hard.
Related reading: check out a few dirt bike graphics kits built to handle real-world garage installs.
Squeegee Technique for Cold-Weather Graphic Kit Installation
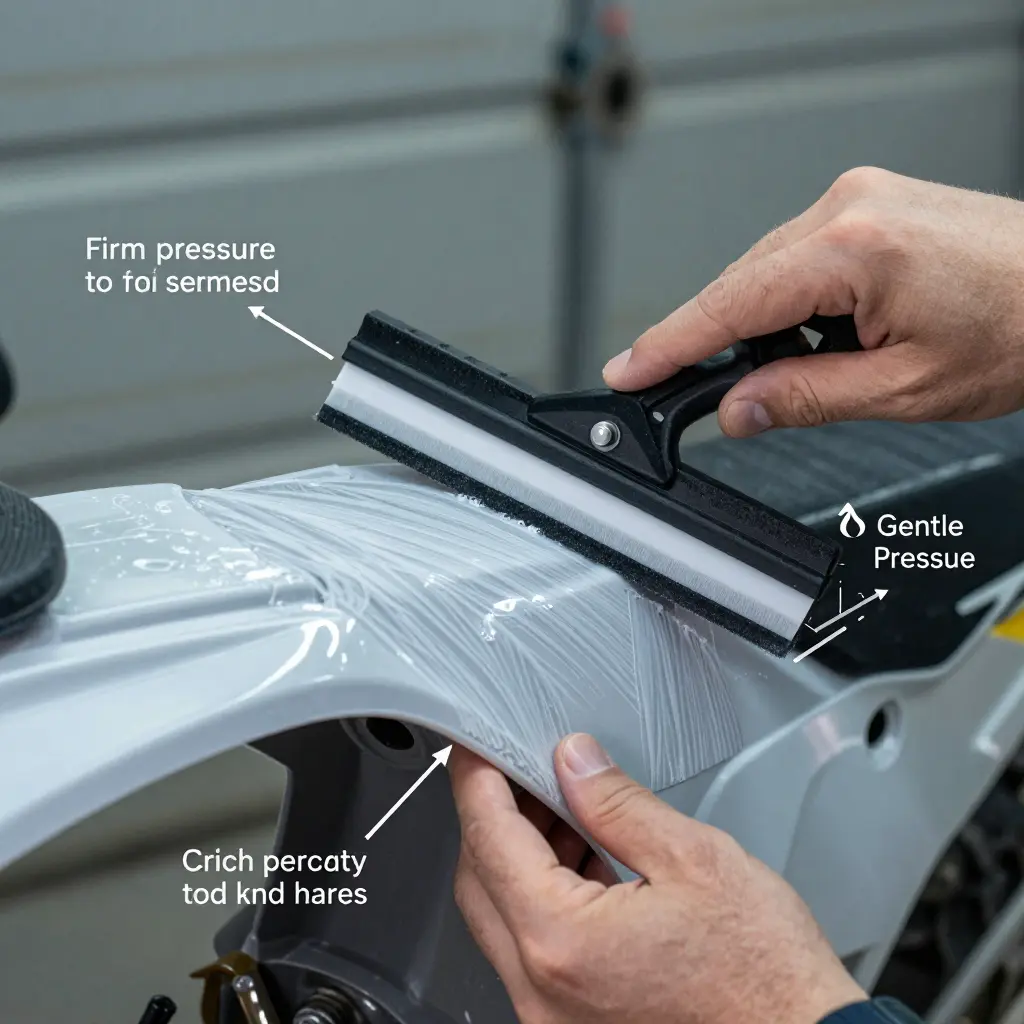
Applying a dirt bike graphic kit in a cold garage means working quickly, because the film loses its pliability within seconds. Hold the squeegee at a shallow angle, roughly 10 to 20 degrees off the shroud. Too steep and the blade digs into the vinyl wrap, trapping air pockets and creasing edges; too flat and you lose the downward bite needed to seat the adhesive.
Push from the center outward in overlapping strokes, letting each pass cover about half of the previous one. That rhythm squeezes trapped air and moisture toward the edges instead of sealing it in the middle. Once the film sits where you want it, switch to firm pressure to set the adhesive, then ease back to gentle, even pressure along edges and curves so you do not stretch the material and cause it to snap back.
In the cold, re-warm small sections just before you squeegee them. Don’t try to muscle through a large, cold area all at once, because the vinyl stiffens within seconds and will lift the moment it warms back up.
Quick tips:
- Warm one section at a time with a heat gun on low, then squeegee immediately while it is still soft.
- Use short, steady strokes and keep the blade moving; lingering lets the vinyl cool and grab.
- Finish edges with a firm wrap-down while the section is warm, never after it has chilled again.
For kits built to handle temperature swings, browse our custom dirt bike graphics.
Cold air stiffens vinyl and chills the plastic shroud, so a dirt bike graphic kit that felt perfect during install can start fighting you within days. The list below covers the most common warm-room problems and how to fix them.
- Edges lifting after a few days: This is the classic cold-garage failure, and it almost always means the adhesive never fully activated. Warm the film and the shroud with a heat gun or hair dryer on low, press the edge down firmly with a squeegee, then hold steady pressure for 30 seconds until it cools and bonds.
- Adhesive not biting at all: If the graphic slides or refuses to stick, the surface is too cold or still has release residue. Wipe the panel with isopropyl alcohol, warm the film to a flexible, taffy-like feel, and squeegee from the center outward.
- Bubbles that reappear: Trapped air expands as the garage warms. Prick each bubble with a pin, warm the film, and squeegee the air toward the puncture.
- Film cracking at tight curves: Cold vinyl tears instead of stretching. Warm the film until it drapes, then work the curve slowly in small sections.
- Peeling at sharp angles: Corners lift because they get no wrap-around grip. Trim a small relief slit, warm the film, and post-heat the edge to 120-140°F while pressing.
Once every edge is warm-sealed and cooled under pressure, your dirt bike graphics kits will stay put no matter how cold the garage gets.
FAQ: Cold-Weather Installation Concerns
What is the ideal garage temperature for installing a dirt bike graphic kit?
Aim for 65°F to 75°F. Cold makes vinyl stiff and adhesive slow to bond, so anything below 60°F turns a simple job into a fight. If you cannot heat the whole space, at least warm the film and the shroud before you squeegee.
Can I install graphics in winter?
Yes, but never straight out of the cold. Let the kit sit indoors for a few hours, then warm the film with a heat gun or space heater until it is pliable. A warm shroud and warm film keep the adhesive tacky, which is exactly what stops edges lifting later.
How warm should the film be before I squeegee?
The vinyl should feel noticeably warm, roughly 70°F to 90°F, and the plastic shroud should be warm too. Warm the film and shroud first, then squeegee from the center outward. This lets the adhesive flow into the surface instead of just sitting on top.
Why do edges lift even after I press them down?
Usually because a cold garage robbed the adhesive of its grip before it could bond. Pressing harder cannot fix cold vinyl; you have to warm the film and the shroud so the glue activates. Prep with isopropyl alcohol, then reheat the edges until they stay flat.
Can I use a hair dryer instead of a heat gun?
Yes, a hair dryer works, though it heats slower and covers less area. Keep it moving and warm the film evenly before you squeegee. For larger panels, check out these dirt bike graphic kits designed for easy installs.
Will heat damage my plastics or the vinyl?
Not if you use moderate heat and keep the tool moving. Hold the gun several inches away and never let one spot get too hot to touch. Controlled warming protects your plastics and helps the film conform without tearing.
Cold weather doesn’t have to ruin your install. Cold vinyl and cold plastics cause edges to lift, and the reliable fix is to warm the film and shroud before you squeegee. Once that rule is clear, a dirt bike graphic kit becomes far easier to apply, even in a chilly home garage.
Warm the surface first, warm the film, then squeegee from the center outward. Re-warm sections as needed and press each edge down firmly so it sets. Skip those steps and edges lift again the next morning; follow them and the graphics stay locked in place.
When you are ready to refresh your ride, take a look at our quality customizable dirt bike graphics.