
When it comes to personalizing dirt bikes, the excitement of adding custom graphics is palpable. Whether you’re a seasoned rider itching to make a statement on the track or a motorcycle shop owner eager to offer clients something unique, the power of customization opens up a world of possibilities. Each graphic you choose not only enhances the aesthetic appeal of your bike but also reflects your personality and riding style. Imagine capturing attention with a striking design that resonates with your individual spirit. Beyond looks, high-quality graphics can enhance your bike’s durability and protect it from the elements, making the investment worthwhile. In this article, we’ll delve into the various steps and best practices for applying graphics to your dirt bike, ensuring you can achieve a professional finish that stands out. For those interested in premium designs, check out our selection of bike graphics to get started on this exciting journey!
Benefits of Putting Graphics on a Dirt Bike
Adding graphics to your dirt bike offers several advantages that go beyond mere aesthetics. Here are some key benefits:
- Enhances Appearance: Graphics kits provide a unique flair to your bike, allowing you to express your personal style. A visually appealing bike can stand out on the track or trail.
- Protects Paint and Plastics: Applying graphics can shield the original paint and plastic components of the bike from scratches and wear, resulting in lower maintenance costs over time.
- Improves Visibility: Bright and colorful graphics can enhance the visibility of the bike, making it easier for other riders and vehicles to see you, which is crucial for safety during rides.
- Personalization: Graphics allow riders to personalize their bikes, creating a unique identity that can reflect their personality and riding style. This individuality can also be crucial in competitive environments.
- Branding Opportunities: For competitive riders, having professional-looking graphics can attract potential sponsors, creating branding opportunities that can enhance their racing career.
Adding graphics to your dirt bike can greatly improve both its functionality and aesthetic appeal. For more information on selecting the right graphics kit, explore our selection of bike graphics. If you’re looking for specific designs to enhance your ride, check out the Varge MXEX graphics.
The Importance of Motorcycle Customization Graphics
Customizing your motorcycle is not just about making it look good; it’s also about personal expression and individuality. According to many experts in the field, unique graphics play a significant role in this personalization.
“Customization is the heartbeat of motorcycle culture, where graphics breathe life into machines and allow riders to showcase their identity. Each design tells a story, making the motorcycle not just a vehicle, but a canvas of personal expression.” – Anonymous Motorcycle Customization Expert
When you think about your bike, consider how graphics can transform it into a reflection of who you are as a rider.
For more graphic options, check out our bike graphics categories to find designs that resonate with your style.
Choosing the Right Graphics for Your Dirt Bike
When it comes to personalizing your dirt bike, choosing the right graphics is crucial not only for aesthetic appeal but also for performance and durability. Here are some important considerations to keep in mind:
1. Materials
The type of material used for dirt bike graphics can significantly affect longevity and appearance. Popular materials include:
- Vinyl: Flexible, durable, and available in various finishes (glossy, matte, holographic). It withstands weather elements better than others.
- Chrome and Holo Vinyl: Adds a reflective and flashy look, making your bike stand out on the track.
- Laminates: Glossy or matte lamination can enhance durability and provide protection against UV rays and scratches.
For instance, brands like DeCal Works offer advanced materials designed for various riding conditions, while OMXGraphics utilizes thick, pro-level vinyl known for durability under extreme conditions. This ensures your graphics will hold up against mud, rain, and sun exposure, maintaining their vibrant look even after extensive use.
2. Design
The design of your graphics is an expression of your personality and style. Whether you’re leaning towards aggressive racing graphics or a sleek and stylish look, consider:
- Colors and Patterns: Choose colors that reflect your personality and match your bike’s color scheme. Some riders prefer bold patterns while others may opt for a more understated style.
- Customization: Many manufacturers allow you to customize graphics kits, enabling you to select designs that are not only unique but also tailored to your specific model.
3. Compatibility with Different Models
Graphics should be compatible with your particular dirt bike model to ensure a proper fit and finish. When selecting graphics:
- Check Model Specifics: Always confirm that the graphic kit is compatible with your bike model. Brands like Rivalink Design Co cater to various model specifics, ensuring a perfect fit.
- Installation Considerations: Some graphics require specific installation techniques or tools to achieve the best results. Follow guidelines provided for each graphics kit to avoid misapplication and prolong the life of your graphics.
In conclusion, selecting the right graphics for your dirt bike involves considering material durability, design aesthetics, and compatibility with your bike model. By choosing wisely, you can enhance your bike’s look while ensuring the graphics last through every ride.
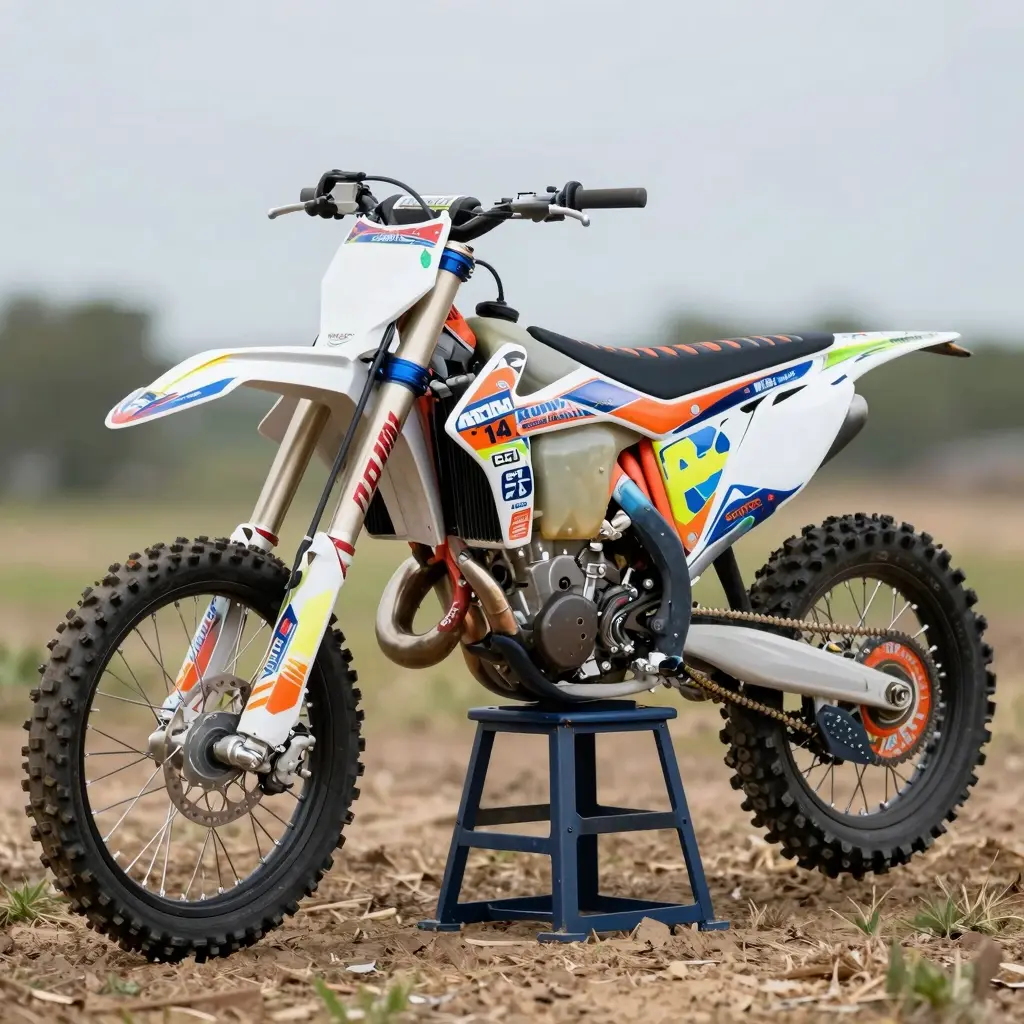
For a variety of options and to explore graphics kits that match your preferences, check out sections like MX Graphics and KTM Graphics.
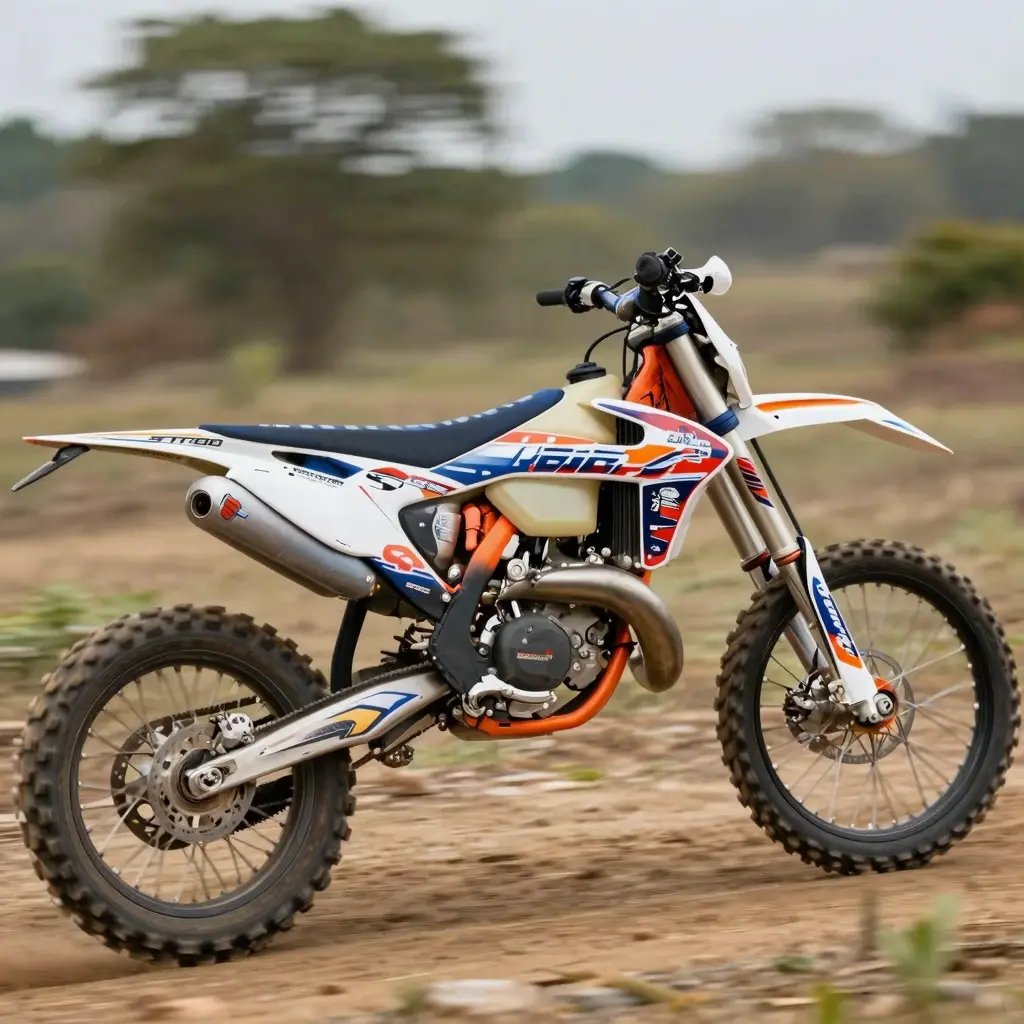
A visually striking dirt bike showcasing various graphic designs and styles. The image highlights the different artistic themes, colors, and patterns on the bike’s body and accessories, illustrating the customization possibilities. This serves as a perfect representation for anyone interested in customizing their dirt bike with graphics.
For more options on dirt bike graphics, check out our bike graphics and Surron graphic collections.
Step-by-Step Guide: Applying Graphics to Your Dirt Bike
Applying graphics to your dirt bike can significantly enhance its look and personalize your ride. Fortunately, the process doesn’t require professional skills; with the right tools and a bit of patience, you can give your bike a fresh new appearance. Here’s a step-by-step guide to help you through the application process.
Tools and Materials Needed
Before you begin, gather the following tools:
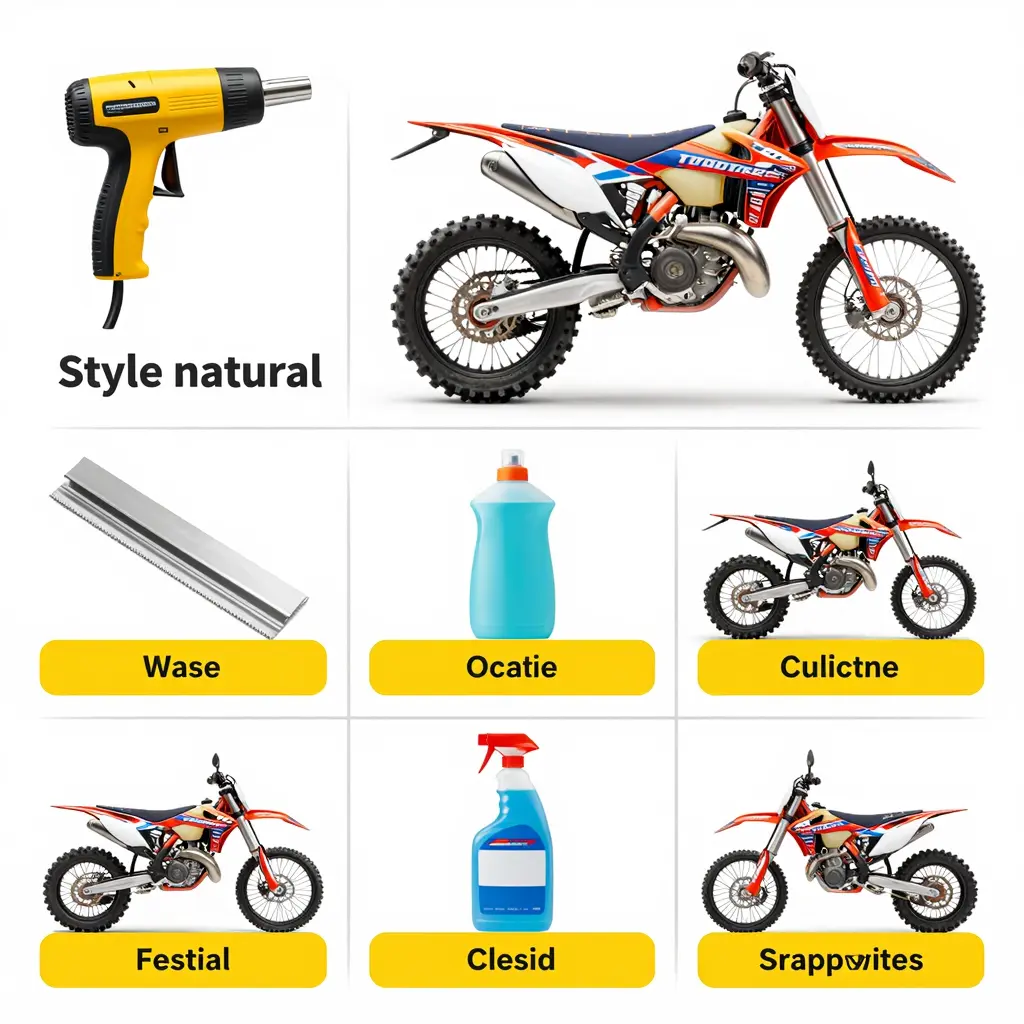
- Heat Gun or Hair Dryer: For warming the adhesive and allowing easier application.
- Squeegee: To smooth out air bubbles and ensure a firm bond.
- Cleaner or Isopropyl Alcohol: To clean the surface of the bike.
- Razor Blade: For trimming excess graphics.
- Measuring Tape: To ensure proper alignment.
- Graphic Kits: Choose your desired design from our wide variety of dirt bike graphics.
Step 1: Prepare the Surface
Start by cleaning the area where you’ll be applying the graphics. Use a cleaner or isopropyl alcohol to remove any dirt, grease, or existing adhesives. Allow the surface to dry completely, as moisture can hinder adhesion.
Step 2: Plan the Layout
Before peeling off the backing of your graphics, position them on your dirt bike carefully. Use measuring tape to ensure that everything is centered and aligned properly. This step can help avoid mistakes in placement.
Step 3: Warm Up the Adhesive
Using a heat gun or hair dryer, gently warm the graphics. This makes the adhesive more pliable and easier to work with, especially in colder environments. Be careful not to overheat, which can damage the graphics.
Step 4: Apply the Graphics
Remove a small portion of the backing and align it with your planned layout. Gradually peel the backing away as you press down the graphic onto the bike’s surface. Use the squeegee to smooth out any air bubbles and ensure that the graphic adheres evenly. Start from the center and work your way outwards.
Step 5: Trim Excess Material
After applying the graphic, use a razor blade to carefully trim any excess material along the edges. This creates a professional-looking finish.
Step 6: Cure the Adhesive
Allow the graphics to cure for at least 24 hours before using the bike. This helps to ensure a strong bond between the graphics and the bike’s surface. Avoid washing the bike during this time to achieve the best results.
Additional Tips
- For more detailed tutorials, check out this helpful guide on installing dirt bike graphics.
- Make sure the ambient temperature is comfortable; extremes can affect the application quality.
Conclusion
With these steps, you can easily apply graphics to your dirt bike, giving it a unique touch while enhancing its aesthetic. Happy riding!
Comparing Graphics Application Kits for Dirt Bikes
Choosing the right graphics application kit for your dirt bike can significantly enhance its appearance and reflect your personal style. Below is a comparison of popular graphics application kits, focusing on key features like price, ease of use, effectiveness, and customization options.
| Kit Name | Price Range | Ease of Use (1-5) | Effectiveness (1-5) | Customization Options |
|---|---|---|---|---|
| Rival Ink Design | $50 – $150 | 4 | 5 | 20+ |
| OMX Graphics | $70 – $200 | 5 | 4 | 25+ |
| M7 Designs | $60 – $180 | 3 | 4 | 15+ |
| Decal MX | $50 – $200 | 4 | 5 | 30+ |
Summary of Featured Kits
- Rival Ink Design: Offers a wide range of customizable graphics kits tailored for different models, known for its effectiveness and user satisfaction.
- OMX Graphics: Features a fast design process, free proofs, and a variety of models covered, ideal for those seeking high customization.
- M7 Designs: Known for their quality and a concise range of designs, suitable for a number of popular dirt bike models.
- Decal MX: Provides an easy-to-use design studio with extensive customization options, perfect for personalizing your bike.
Visual Comparison
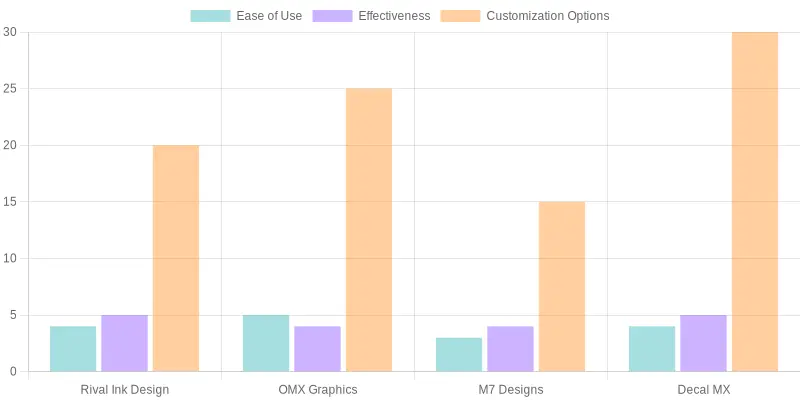
This chart visually represents the ease of use, effectiveness, and customization options among different graphics kits. Having this visual aid can help you in deciding which kit best meets your needs while enhancing the aesthetic appeal of your dirt bike.
Conclusion
Putting graphics on dirt bikes not only enhances their aesthetic appeal but also allows riders to express their unique identity and style on the trails. Custom graphics can transform a standard bike into a one-of-a-kind machine, increasing its visual impact and potentially even its resale value. With options ranging from sleek designs to vibrant colors, there’s a graphic available for every type of rider, whether you’re hitting the track or cruising through rugged terrain.
Additionally, the process of applying graphics can be straightforward, making it accessible for both seasoned technicians and novice bike owners alike. By personalizing their dirt bikes, riders can truly make them feel like their own. If you’re considering a refresh for your bike, check out our selection of high-quality dirt bike graphics to find something that suits your style. Remember, customizing your dirt bike not only sets you apart but also adds a personal touch to your riding experience. Get creative, and let your personality shine through your bike’s graphics!
Statistics on User Adoption of Bike Graphics
Understanding the preferences of dirt bike owners regarding graphics can guide manufacturers and DIY enthusiasts in making better choices. The following chart illustrates the adoption rates of different graphics types among dirt bike owners:
Distribution of Graphics Types
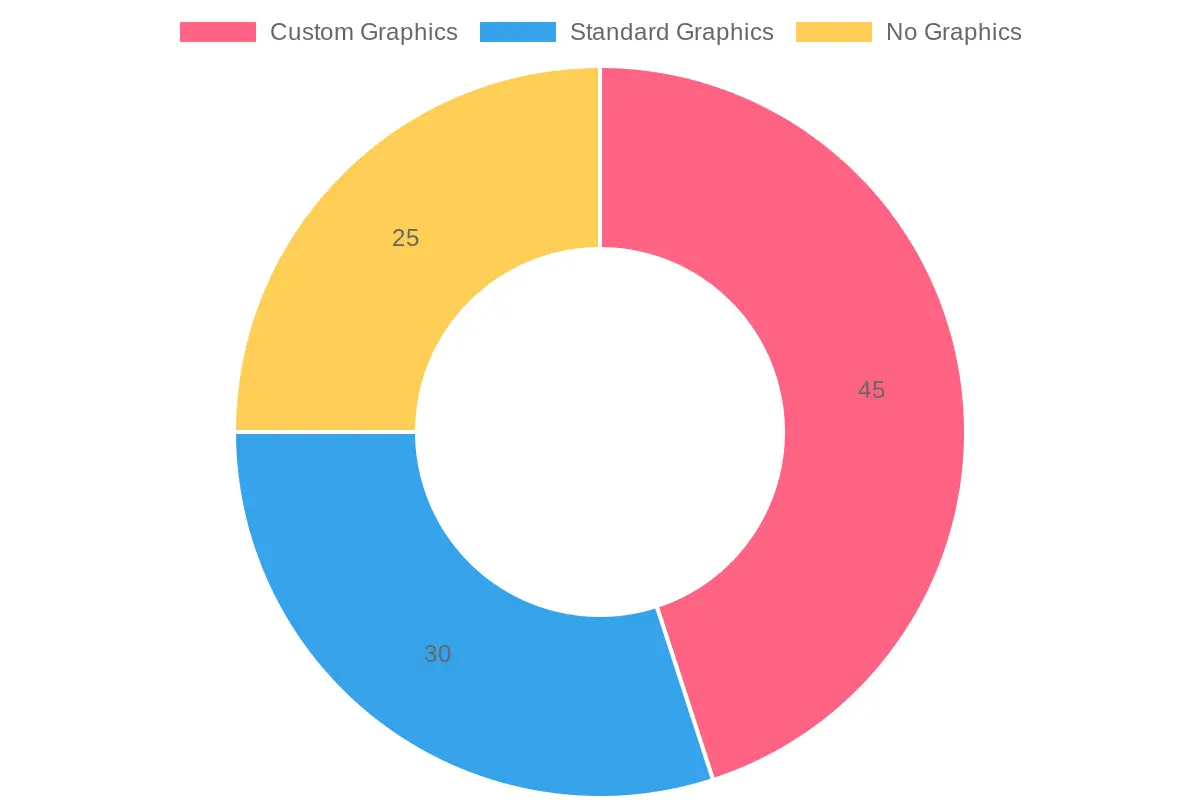
| Graphics Type | Percentage |
|---|---|
| Custom Graphics | 45% |
| Standard Graphics | 30% |
| No Graphics | 25% |
This data indicates that a significant portion of dirt bike owners (45%) prefer to enhance their bikes with custom graphics, while a smaller percentage stick with standard graphics, and some choose to leave their bikes without any graphics at all. Customization appears to be an essential element of personalizing dirt bikes, reflecting a broader trend of aesthetic appeal among motorcycle enthusiasts.
For more inspiration on bike graphics, check out our collection of bike graphics or explore specific designs for various models.