
Introduction
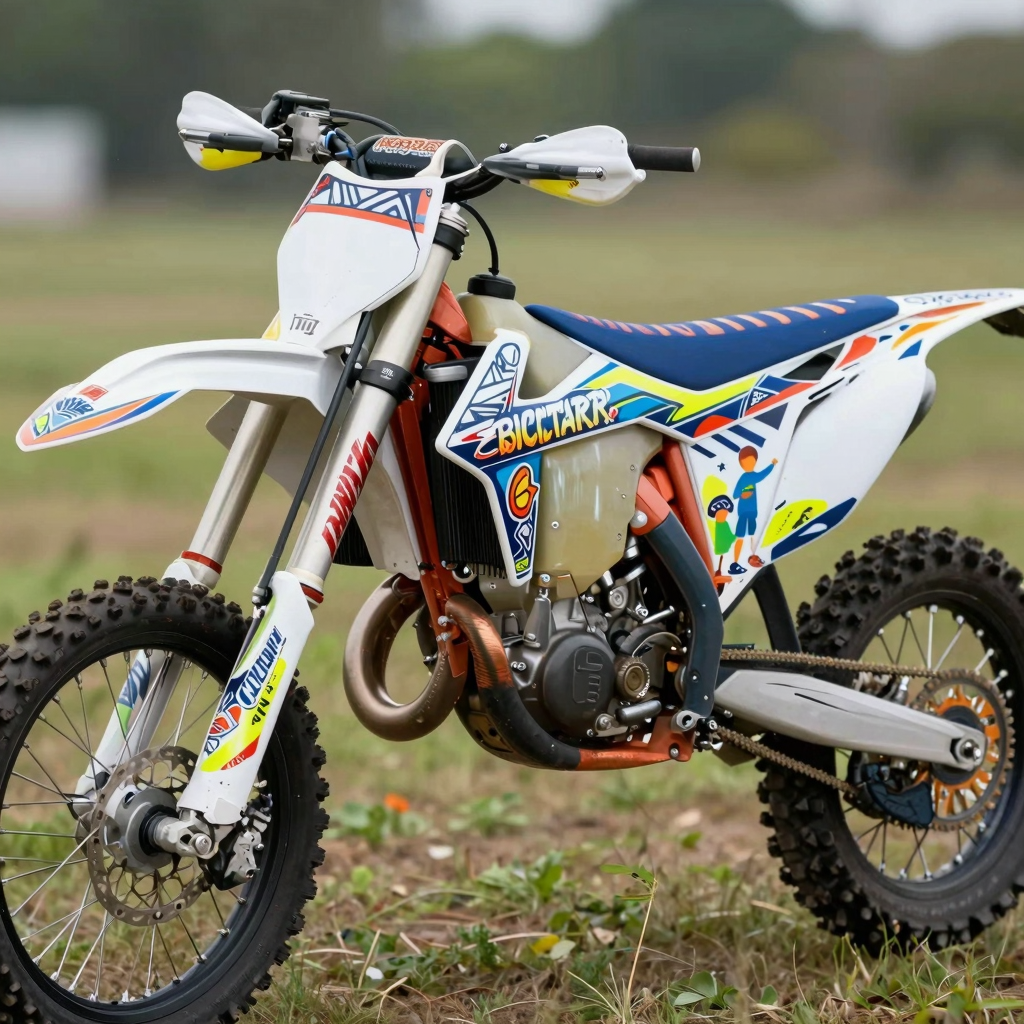
For motorcycle enthusiasts, particularly dirt bike owners and technicians, the aesthetic and functional attributes of a bike can significantly influence not just the riding experience, but also the bike’s performance on varied terrains. This is where dirt bike graphics come into play. These graphics are more than just stickers; they serve to personalize your bike and reflect your unique style while providing crucial protection to the underlying plastics from sun damage, scratches, and wear. A well-designed graphic can enhance visibility on the track and can be vital for branding purposes, especially for racing professionals.
Besides aesthetics, the right dirt bike graphics can contribute to improved aerodynamics and performance by reducing drag. Those keen on elevating their bike’s performance should explore the variety of options, such as custom dirt bike graphics or complete graphic kits.
As you pursue the perfect look and performance for your dirt bike, don’t underestimate the impact that high-quality graphics can bring to your ride. In the following sections, we will guide you through the process of selecting and applying these graphics to ensure your bike stands out while functioning at its best.
Common Reasons to Apply Graphics to Dirt Bikes
-
Customization: Graphics allow motorcycle owners to personalize their dirt bikes, reflecting their style and preferences. Unique designs make each bike stand out in races and events. For inspiration on custom designs, check out top dirt bike wraps and custom dirt bike graphics.
-
Branding: For repair shops and brands, graphics can be an effective way to market services or products. Featuring logos and consistent color schemes helps enhance brand visibility and recognition in the competitive motorcycle market.
-
Protection: High-quality graphics act as a protective layer, shielding the bike’s surface from scratches, dirt, and grime, thereby extending its lifespan. This is vital for dirt bikes often subjected to rough terrain.
-
Resale Value: Well-applied graphics can enhance the resale value of a dirt bike by making it more visually appealing to potential buyers. Personalized graphics can also indicate that the bike has been cared for and customized.
-
Visibility and Safety: Custom graphics can improve visibility on the trails and roads, especially in low-light conditions. This can help reduce the risk of accidents and increase awareness among other riders and drivers.
Selecting the Right Graphics for Dirt Bikes
Choosing the right dirt bike graphics is crucial for not only enhancing the aesthetics of your ride but also for practical purposes such as visibility and durability. Here’s a detailed guide to help you make an informed decision about the graphics for your motorcycle.
1. Consider Your Design Preferences
When looking to choose dirt bike graphics, the design is the first element to consider. The visual appeal can make or break the look of your motorcycle. Keep the following in mind:
- Style: Decide whether you prefer a bold and aggressive look or something sleek and subtle. Graphics come in various styles, from tribal designs to modern geometric shapes.
- Color Schemes: Vibrant colors can improve visibility and make your bike stand out. Consider contrasting shades that complement the base color of your bike.
- Personal Touch: Custom designs allow you to showcase your personality. Many companies offer services for personalized dirt bike graphics that let you choose specific patterns and themes.
2. Material Matters
The material used in your dirt bike graphics significantly influences their performance and durability. Common materials include:
- Vinyl: This is the most popular choice due to its durability and ease of application. High-quality vinyl, like 3M™ Scotchcal, offers excellent resistance to fading and scratching, ensuring your graphics remain vibrant over time.
- PU (Polyurethane): Known for its high elasticity and resistance to abrasions, PU is excellent for rough riding conditions. It’s ideal if you frequently ride in tough environments.
- PVC (Polyvinyl Chloride): While not as durable as vinyl or PU, PVC can be used in specific situations where cost is the priority. However, be aware it may not stand up as well to outdoor conditions.
Sources:
- Advanced Materials in Motocross Graphics: A 2024 Industry Report discusses the best materials for durability.
- Dirt Bike Graphics: Materials, Design & Application provides extensive insights on material choices.
3. Fitment and Application Tips
Ensuring the graphics fit well on your dirt bike is crucial for both appearance and functionality:
- Measurements: Before purchasing, measure your bike panels accurately to avoid any fitting issues.
- Manufacturer Guidelines: Always check the manufacturer’s specifications for graphic kits. Some designs are tailored to specific models, ensuring they align perfectly.
- Application: Proper application is key. Clean the surface thoroughly and consider using a heat gun to help with placement and to eliminate air bubbles for a smoother finish.
Additionally, applying graphics in moderate temperatures typically helps the adhesive perform better, ensuring a long-term bond.
Final Thoughts
Choosing the right graphics for your dirt bike involves understanding your style, selecting the best materials, and ensuring proper fitment. Remember to explore options that resonate with your riding lifestyle and consider how graphics can enhance not just aesthetics but also safety. For more inspiration, check out our top 10 dirt bike wraps and custom dirt bike graphics sections!
Comparison Table of Dirt Bike Graphic Styles
| Style Type | Common Uses | Price Range |
|---|---|---|
| Classic Graphics | Timeless look, casual riding | $50-$150 |
| Custom Graphics | Unique designs, personalized art | $200-$800 |
| Full-Wrap Graphics | Racing, show bikes, maximum coverage | $150-$400 |
| Sponsor-Based | Teams, manufacturers; limited custom | Usually free |
This table summarizes various dirt bike graphic styles, including their common uses and price ranges. Choosing the right graphic style can enhance both the aesthetics and functionality of a dirt bike. For more options and guidance on selecting the right graphics, you can explore the top 10 dirt bike wraps and check out custom dirt bike graphics.
How to Install Dirt Bike Graphics: A Step-by-Step Guide
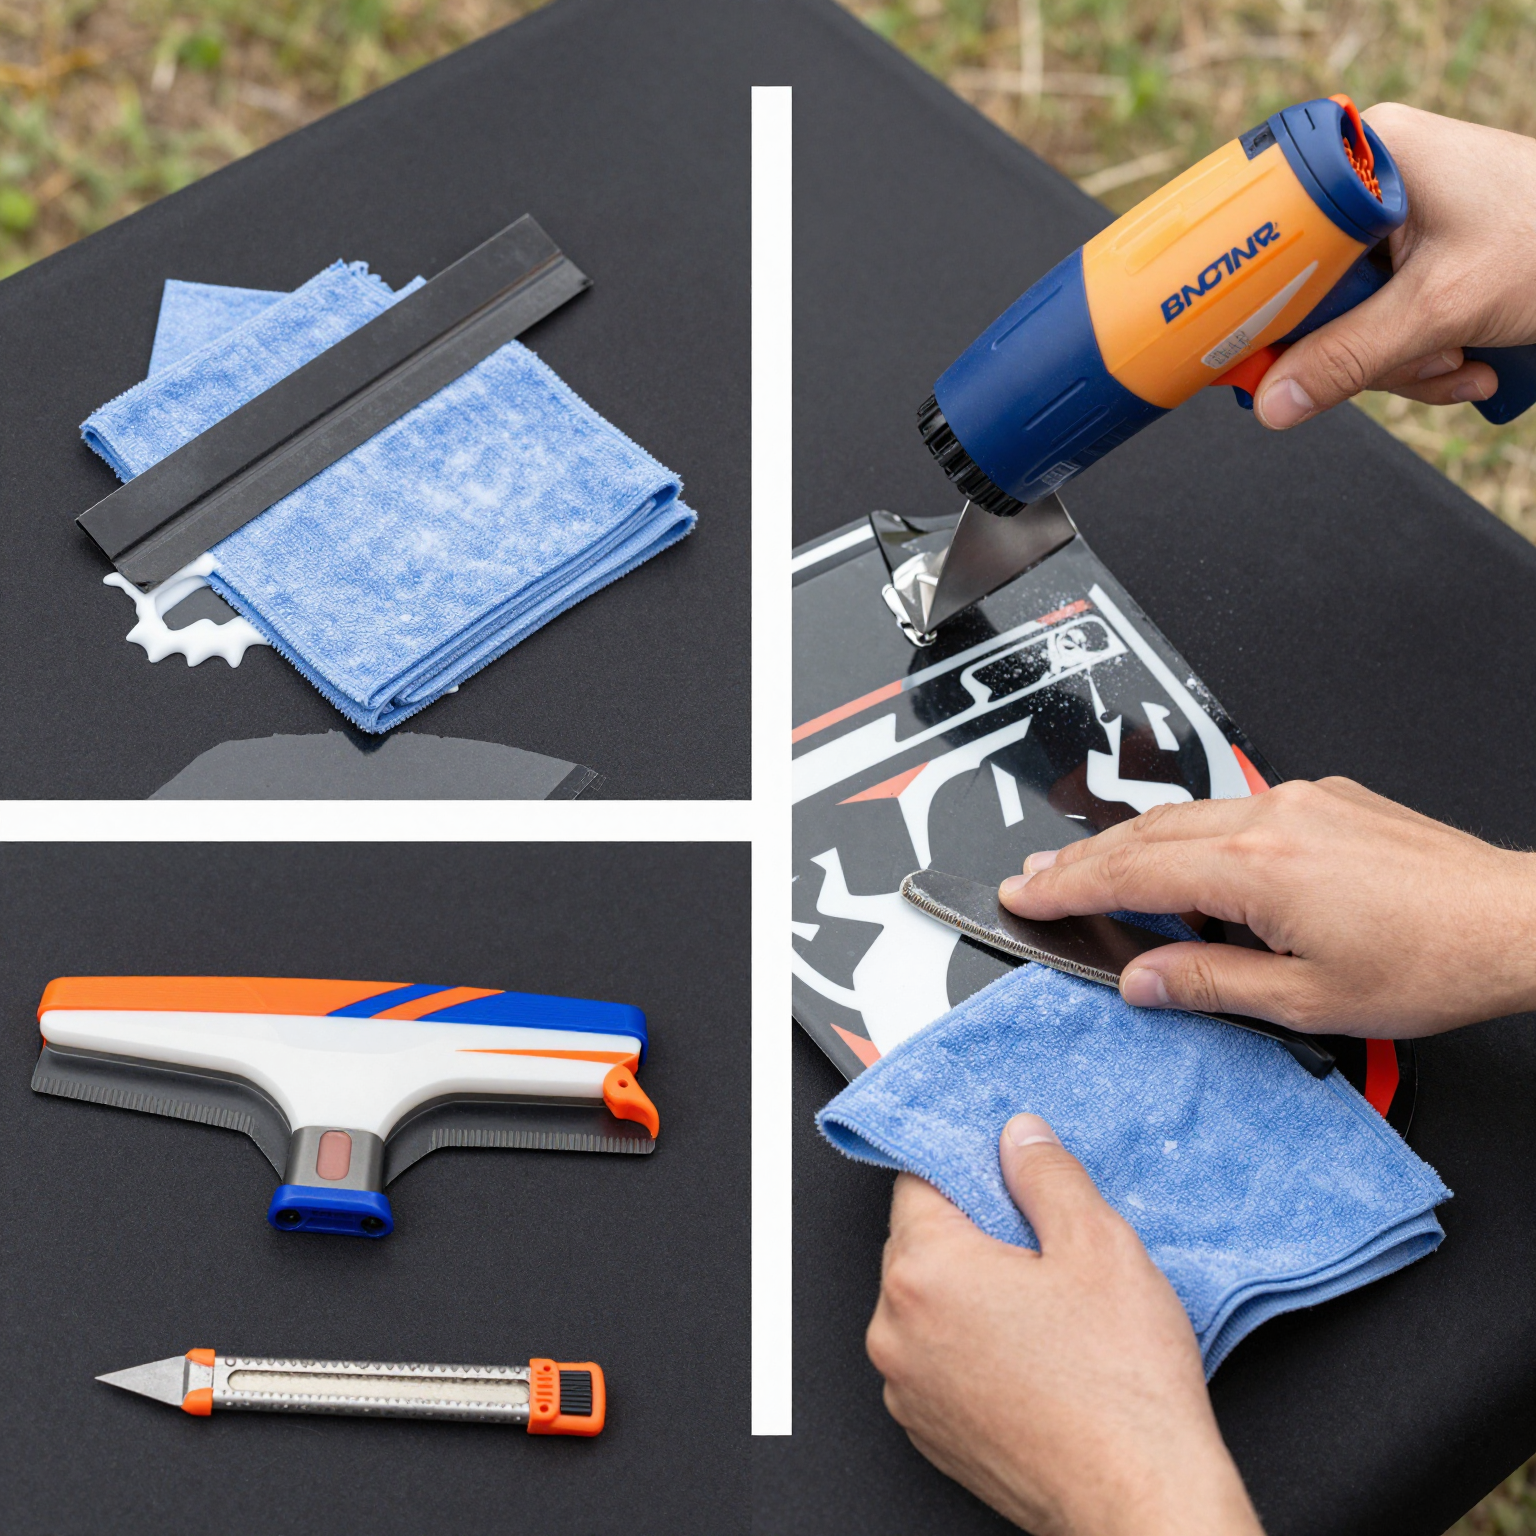
Installing graphics on a dirt bike is a great way to customize its appearance and protect the bodywork. Whether you’re a technician in a repair shop or a motorcycle owner looking to do it yourself, following these steps will ensure a smooth application. Here’s a comprehensive guide on how to install dirt bike graphics effectively, highlighting the necessary tools, preparation, and application techniques.
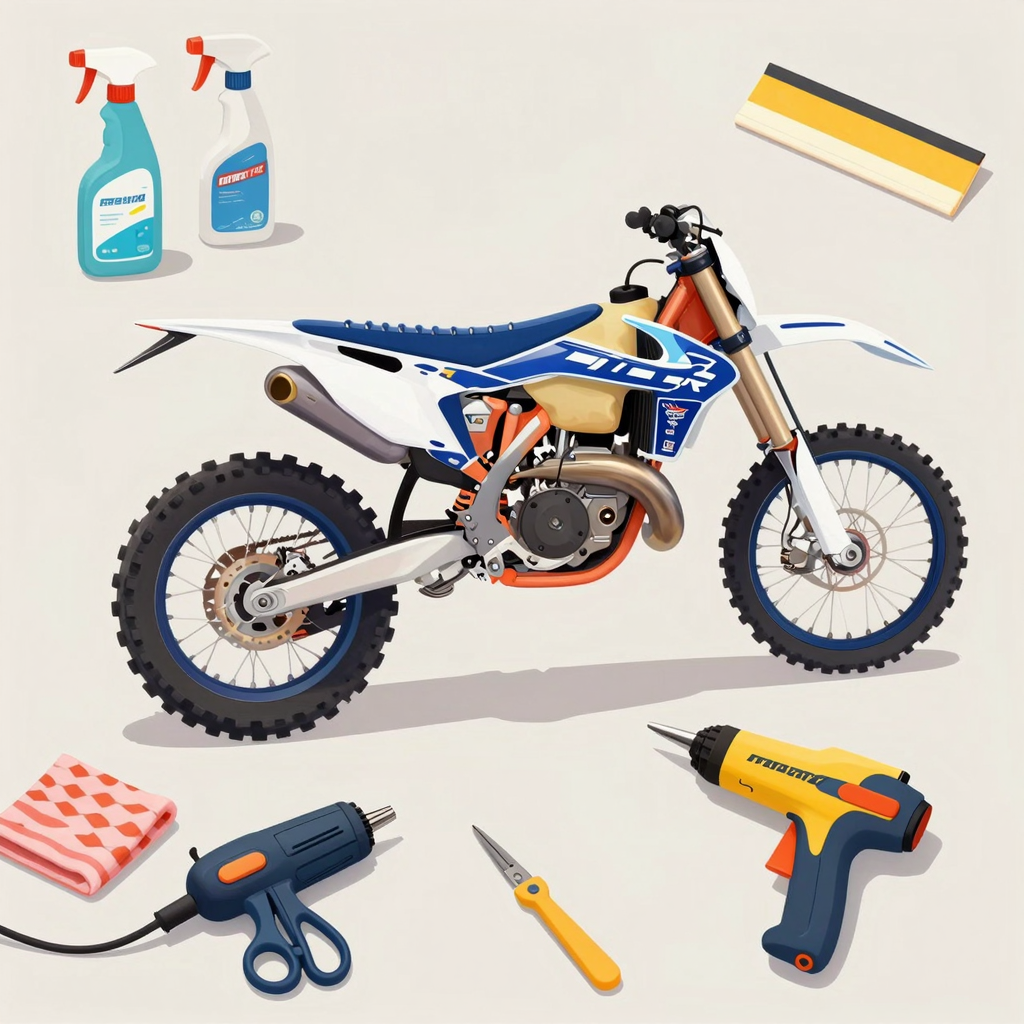
Tools Needed
Before starting, gather the following tools to make the installation process efficient:
- High-Quality Squeegee: Preferably rubber-edged for better pressure distribution during application.
- Heat Gun: For warming the surface and graphics to enhance adhesion. Avoid using a hairdryer as it tends to not provide the same level of heat.
- Microfiber Cloths: Use these for cleaning the surface to avoid lint that can disrupt adhesion.
- Utility Knife: For trimming excess graphics without damaging the underlying surface.
- Isopropyl Alcohol: For cleaning the bike’s plastic surfaces (avoid cleaners with ammonia).
- Masking Tape: To hold graphics in place while positioning.
Step-by-Step Installation Process
- Prepare the Surface
- Clean the bike thoroughly. Use a microfiber cloth dampened with isopropyl alcohol. Make sure to remove all dirt, grime, and oil to ensure a strong bond.
- Allow the surface to dry completely.
- Inspect and Plan Your Graphics
- Unroll the graphics and inspect for any damages. Lay them out flat in the sun or a warm place to reduce wrinkles.
- Familiarize yourself with where each piece will fit. If you have multiple segments, check for alignment and orientation.
- Trim as Necessary
- If graphics oversize the area, use a utility knife to adjust. Leave 1-2 inches extra that can be trimmed after application.
- Position the Graphics
- Using masking tape, lightly secure one edge of the graphic onto the desired area. Ensure it’s aligned properly.
- Check the placement by stepping back and viewing it from a distance.
- Apply the Graphic
- Start applying from one end. Slowly peel back the backing while pressing onto the surface using the squeegee, moving from the center outward to push out air pockets.
- Use a heat gun to slightly warm the graphic and surface while applying for better adhesion.
- Eliminate Air Bubbles
- Invest time in ensuring that no air bubbles are formed. If they do appear, gently lift the graphic and push the air out (using a squeegee for pressure) or using a pin to release the trapped air.
- Trim Excess
- Once fully applied, trim any excess graphics using the utility knife to achieve a seamless finish.
- Cure the Graphics
- Allow the graphics to cure for 24-48 hours before riding. This waiting period ensures that the adhesive has fully set and provides long-lasting performance.
Expert Applications Techniques
- Float Technique: This involves loosely placing the graphic over the intended area to confirm fit before adhering fully.
- Dust-Free Environment: Always work in a clean, dust-free area to avoid contaminants being trapped under the graphic.
- Patience is Key: Do not rush the process. Take your time with each step to ensure better results and durability.
Conclusion
Installing dirt bike graphics is a valuable skill for any motorbike enthusiast. By following these steps meticulously, you can enhance the style of your bike while protecting its surfaces. Proper preparation, the right tools, and careful application can significantly improve the final outcome. For more on choosing the best graphics for customization, check out custom dirt bike graphics and dirt bike graphic kits.
For ongoing maintenance and techniques to avoid wear and tear on your graphics, consider reading about top dirt bike graphic tricks.
Troubleshooting Common Mistakes During Dirt Bike Graphics Installation
Installing dirt bike graphics can significantly enhance the appearance of your bike, but errors during the installation can lead to unsatisfactory results. Here’s a comprehensive troubleshooting guide that addresses common mistakes and offers tips for a smooth application.
Common Mistakes and Solutions
| Common Mistake | Description | Solution |
|---|---|---|
| Incomplete surface preparation | Failing to thoroughly clean the bike’s surface can lead to poor adhesion and aesthetics. | Ensure the surface is cleaned with isopropyl alcohol or a specialized degreaser. Leave it to dry completely before application. |
| Overheating the graphics | Applying too much heat can warp or damage the graphics, leading to bubbles and misalignment. | Use a heat gun on low setting, concentrating on corners and edges only as you apply the graphic. Avoid keeping it too close for too long. |
| Poor alignment during application | Misalignment can lead to crooked placement, which can be difficult to fix once applied. | Consider using application tape to help guide placement. Always visualize the end result before pressing down completely. |
| Ignoring environmental conditions | Humidity or cold temperatures during application can cause issues such as poor adhesion and uncontrollable wrinkles. | Ideal application conditions are between 60°F and 75°F with low humidity. If conditions are not suitable, wait for a better time. |
| Not allowing curing time | Rushing to ride after installation can lead to lifting or peeling graphics. | Allow at least 48 hours before exposing the bike to moisture or rigorous activities to ensure the graphics adhere correctly. |
| Using low-quality tools | Cheap tools can lead to uneven pressure and misapplication, resulting in a less professional finish. | Use high-quality squeegees and application tools specifically designed for vinyl graphics to achieve the best results. |
Learn more about applying dirt bike graphics
Tips for Ensuring a Smooth Application
| Tip | Description | Source |
|---|---|---|
| Use a squeegee | A high-quality squeegee is essential for evenly applying pressure and pushing out air bubbles that can get trapped under the graphic. | Cycle World Magazine |
| Start from the middle | When applying graphics, always start from the center and work your way outwards to prevent air pockets from forming. | Motocross Action |
| Test materials before application | If you’re unsure how a particular graphic will adhere to your bike, test it on a similar surface or a spare piece of plastic before committing. | Powersports Business |
| Pre-heat the surface | Lightly heat the bike’s plastics before installation to enhance the adhesion properties of the graphics. | Motorcycle Cruiser |
| Have a helper | If possible, get a second person to assist with holding and positioning the graphics during application to ensure accurate placement without stretching. | Custom Guidance |
By following these troubleshooting tips and ensuring proper techniques during application, you can avoid common pitfalls and achieve a fantastic look for your dirt bike. Always remember: patience and preparation are key! For more tips, check out our article on custom dirt bike graphics that provides detailed advice on creating the perfect graphic setup for your ride.
Conclusion
Applying graphics correctly on dirt bikes is not just about aesthetics; it significantly influences your bike’s performance and your riding experience. High-quality graphics kits can protect your dirt bike’s body while ensuring it stands out on the tracks. We’ve discussed several key points about the materials, installation techniques, and maintenance of graphics to help you make the most informed decisions.
By utilizing the right graphics, you not only enhance the visual appeal of your dirt bike but also add a layer of defense against wear and tear. For those looking to personalize their ride, custom dirt bike graphics provide endless possibilities that reflect your style and personality.
Now is the time to take action! Explore options available at Motograpics and invest in the best graphics to elevate your dirt bike experience. Remember, the right graphics can transform your bike into a reflection of who you are as a rider. Don’t just ride; make a statement!
User Testimonials on Applying Dirt Bike Graphics
Applying graphics to dirt bikes is not just about aesthetics; it can enhance a rider’s connection to their bike, boost confidence, and make the motorcycle stand out in a crowd. Here are three detailed testimonials from riders who shared their experiences with applying graphics:
1. Enhanced Personalization and Confidence
A rider who identified himself as a professional motocross competitor shared his experience after customizing his bike with a unique graphic design he called ‘desert storm.’ According to him, the striking appearance of the graphics did more than just look good. It attracted attention from sponsors during races, and he felt a renewed sense of confidence as he rode. He mentioned, “Every time I hit the track, I’m not just riding; I’m making a statement with my custom look.” This testimony emphasizes the emotional connection riders can develop with their dirt bikes through personalization. For more information on exciting custom dirt bike graphics, check out the options available.
2. Motivational Boost from Aesthetic Appeal
Another user, Jake R., reported a significant boost in his riding motivation after applying a vibrant mountain landscape graphic on his KTM. He expressed that it felt like riding a brand new bike, enhancing his connection to both the motorcycle and the sport. He stated, “I feel like I’m riding through my favorite mountain every time I take my bike out for a spin.” Alongside the motivational aspect, he highlighted practical benefits, such as easier identification in group rides, which helps reduce the risk of confusion with other similar models. This testimonial reflects how visual appeal can positively influence a rider’s experience. If you want to discover more tricks on how to choose graphics, check out top tricks for dirt bike graphics.
3. Professional vs. DIY Experience
A discussion on a popular motocross forum revealed mixed reviews about DIY graphic application versus professional services. A user shared his frustrating experience trying to apply graphics himself. He spent two days trying to install a complex design, only to end up with a messy look that didn’t do justice to his bike. He then opted for a professional service, which completed the installation in just four hours, resulting in a finish that looked like something straight out of a magazine. He concluded, “Investing in professional application was worth every penny; it entirely changed the look of my ride for the better.” For those considering DIY or professional graphics installation, there are excellent insights available on comparing both approaches.
Conclusion
These testimonials collectively underscore the impact of custom graphics on personal motivation, professional appearance, and overall rider satisfaction. By enhancing the aesthetic appeal of dirt bikes, riders can forge a deeper connection with their machines while also impressing spectators and potential sponsors.
“Graphics are not just decoration-they are the first impression, the brand identity, and a crucial part of rider expression. A well-designed graphic can elevate a bike from functional to iconic.”
- Alex Turner, Renowned Motorcycle Graphics Designer
This quote from Alex Turner captures the essence of what motorcycle graphics represent not just visually, but emotionally. Graphics serve as a reflection of a rider’s personality and passion for their machine. The right application and design can transform the average dirt bike into a statement piece, showcasing individuality and style.
Understanding the importance of proper graphic application is crucial for motorcycle owners, technicians, and repair shops. Quality graphics enhance not only aesthetics but also can improve visibility and even aerodynamics. It’s a key part of customizing your bike that shouldn’t be overlooked. To explore more about how to elevate your bike’s look, check out our guide on custom dirt bike graphics.