
Introduction to Camo Dirt Bike Graphics
In the dynamic world of dirt biking, aesthetics play a vital role alongside performance. Among the numerous customization options available, camo dirt bike graphics have emerged as a favored choice among motorcycle owners, repair shops, and technicians. These unique designs not only enhance the visual appeal of dirt bikes but also offer personalization that reflects the rider’s style and personality. The rise in popularity of camo designs can be attributed to their versatility and ability to blend seamlessly with various terrains, giving riders a tactical edge while navigating through the great outdoors.
In this article, we will explore the latest trends in camo dirt bike graphics, helping you understand why these graphics are more than just a trend-they are a statement. Motorcycle enthusiasts looking for a competitive edge can benefit from discovering how high-quality graphics can transform their bikes. Additionally, we will delve into the best options for purchasing or customizing graphics, whether for personal use or resale in repair shops. Prepare to elevate your ride with captivating designs that not only look great but also resonate with the spirit of adventure. For a deeper dive into some popular designs, check out our top 10 dirt bike graphics and discover how custom graphics can enhance your bike’s appearance at Motograpics.
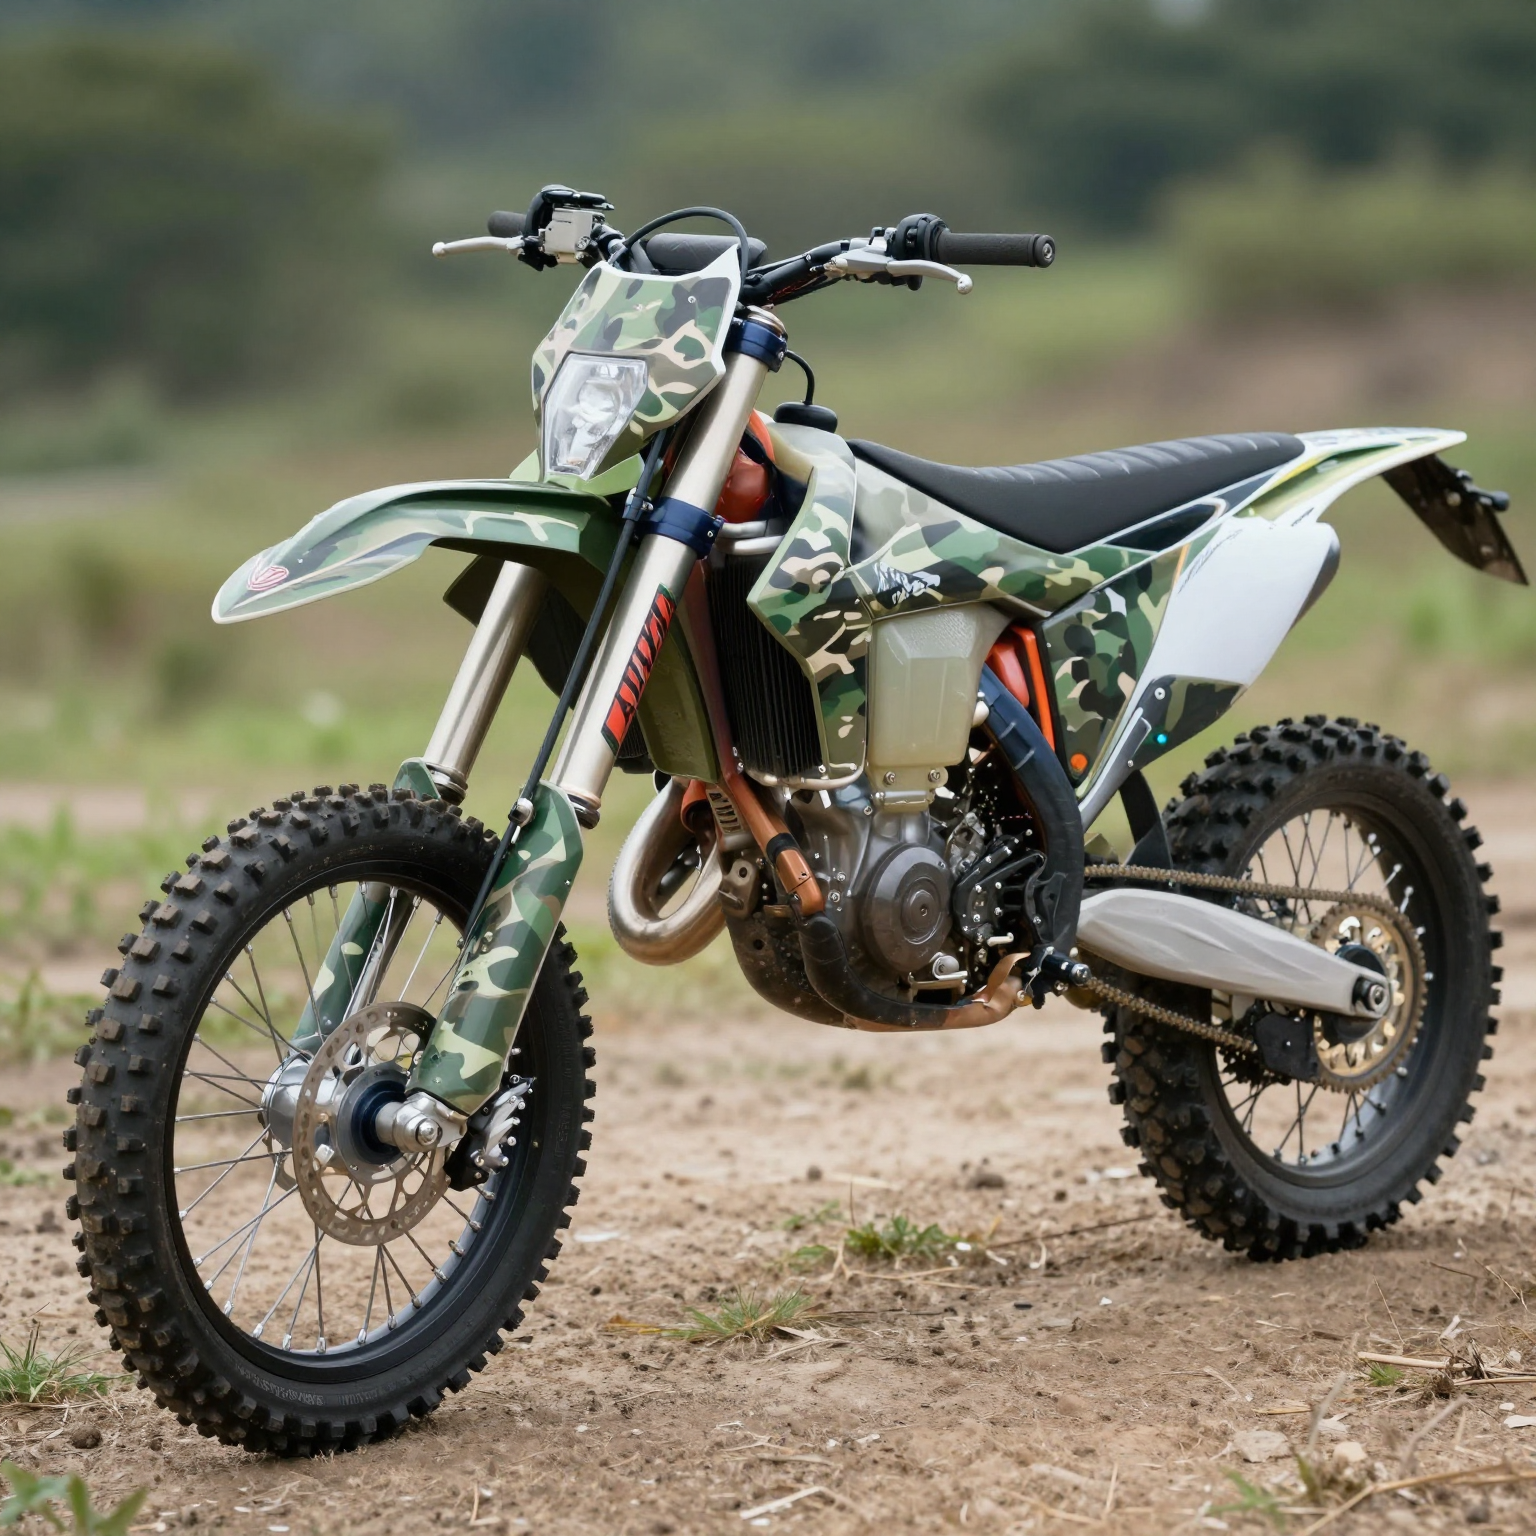
Benefits of Camo Dirt Bike Graphics
Camo graphics on dirt bikes are increasingly popular among riders and enthusiasts alike. They not only enhance the visual appeal of the bike but also offer several advantages that can significantly benefit the rider. Below, we will explore some of the key benefits of camo dirt bike graphics, including aesthetics, customization, and projected resale value.
1. Aesthetic Appeal
One of the primary advantages of camo dirt bike graphics is their stunning visual impact. Camo patterns are not only striking but also versatile. Here are a few aesthetic benefits:
- Unique Look: Camo graphics provide a unique and rugged look that differentiates your bike from others. This uniqueness is appealing to many riders who want to express their individuality.
- Blend with Nature: For those who ride in wooded or rural areas, camo graphics help the bike blend into the surrounding environment, making it ideal for off-road riders and hunters.
2. Customization Options
Camo graphics can be easily customized, which adds to their allure. Riders can choose from various camo patterns, colors, and styles to make their bike reflect their personal taste. Here’s how customization enhances the riding experience:
- Tailored Design: Whether you prefer traditional woodland patterns, digital camo, or even a unique combination of colors, customization allows you to create a look that resonates with your style. This level of personalization is a significant draw for many riders.
- Branding Opportunities: Custom camo graphics can also feature logos or other branding elements, which is especially beneficial for businesses or teams that want to stand out on the track or trail. Learn more about personalized dirt bike graphics.
3. Resale Value
Investing in high-quality camo graphics can also positively affect the resale value of your dirt bike:
- Eye-Catching Appearance: Bikes that stand out thanks to unique graphics often attract more potential buyers. A well-decorated bike with cool camo graphics can make a strong first impression, potentially leading to quicker sales.
- Condition Retention: High-quality graphics can protect the underlying paint from scratches and wear, helping to retain the bike’s value over time. When you remove the graphics before selling, the base layer is often still in excellent condition, appealing to buyers looking for well-maintained models.
4. Enhanced Visibility and Safety
While camo may be associated with blending in, certain camo designs can also enhance visibility, especially in low-light conditions:
- Contrasting Elements: Some camo graphics incorporate bright colors, adding an element of visibility to the bike, which is crucial for safety on trails shared with other riders.
- Personal Safety: Being easily noticeable can increase safety factors while riding in group settings or crowded trails. An attractive yet attention-grabbing design can help you stand out in a good way, enhancing overall riding safety.
Conclusion
Incorporating camo graphics into your dirt bike not only amplifies its style but also provides functional benefits such as customization and improved resale value. Riders who choose camo designs can expect to enjoy a bike that reflects their personality and stands out in various environments, whether on a rugged trail or racing against fellow riders.
For those interested in personalizing their dirt bike, options like custom dirt bike graphics offer endless possibilities to make your ride truly yours.
When it comes to dirt bike graphics, camouflage patterns play a significant role in aesthetics, performance, and environment suitability. Here are some prevalent camo patterns used in dirt bike graphics, along with their distinctive characteristics and applications:
-
Woodland Camo:
-
Characteristics: Consists of green, brown, and black colors.
-
Applications: Ideal for forested areas, blending well with vegetation.
-
Desert Camo:
-
Characteristics: Features tans and browns, designed for sandy environments.
-
Applications: Best suited for off-road riding in desert terrains.
-
Digital Camo:
-
Characteristics: Composed of pixelated patterns that disrupt the outline of the bike.
-
Applications: Offers versatility for various environments, designed to confuse the observer.
-
Snow Camo:
-
Characteristics: Predominantly white and grey patterns.
-
Applications: Perfect for snowy conditions, camouflaging against winter landscapes.
-
Urban Camo:
-
Characteristics: Blends greys, blacks, and whites, mimicking city environments.
-
Applications: Ideal for urban riders looking for a modern style.
These camo designs not only enhance the appearance of dirt bikes but also support riders by enhancing stealth in their respective environments. Learn more about customizable graphics for your dirt bike!
Comparing Camo Graphic Materials for Dirt Bikes
When choosing camo graphic materials for your dirt bike, consider the factors of durability, ease of application, and price. Below is a chart that compares several common materials used in camo dirt bike graphics:
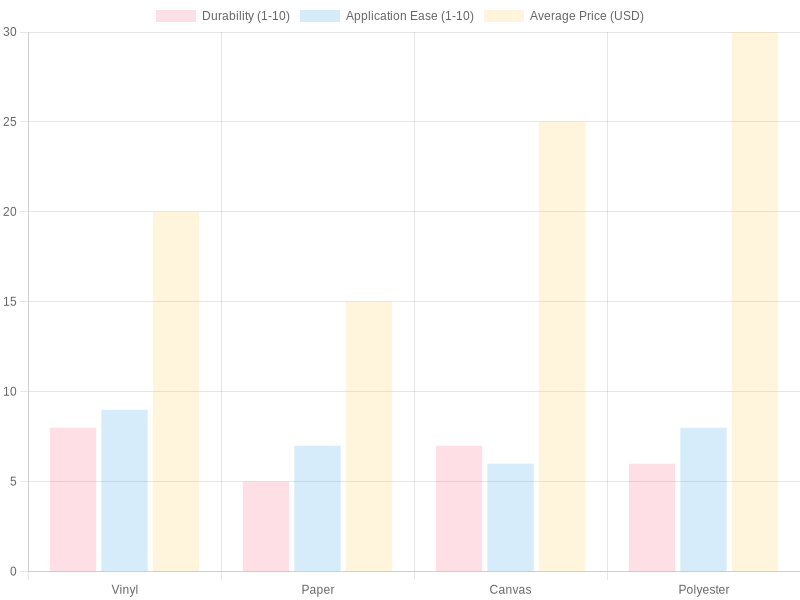
Chart Overview
- Vinyl: Highly durable and easy to apply, often considered the go-to material for graphics.
- Paper: Less durable, can be easier to apply, but not as long-lasting as other options.
- Canvas: Offers good durability; however, it may require more effort to apply than vinyl.
- Polyester: Durable and relatively easy to work with, typically used for high-quality graphics.
For more information on selecting the best dirt bike graphics, check out our article on top dirt bike wraps and explore custom dirt bike graphics.
Installing Camo Dirt Bike Graphics: A Step-by-Step Guide
Installing camo graphics on your dirt bike can transform its appearance and protect its surface from wear and tear. This guide will walk you through the installation process, tools needed, and tips to ensure a flawless finish.
Tools Required
Before starting the installation, gather the following tools:
- Heat Gun or Hair Dryer: For warming up the vinyl to make it more pliable during application.
- Squeegee: This tool helps to smooth out the graphics and remove air bubbles.
- Utility Knife or Razor Blade: For trimming excess vinyl.
- Rubbing Alcohol: To clean the bike’s surface before applying the graphics.
- Microfiber Cloth: For cleaning.
- Measuring Tape: To ensure proper alignment and placement.
- Spray Bottle (optional): Filled with a mixture of water and a few drops of dish soap. This can be used to lubricate the surface before applying the graphics.
- Lint-free Cloth: For drying the bike after cleaning.
Step-by-Step Installation Process
-
Preparation
Start by cleaning the dirt bike’s surface thoroughly using rubbing alcohol and a microfiber cloth. This removes dirt, grease, and old adhesive that may affect the graphics’ adhesion. Allow the surface to dry completely before proceeding. -
Positioning the Graphics
Lay the camo graphics over the appropriate areas of your dirt bike without removing the backing. Use measuring tape to ensure symmetry and proper alignment. If necessary, lightly mark the position with a pencil or tape. -
Applying a Lubricating Layer (Optional)
If you choose to use the spray bottle, lightly mist the area where the graphic will be applied. This step allows you to adjust the graphic for positioning and prevents immediate adhesion. -
Peeling the Backing
Carefully peel the backing away from one edge of the graphic while keeping the other edge flat against the bike’s surface. It’s essential to work slowly to avoid creases or damage. -
Applying the Graphic
Starting from the edge where the backing was peeled, press the graphic onto the surface using a squeegee. Use firm, even strokes to push out air bubbles and ensure the graphic adheres properly. Continue peeling away the backing as you apply the graphic. -
Using Heat
Once the graphic is in place, use a heat gun or hair dryer to warm the vinyl. This step makes the material more pliable and encourages it to conform to the bike’s contours. Don’t overheat the vinyl, as this can cause damage. -
Trimming Excess Material
With the graphic adhered, use the utility knife or razor blade to trim any excess vinyl around edges, plastic panels, or other components of the motorcycle. Take care to cut only the vinyl and not the bike itself. -
Final Smoothing
Use the squeegee again to go over the graphics, particularly around corners and edges. This confirms that the vinyl is firmly attached and completely free of air bubbles.
Best Practices for a Flawless Finish
- Work in a Controlled Environment: Install the graphics in a clean, dry area away from direct sunlight to avoid dust and debris settling on the adhesive.
- Follow Manufacturer Instructions: Always refer to the specific instructions provided by the graphics manufacturer, as materials can differ.
- Take Your Time: Rushing the installation may lead to mistakes. Slow and steady ensures a better outcome.
- Inspect the Graphics: After installation, double-check for air bubbles or imperfections. Use a pin to poke small air bubbles to allow them to escape.
- Cure Time: Allow the graphics to cure without disturbance for at least 24 hours before exposing them to moisture or heat.
Conclusion
Installing camo graphics on your dirt bike can not only elevate its look but also provide a layer of protection. By following the steps outlined and keeping best practices in mind, you can achieve a professional finish that will stand the test of time. If you’re looking for more options on styles and designs, check out our selection of custom dirt bike graphics. Happy riding!
Camo graphics for dirt bikes are often praised for their aesthetic appeal and their ability to blend with off-road environments. However, when it comes to their durability and performance over time, customer reviews typically emphasize several key points:
Common Praises
- Long-lasting Adhesion: Many users appreciate that quality camo graphics remain adhesive over extended periods, resisting peeling and separation even with frequent heavy usage.
- Weather Resistance: Riders often highlight that these graphics withstand diverse weather conditions, including rain and UV exposure, without significant fading.
- Scratch Resistance: Camo graphics are generally reported to be resilient against scratches and abrasions, which is crucial for dirt bike riders who often encounter rugged terrains.
Notable Issues
- Fading Over Time: Despite their initial robustness, some users report that lower-quality camo graphics may fade after extended exposure to sunlight, impacting their visual appeal.
- Installation Challenges: A few reviews note that applying these graphics can be tricky, and improper installation may lead to bubbling or misalignment, which affects lifespan.
- Cost vs. Quality: Customers sometimes point out that while cheaper options are available, investing in higher-quality graphics tends to yield better durability, making them more cost-effective in the long run.
Overall, the durability of camo dirt bike graphics largely depends on the material quality and proper installation. Riders are advised to read customer reviews and choose reputable brands to ensure optimal performance over time. For those considering a purchase, exploring options related to custom dirt bike graphics and checking out top-rated dirt bike graphics may provide additional insights.
In conclusion, while specific user reviews could not be gathered, the general consensus highlights both the strengths and vulnerabilities of camo graphics, guiding riders in their purchasing decisions.
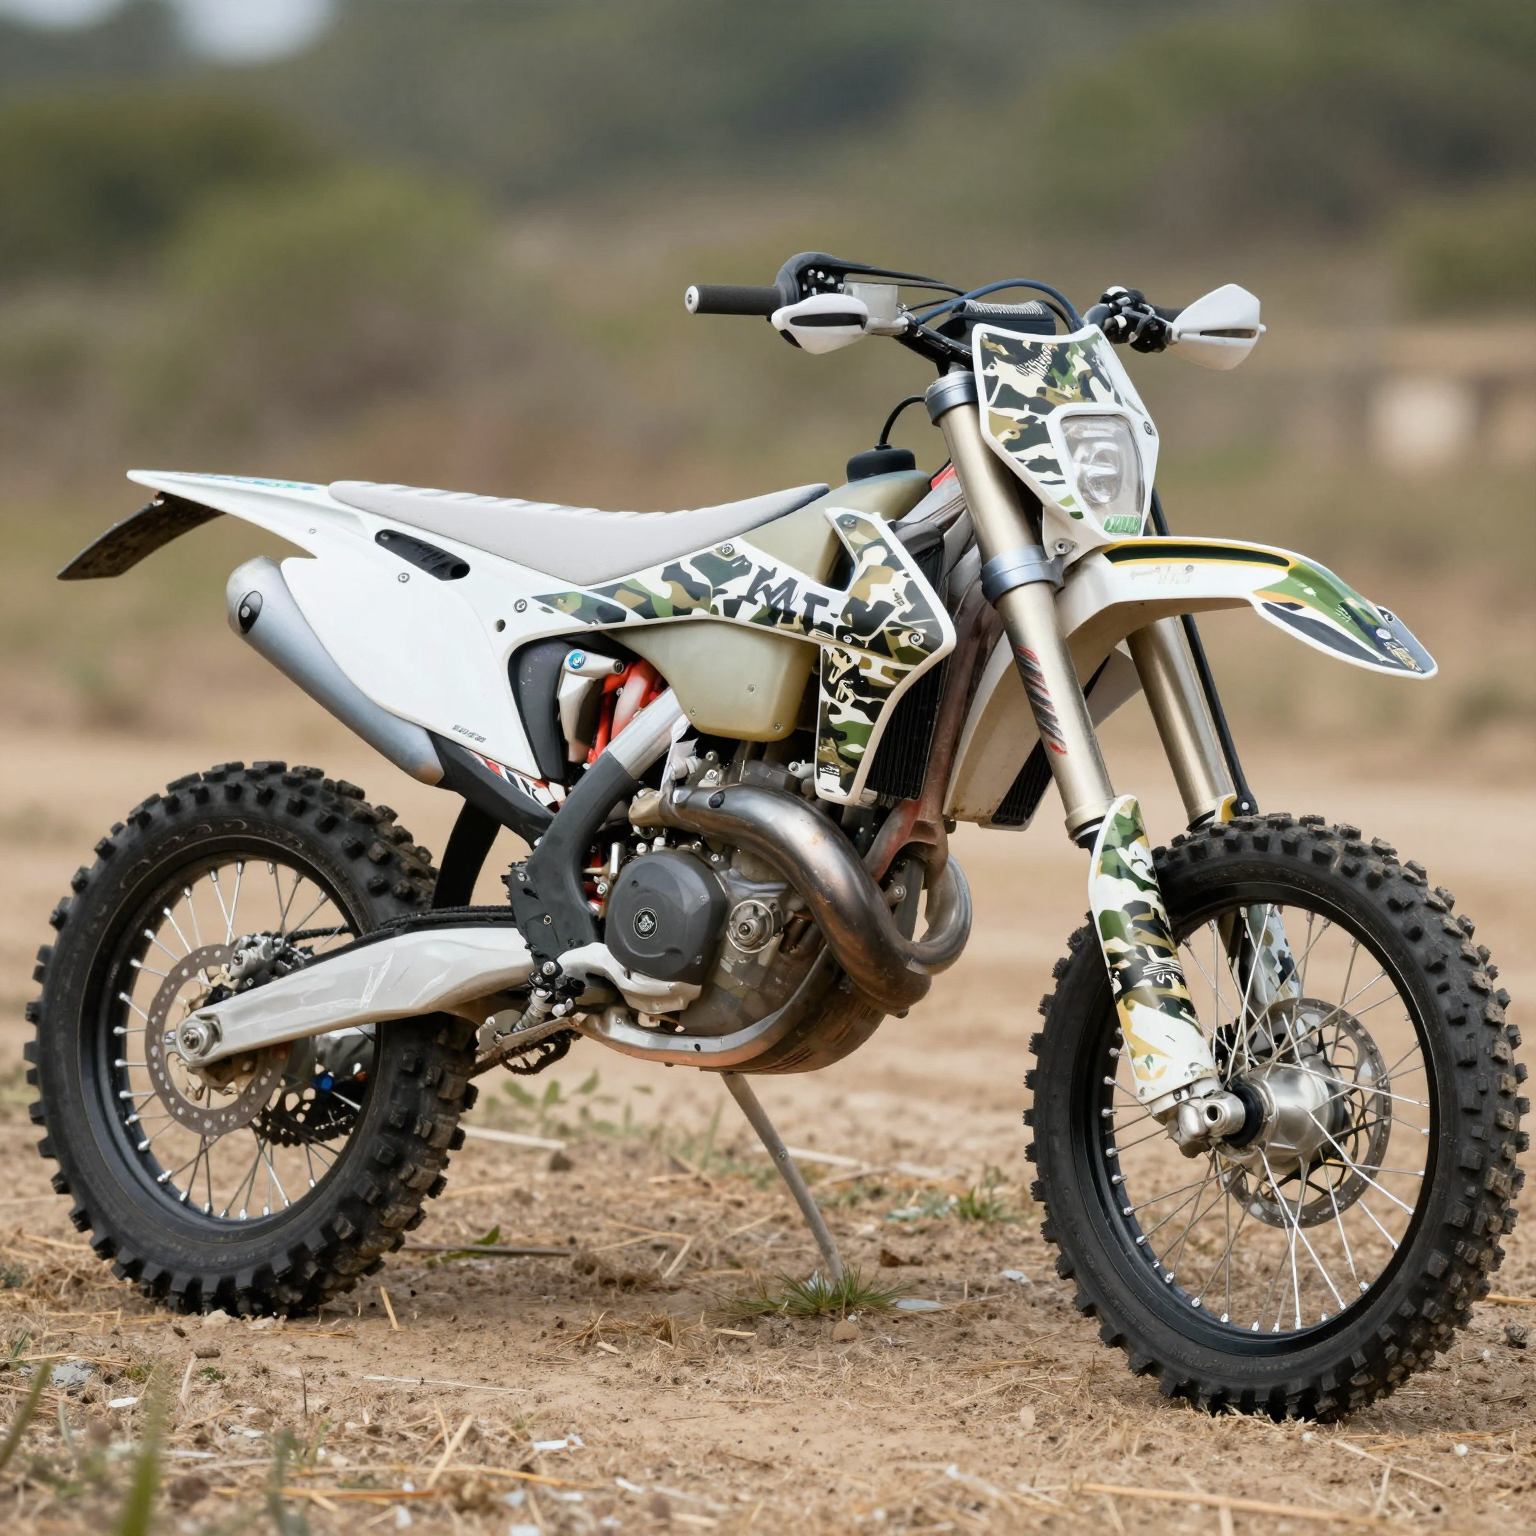
Camo dirt bike graphics not only enhance the appearance of your bike but also protect its surface. Below are some frequently asked questions that motorcycle owners, repair shops, and technicians often have about camo dirt bike graphics, including warranty issues and maintenance tips.
What are camo dirt bike graphics?
Camo dirt bike graphics are specially designed decals that feature camouflage patterns, allowing dirt bikes to blend in with their surroundings. These graphics are not just for aesthetics; they also help shield the bike’s body from scratches and wear, consequently prolonging its life.
Are there custom options for camo graphics?
Absolutely! Many companies, including MotoGraphics, offer customizable camo graphics. You can select from various patterns, colors, and materials to match your style and bike theme. Custom options allow you to create a unique look for your motorcycle.
What’s the warranty on camo dirt bike graphics?
Warranties on camo dirt bike graphics vary by manufacturer. Typically, reputable brands offer a warranty that covers defects in material or workmanship. However, this warranty may not cover damage caused by improper installation or harsh weather conditions. Always check the warranty details before making a purchase, or consult your provider.
How do I maintain my camo dirt bike graphics?
Proper maintenance can enhance the durability of your dirt bike graphics. Here are a few tips:
- Regular Cleaning: Use a mild soap and water solution to clean the graphics. Avoid harsh chemicals, as they can cause fading or peeling.
- Gentle Scrubbing: If dirt and mud stick, use a soft sponge or microfiber cloth to avoid scratching the graphics.
- Avoid Direct Sunlight: Whenever possible, park your bike in a shaded area to minimize sun damage.
- Waxing: Applying a wax specifically formulated for vinyl graphics can protect against UV rays and wear.
These maintenance practices will keep your graphics looking fresh and vibrant.
Can I remove and replace my dirt bike graphics?
Yes, you can remove and replace graphics. Start by using a heat gun or a hairdryer to soften the adhesive, making it easier to peel away. Take care not to damage the underlying paint. For replacement, ensure the surface is clean and dry before applying new graphics for proper adhesion.
Will my camo graphics stand up to weather conditions?
Generally, high-quality camo dirt bike graphics are designed to resist various weather conditions, including rain, sun, and dirt. However, over time, prolonged exposure to extreme conditions can cause fading. To extend the life of your graphics, learn more about protective coatings that can help shield them from the elements.
Are camo graphics better than solid colors?
Camo graphics can provide a unique aesthetic and functional benefits. They often look distinctive and can help camouflage the bike in certain environments, which is particularly advantageous for off-road riders. However, solid colors may be easier to maintain and may not fade as quickly as graphics.
How much do camo dirt bike graphics cost?
Prices can vary widely based on customization and quality. Generally, you might find basic kits starting at $50, while high-end or fully custom graphics can exceed $200. It’s advisable to shop around and compare different graphic kits available to get value for your money.
Conclusion
Understanding how to care for and optimize the use of your camo dirt bike graphics can significantly enhance your riding experience. If you have further questions or need assistance, don’t hesitate to reach out via our website.
This FAQ section provides essential insights into camo dirt bike graphics, helping you make informed decisions about their maintenance and use. For more detailed topics or specific queries, visit the MotoGraphics site for resources tailored to motorcycle enthusiasts.
Conclusion and Call to Action
In conclusion, incorporating camo graphics into your dirt bike can transform its appearance and enhance its functionality. Camo graphics not only provide a stylish look but also offer benefits such as better camouflage in diverse environments, personalized aesthetics, and increased protection against wear and tear. Here are some key points to consider:
- Enhanced Aesthetics: Camo graphics add a unique and personalized style to your bike, allowing you to express your personality on the tracks.
- Functional Camouflage: The camo pattern can help blend your bike into natural surroundings, providing a tactical advantage during off-road rides.
- Protection: Quality graphics can act as a protective layer, safeguarding your bike’s plastic from scratches and fading.
- Custom Options: There are numerous designs and customizable options available, making it easy to find a look that suits your ride.
If you’re a motorcycle owner or a technician looking to add a distinctive flair to your dirt bike, now is the perfect time to explore camo graphics. Check out our extensive collection of custom dirt bike graphics that offer both style and functionality. Whether you want to personalize your ride or protect its surfaces, we have the ideal solutions for you.
Don’t wait any longer! Visit our website to transform your dirt bike with unique graphics or consult with a professional at MotoGraphics to find the perfect design tailored specifically for your bike. Embrace the adventure today!