
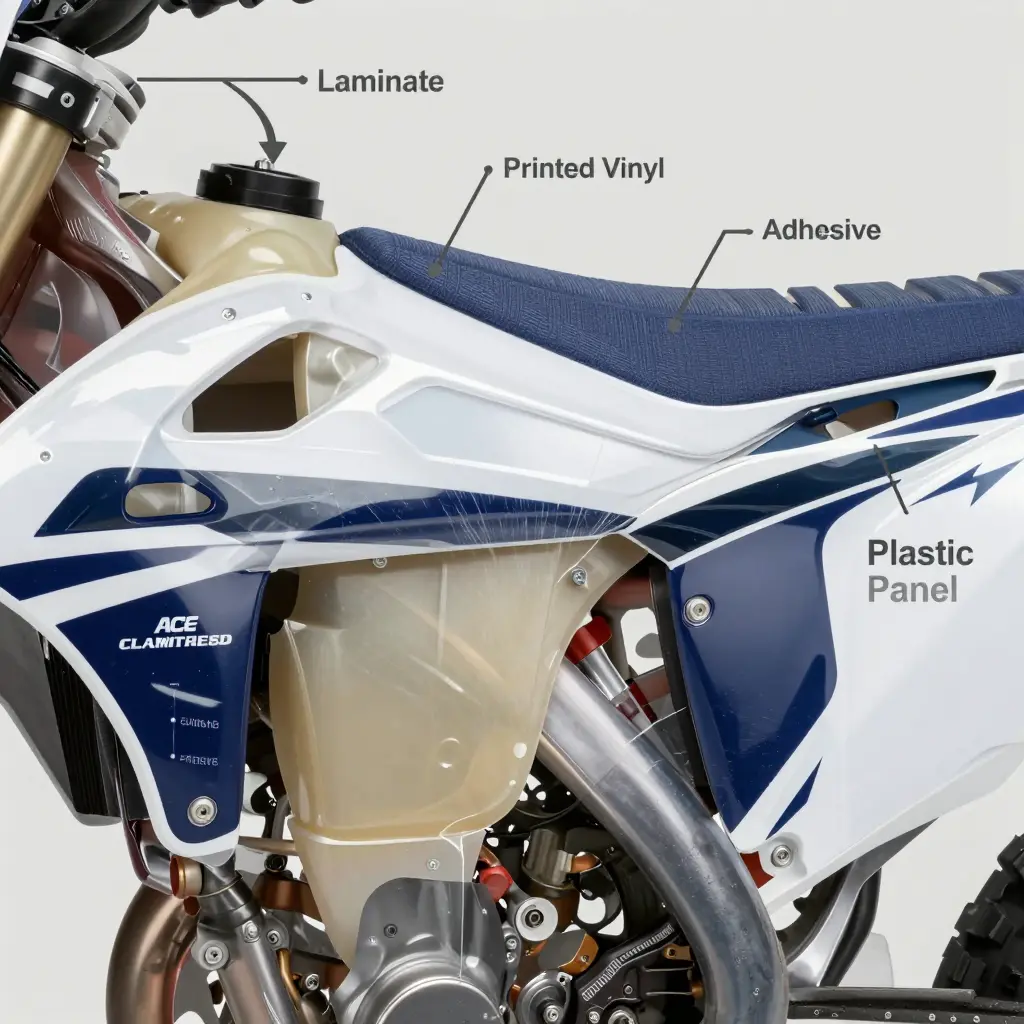
Dirt bike graphics often peel, lift, or curl at the edges after a high-pressure wash. Shops and riders tend to blame the install, but the more common cause is not enough laminate. Laminate is the clear top layer that seals the printed ink and holds the edge of the decal against the plastic panel. With too little of it, the graphic has almost nothing protecting the perimeter.
A pressure washer drives water into the edges of a graphics kit with far more force than rain or a garden hose. A thin laminate gives way quickly; water gets under the film, reaches the adhesive, and lifts the decal. Thicker laminate takes the hit and keeps the edge down. A good install helps, but it can’t make up for a top layer that is too thin.
Before switching films, measure the laminate thickness of the set that failed. Swapping brands without checking that layer usually reproduces the same peeling. Measuring in mil or micron gives you a baseline, and shows whether the film, rather than the installer, is the weak point.
If you want a set that stands up to pressure washing, look at these dirt bike graphics kits.
How Laminate Thickness Affects Graphic Durability
Laminate is the thin, transparent film bonded over printed vinyl. After the artwork is printed on the vinyl base, heat and pressure bond the laminate on top, sealing the ink under a tough surface. This is the layer a rider touches, scrubs, and sprays. It protects the color underneath from sun, mud, and cleaning chemicals, which is why fade-resistant vinyl decals are laminated during manufacturing rather than after the fact.
Thickness is the biggest single factor in how long a graphic lasts. A thick laminate spreads the force of impacts, scrubbing, and water pressure over a wider area, so no one spot carries the full load; a thin film wears through fast. Thickness also sets abrasion resistance, since more material has to be worn away before the print shows, and it resists edge lift because a stiffer film holds its shape along the cut line.
Pressure washing is where this matters most. A high-pressure jet hits the edge of a graphic like a blade. If the laminate is too thin, the edge flexes and lifts, and water slips underneath. Once it reaches the adhesive, the bond breaks and the corner peels back. Thicker laminate keeps the edge firm and sealed, so water runs off instead of seeping in. When you pick custom dirt bike graphics, check the laminate spec first: it decides whether a set lasts a season of washing or peels after the first one. For help matching film to your build, see these custom dirt bike graphics.
Comparing Laminate Thickness Options at a Glance
A spec sheet only tells you so much. What matters is how each thickness holds up on the trail, at the wash bay, and against the grit your knobbies throw. The table below puts the common laminate thicknesses side by side, so you can see how durability, pressure-wash resistance, and abrasion resistance change as the film gets thicker.
| Laminate Thickness | Typical Durability | Pressure Washing Resistance | Abrasion Resistance | Best Suited For |
|---|---|---|---|---|
| 3 mil | Low (roughly 1-2 seasons) | Poor – edges lift quickly under spray | Low | Show bikes, short-term restyles, light use |
| 5 mil | Moderate (roughly 2-3 seasons) | Fair – best with a wand kept at a distance | Moderate | Casual trail riders, occasional washes |
| 8 mil | High (roughly 3-5 seasons) | Good – tolerates routine washing | High | Regular trail and track riders |
| 12 mil | Very High (5+ seasons) | Excellent – resists high-pressure spray | Very High | Aggressive riders, race bikes, muddy conditions |
Each step up in thickness puts more material between the pressure washer and the adhesive. A 3 mil film passes spray energy straight to the edges, which is where peeling starts. An 8 or 12 mil laminate absorbs that force and holds the seal. If peeling is your problem, read the thickness row first when you browse custom graphics for dirt bikes.
How Pressure Washing Damages Dirt Bike Graphics
A pressure washer strips dirt fast, and it also attacks the bond holding a graphic in place. The nozzle concentrates water into a narrow, high-velocity stream. When that stream hits the edge of a decal, the force pushes water sideways and under the film. Once water gets past the perimeter, the adhesive can’t hold the edge flat against the plastic, and it lifts.
Heat makes it worse. Warm water and hot panels soften the pressure-sensitive adhesive used on most dirt bike graphic kits. Detergents lower surface tension, which lets water spread deeper under the film. A softened adhesive loses its grip, so the edge lifts a little more with each wash.
Repeat that a few times and small lifts become permanent peeling and fading. Thin laminate flexes and tears sooner than thick, and weak adhesive fails earlier. More pressure, thinner laminate, and degraded adhesive all shorten the life of a set. Knowing the laminate thickness tells you roughly how much abuse the edges can take.
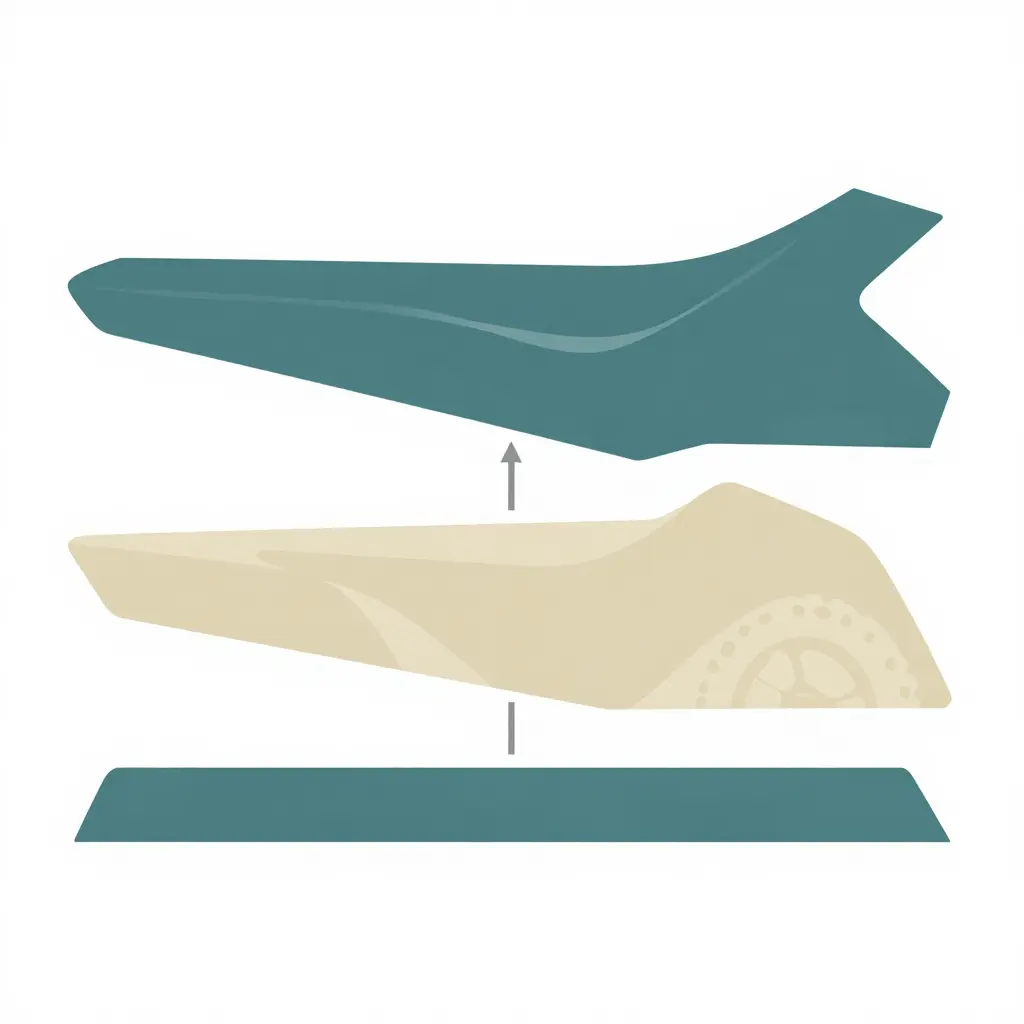
Reading the layered structure
The diagram separates a graphic into its three layers, so you can see what a pressure washer reaches first.
| Layer | Position | Job |
|---|---|---|
| Protective laminate | Outermost (top) | Shields against water, grit, and abrasion |
| Printed vinyl | Middle | Carries the color and design |
| Adhesive | Base | Bonds the graphic to the plastic |
Why thickness matters
The laminate does most of the work here. When it’s thin, spray and roost get underneath, lift the edges, and pull the sheet off the plastic. Thicker laminate takes that abuse, keeps water out of the bond line, and protects the printed layer far longer. If your graphics keep peeling after a wash, check the laminate before you blame the adhesive. To see kits built with this layering in mind, browse these custom dirt bike graphics.
What the Numbers Say: Thinner Laminate, More Peeling
Most riders don’t think about this until their graphics are already flapping at the edges. When you switch films, the thickness of the laminate (the clear protective layer on top of the printed graphic) decides whether the kit survives a pressure washer.
A thin laminate flexes and lifts under a high-pressure nozzle, and water creeps under the edge. Thicker laminate holds its shape, resists edge lift, and keeps the adhesive sealed. The chart below is an illustrative comparison of how peel and edge-lift rates tend to rise as laminate thickness drops. Treat the percentages as a direction, not a rule; riding conditions, prep work, and washing technique all matter too.
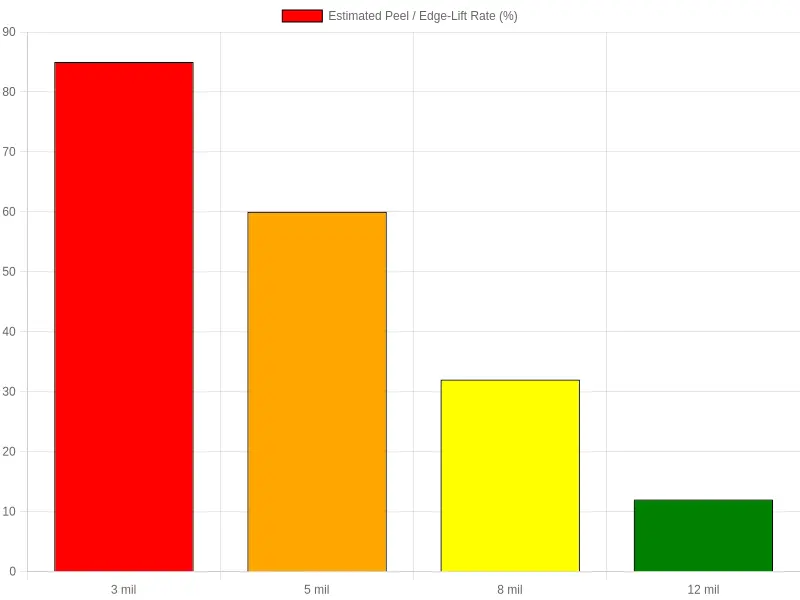
The drop from 3 mil to 8 mil is where most of the risk goes away. If you’re re-wrapping a bike and want something that takes a pressure wash, look at kits built around thicker films instead of the cheapest thin option.
The bars tell one story, but the useful part is when you check thickness. Measure before you commit to a new film and you avoid the peeling problem instead of fighting it after the first wash.
Choosing the Right Film Before You Switch Brands
Laminate thickness is the specification to verify first before you switch brands. It sets how much protection sits between the printed artwork and the outside world, including the pressure washer jet. If the old graphics peeled, flaked, or lifted at the edges, note that thickness and treat it as a minimum baseline. The replacement film should match or beat that number, not fall below it. Thicker laminate resists edge lift and impact damage better, though it can be a little harder to conform around tight curves.
Also confirm the adhesive type and the film’s resistance ratings. Adhesives range from removable to high-tack permanent, and a graphic that tolerates pressure washing usually needs a permanent, solvent-based adhesive that bonds firmly to plastic and metal surfaces. Check the UV and fade resistance rating as well; fade-resistant vinyl decals use UV-stable ink and laminate that hold color under constant sun. Ask whether the laminate is pre-applied by the manufacturer or shipped separately, because applying it yourself adds a variable that affects durability.
When you evaluate a new supplier, ask for the actual laminate thickness figure rather than a general durability claim. Compare it with the set that failed, check the adhesive and UV data, and get the pressure-wash compatibility in writing if you can. Many providers of custom graphics for dirt bikes publish these numbers, which makes side-by-side comparison straightforward. Matching the spec to how you wash your bike keeps you from repeating the same failure under a different brand name.
Inspecting Laminate Thickness and Preventing Peel on Dirt Bike Graphics
Laminate thickness is the first thing to check when custom graphics start to fail after a wash. The laminate sits above the printed vinyl and takes the abuse from mud, grit, and water spray. When that layer is too thin or already compromised, edges lift, moisture creeps underneath, and the print starts to separate. Whether you run store-bought dirt bike graphics kits or a full custom set, a short inspection keeps decals looking sharp and protects the finish underneath. Here’s how to check thickness and stop vinyl decals from peeling in the first place.
- Confirm the laminate thickness against the product spec. Use a caliper to measure total film plus laminate thickness, then compare the reading to the manufacturer’s stated range. Most quality graphics fall between 12 and 18 mil, so if your measurement comes in noticeably lower, the laminate is thinner than advertised and more prone to edge wear.
- Check existing graphics for edge lift. Run a fingernail gently along every edge and corner. Any spot that catches, curls, or feels loose is a lifted edge where water can enter. Mark those areas with tape so you can re-seal them before the next wash.
- Set your pressure washer to a moderate setting. Keep the nozzle at a fan spray rather than a narrow jet, and trim the pressure to a level that rinses mud without cutting into the film. High pressure is the leading cause of blown edges on custom graphics.
- Keep the nozzle at a safe distance and angle. Hold the wand 12 to 18 inches from the surface and spray at roughly a 45-degree angle, never straight-on. This reduces impact force while still clearing debris from the panels.
- Avoid direct high-pressure contact with edges and seams. Steer the spray across the center of each panel and skip the borders. Directed force at a lifted edge can peel an entire graphic off in seconds, so treat edges as a no-contact zone.
- Clean with gentle methods between washes. Use a soft microfiber cloth, mild soap, and lukewarm water to lift dirt. Avoid abrasive brushes, solvents, and harsh degreasers that dry out the laminate and weaken the adhesive bond.
- Re-seal or reapply where needed. For small lifts, press the edge down with a heat gun on low and a squeegee, then seal the border with a clear edge sealant. If a graphic keeps lifting after re-sealing, replace that piece and inspect the laminate quality of the next set. For guidance on higher-durability options, browse dirt bike graphics kits built with thicker protective layers.
Why Routine Inspection Matters
Inspection is what keeps graphics alive. A quick thickness check and an edge review after every wash catch small problems before they turn into full-blown peeling. When the laminate holds up, the edges stay sealed, and gentle cleaning replaces aggressive blasting, custom graphics survive season after season of riding instead of failing a few weeks in. Treat inspection as routine maintenance, not a one-time task, and the vinyl stays bonded to the plastic where it belongs.
Custom Graphics for Dirt Bikes Peel After Pressure Washing: Blame the Laminate
You spent a weekend applying your custom graphics for dirt bikes, and two washes later the edges are curling. Before you blame the soap or the installer, look at the top layer. Most peeling comes down to a thin laminate and a pressure washer held a little too close.
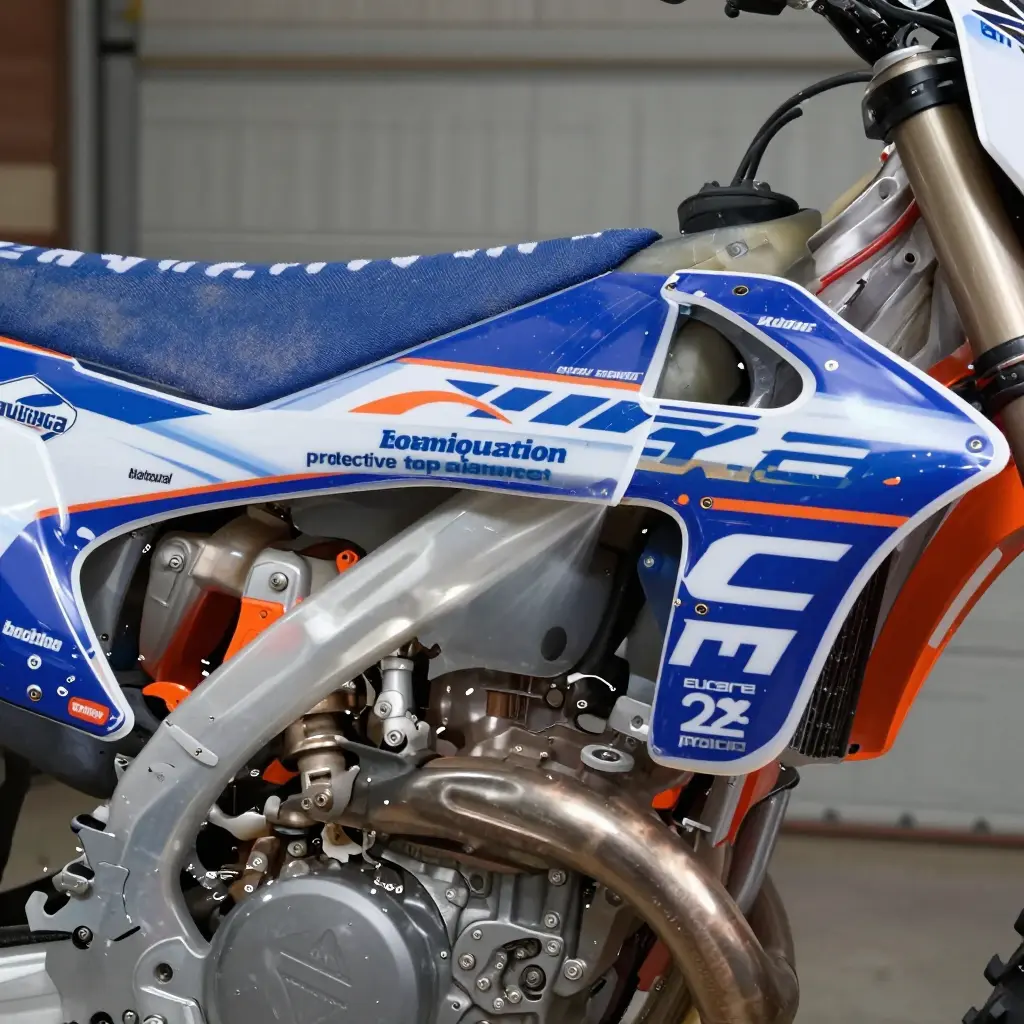
Why Pressure Washing Lifts Thin Laminate
Water alone won’t kill a decal. It’s the combination of high pressure, a sharp angle, and a laminate too thin to hold a sealed edge. A pressure washer drives water under the lifted lip of a graphic, and once moisture gets behind the adhesive, the film starts to peel from the inside out. Thicker laminate resists that intrusion because the edge stays rigid and the seal stays intact.
Check Laminate Thickness Before You Switch Film
Before you buy a replacement set, read the spec sheet, not just the artwork. Laminate thickness is the single number that predicts how well your graphics survive a wash bay.
| Laminate thickness | Typical lifespan | Pressure-wash tolerance |
|---|---|---|
| 3-5 mil | 1-3 seasons | Low – keep the nozzle far away |
| 8 mil | 3-5 seasons | Good – tolerates routine washing |
| 12 mil and up | 5+ seasons | Excellent – handles high-pressure spray |
When you compare dirt bike graphics kits, prioritize the laminate spec over the price tag. If fading is also an issue, seek out fade-resistant holographic dirt bike graphics that combine a thick clear coat with UV-stable inks, so the color holds up even after a season in the sun and mud.
Pressure Washing Without Ruining Your Decals
- Keep the nozzle at least 12 inches away and never aim straight at an edge.
- Use a wide fan tip, not a narrow pencil jet.
- Wash from the top down so water runs off the decal instead of pooling under it.
- Dry the edges by hand; trapped moisture is what starts the peel.
When It’s Time to Switch Film
If your current laminate is already lifting, patching won’t fix a thin base layer. Switching film is the real solution, and choosing a thicker, well-sealed product means your next wash day won’t undo your work. Browse options for your next set in our collection of customizable dirt bike graphics designed to survive real riding, and let the laminate thickness guide the decision.
Frequently Asked Questions About Peeling and Laminate Thickness
Why do my custom graphics for dirt bikes peel after pressure washing?
A pressure washer drives water and grit under the edges of a graphic, and the high-impact spray can lift adhesive that would otherwise stay sealed. Thin or low-quality laminate offers little resistance, so edges catch the stream and start to lift. Repeated blasting gradually breaks the bond between the adhesive and the plastic.
How thick should laminate be on dirt bike graphics?
Most quality graphics use a laminate thickness between 12 and 18 mil, which balances edge protection with flexibility. Thicker laminate resists abrasion and water intrusion better, while a very thin layer tears easily under spray and scrubbing. Choose a film rated for the riding and washing conditions you actually face.
Does a thicker laminate stop peeling entirely?
No. Thicker laminate reduces the risk of lifting, but it does not eliminate it by itself. Adhesive quality, surface preparation, and washing technique all influence whether a graphic stays sealed. Even a thick laminate will peel if edges are blasted directly at close range.
How should I pressure wash a dirt bike with graphics installed?
Keep the nozzle at least 12 inches from the surface and use a wide fan pattern rather than a narrow jet. Direct the spray at a shallow angle so water flows off the edges instead of forcing underneath them. Avoid pinpointing seams, corners, or the leading edges of each decal.
When should I switch to a new film?
Replace the film when edges curl, water bleeds under the graphic, or the laminate feels rough and worn. If lifting returns quickly after resealing, the material has likely lost its protective properties. A fresh film restores both appearance and durability.
| Laminate thickness | Typical use | Pressure-wash durability |
|---|---|---|
| 8-10 mil | Light trail riding | Good |
| 12-14 mil | General motocross | Excellent |
| 16-18 mil | Frequent washing | Excellent |
| 20+ mil | Maximum durability | Excellent |
For owners comparing films and finishes, exploring custom graphics for dirt bikes helps match laminate thickness to real riding conditions.
The Takeaway: Check Laminate Thickness First
When pressure washing strips the graphics off your dirt bike, the instinct is to blame the film. In most cases, though, the real culprit is laminate thickness. A thin laminate offers little protection, so the high-pressure stream reaches the adhesive layer, lifts an edge, and peels the whole sheet away. Thicker laminate absorbs that force, seals the edges, and keeps the graphics bonded through mud, grit, and repeated washings. Durability and water resistance are not marketing buzzwords here; they follow directly from how much laminate sits on top of the print.
That distinction matters when you shop for replacements. Switching to a different film without confirming its laminate thickness simply repeats the same failure. Before you buy custom graphics for dirt bikes, check the listed laminate spec and compare it against what failed on your previous set. Pair a heavier laminate with quality fade-resistant vinyl decals and you address both concerns at once: long-term color retention and a surface tough enough to survive a pressure washer.
The practical rule is simple: verify laminate thickness before you switch film. Durability, water resistance, and film selection all trace back to that one number, and getting it right prevents the same peeling problem from returning. Choose quality graphics from a trusted source so the specification you rely on is accurate and the material delivers what it promises.