
Personalized Dirt Bike Graphics Lift at the Number Plate Corners
You spend real money on personalized dirt bike graphics, and after a few hard rides the number plate corners curl up and peel back. It is the complaint we hear most often at Motograpics, and it almost always comes down to the same two causes.
The number plate corners are the highest-stress points on any graphic kit. They bend sharply around curved plastic, catch roost, and flex the whole time the bike is vibrating. If the surface underneath is not ready, the adhesive never gets a fair chance to hold.
Plastic outgassing and missing edge sealing are the two reasons corners lift. Outgassing is trapped gas slowly escaping the plastic and pushing the vinyl off the surface, which starts as bubbles and ends as a full lift. A missing edge sealing step leaves the border exposed, so water, dirt, and pressure work their way under the film until the corner rolls back.
Fix both before you reapply anything. If you want to see the kits where this matters most, start with our personalized dirt bike graphics.
Why Graphics Lift at Number Plate Corners
If you have peeled back a decal that still looked fine in the middle and found it curling at the number plate corners, you know the feeling. The flat center of the plate rarely lifts. The edges do, and there is a physical reason. When you install custom dirt bike graphics, the adhesive is fighting four forces at once, and the corners are where they meet.
The Physical Causes Behind Corner Lift
- Corner curvature stress: Where a flat sheet is forced around a tight radius, the film stretches and stores tension. That tension pulls the film back toward flat, and the corner is the only place it can release.
- Plastic flexing: Dirt bike plastics flex over every bump, jump, and wash. The film flexes with them, but repeated cycles work the adhesive loose first at the most heavily loaded spot – the corner.
- Sharp angled geometry: Number plate corners are usually sharp, acute angles rather than gentle curves. An acute point gives the film almost no surface area to grip and concentrates peel force into a tiny tip.
- Trapped air and contaminants: Air bubbles, cleaning residue, and fine dust under the film migrate outward as pressure builds. They collect at the edges and start a lift that grows with every ride.
All four forces converge at the corner. Deal with outgassing and seal the edges before the install, and the graphics stay put far longer.
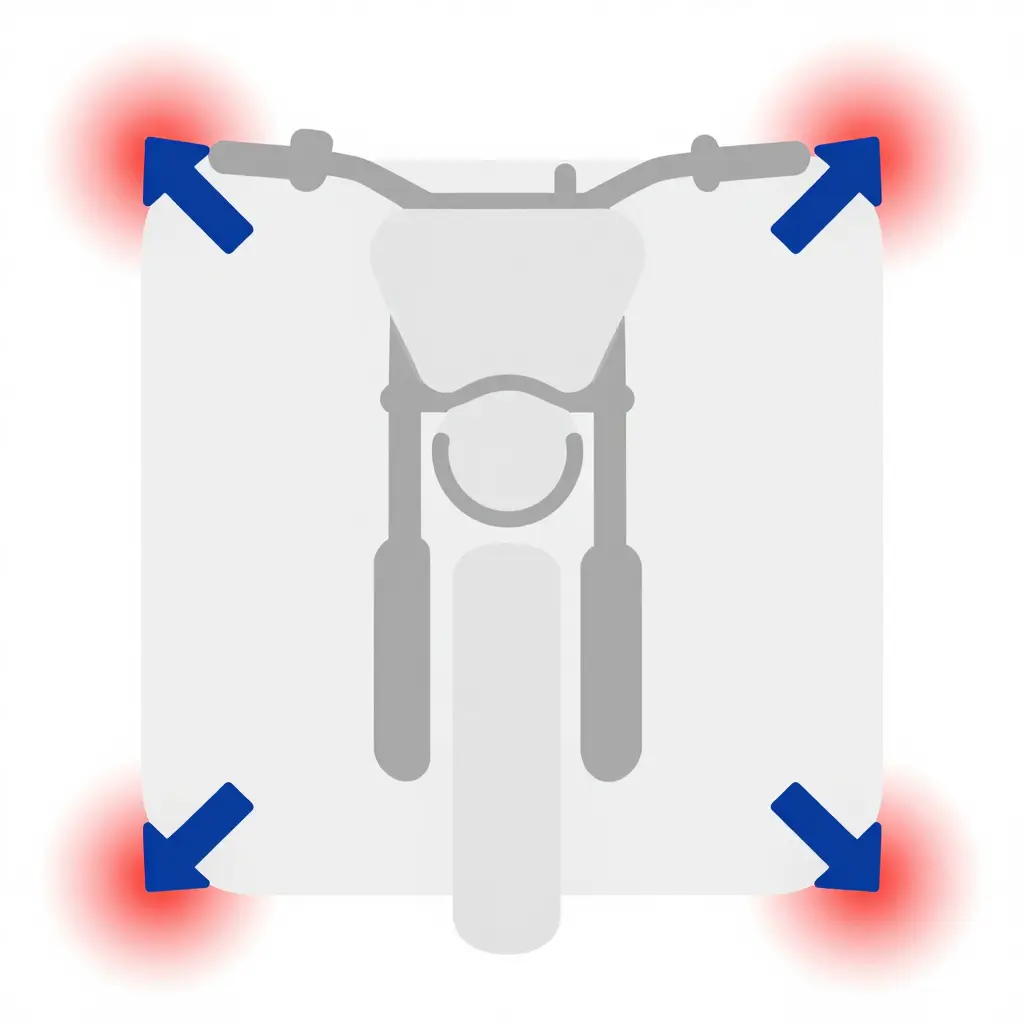
The diagram maps the four corners of a front number plate, marking each stress zone and the outward direction the film peels. A quick reference for inspecting your own plate before you reapply.
Why Plastic Outgassing Makes Reapplies Fail
Plastic outgassing is the slow release of trapped gases, moisture, and leftover manufacturing solvents from molded plastic. During injection molding, tiny pockets of air, mold-release agents, and chemical solvents get sealed inside the material. Over weeks and months, that trapped content works its way to the surface and escapes as vapor.
On dirt bike plastics it is especially aggressive. Fuel tanks, radiator shrouds, and fenders – the polypropylene panels on nearly every modern bike – are thin and flexible, and heat, sunlight, and fuel vapors all speed up the release.
Lay vinyl over a panel that is still outgassing and the vapor has nowhere to go. It pushes against the adhesive and forms bubbles that grow into blisters and lifted edges. That is exactly what happens at number plate corners, where the film stretches and traps gas against the panel.
This is why outgassing is one of the leading reasons a reapply fails. You can clean, degrease, and press a graphic perfectly and it will still lift if the plastic is still breathing. Before you reapply, let the plastic age, clean it thoroughly, and use a gas-resistant primer or adhesion promoter if the panel needs one. Quality dirt bike graphics kits are built for tough surfaces, but no vinyl beats a panel that is actively outgassing.
Peeling off a lifting set makes it tempting to wipe the plastic clean, grab a fresh sheet, and press it straight down. That shortcut usually fails the same way twice. Before you invest in replacement graphics, confirm the substrate has settled. These signs show up quickly:
Observable Warning Signs That Outgassing Is Still Happening
- Faint micro-bubbles clustered beneath the bare plastic surface, especially around tight curves and mounting holes.
- Soft spots where the panel feels spongy, tacky, or slightly greasy rather than hard and dry.
- A persistent chemical or solvent-like odor rising from the shrouds and number plates, even hours after cleaning.
- Bubbling or blistering that appears under freshly applied vinyl within the first 24 to 48 hours.
- Cloudy, hazy patches trapped under clear laminate that will not clear up after squeegeeing.
- Lifted or curled edges that creep back up even after you press them firmly flat.
- A damp or filmy residue left on a clean paper towel wiped across an apparently dry panel.
- Condensation or a glossy film on the inside of the trailer or garage where the plastics were stored.
If you notice any of these, pause the reapply and let the plastic breathe in a warm, well-ventilated space until the surface reads completely dry and stable. For extra setup guidance, review these proven practical dirt bike graphics tricks before you begin.
Edge Sealing: Protecting the Corners That Matter Most
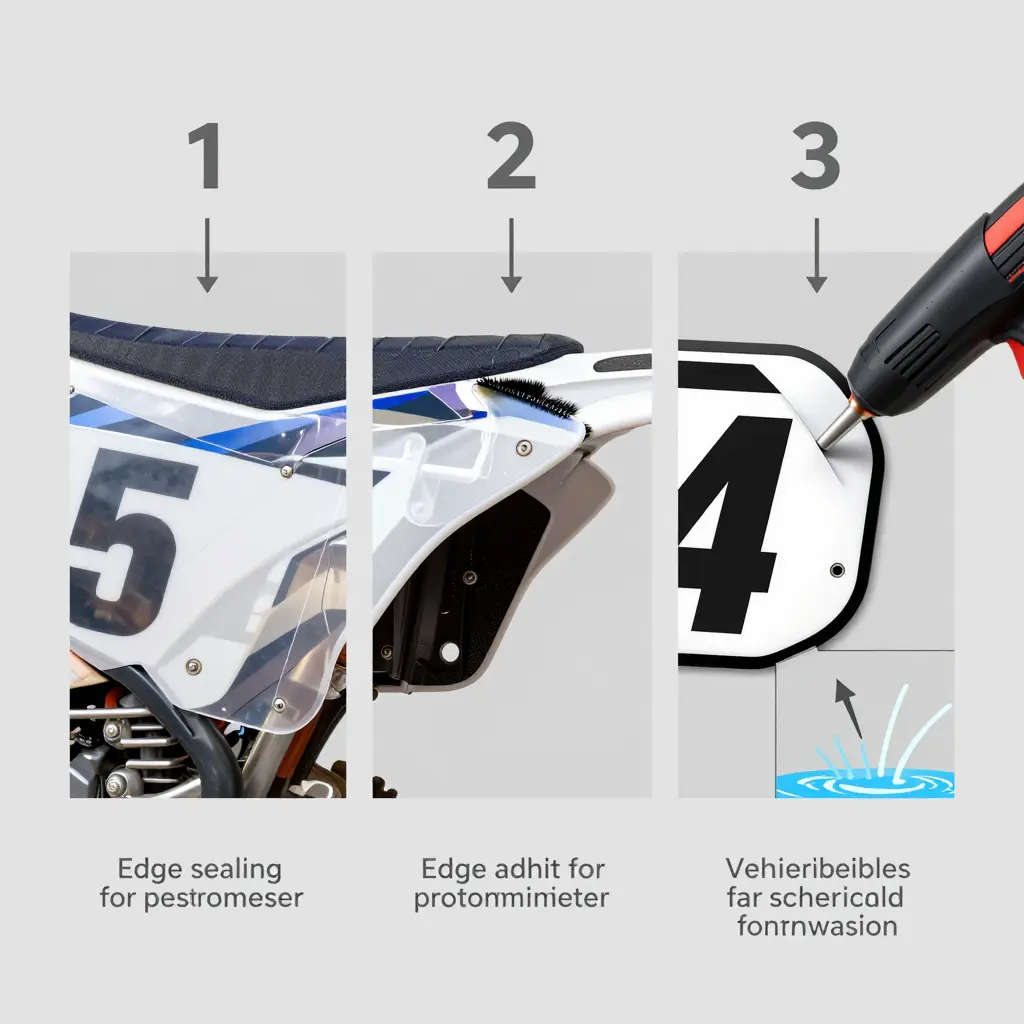
On a dirt bike, the number plate corners are the hardest-working edges of any decal. They sit on a tight curve, take the full force of roost and pressure washing, and flex every time the plastic expands and contracts with heat. The corner edge is the first place a graphic lifts. Once a fingernail-sized lip opens, dirt, water and fuel vapor get underneath and the whole panel peels back.
Edge sealing closes that doorway. Instead of leaving a raw, exposed rim of vinyl, you wrap, bond or chemically treat the border so it locks onto the plastic and resists the lifting force that corners invite. It is one of the details that separates a weekend install from graphics that last a full season.
Three techniques get confused, but they do very different jobs:
| Technique | What it does | Best for |
|---|---|---|
| Overlaminate | A clear protective film laminated over the printed graphic | Guarding against scratches, UV and abrasion |
| Edge adhesion promoter / primer | A chemical wiped or brushed along the rim to boost grip | Plastic surfaces where adhesive struggles to bond |
| Post-heat sealing | A heat gun presses and conforms the edge after application | Curved corners on number plates and shrouds |
An overlaminate protects the face of the graphic, not a lifting corner. A promoter treats the edge chemistry, helping the adhesive bite into low-energy plastics. Post-heat sealing physically molds the edge around the curve so there is nothing left to catch. The three work best together. When you order custom dirt bike graphics, ask us whether the kit includes an overlaminate and whether we recommend a primer or heat-sealing pass for number plate corners. It is the cheapest insurance against peel-back you can buy.
What Actually Makes Personalized Dirt Bike Graphics Lift?
Before you reapply a fresh set of decals, it helps to know why the last one came off. The table below breaks down the estimated share of failure causes for personalized dirt bike graphics, from the most common to the least.
Plastic outgassing and unsealed edges dominate the picture – together they account for roughly 60% of the failures in this breakdown. That is why number plate corners are such a weak point: trapped gas, sharp curvature and unprotected edges all land in the same small area. If you want to reinforce that trouble spot, our custom number plate graphics are cut for exactly these corners.
A Quick Legend for the Five Segments
| Failure Cause | Estimated Share | What It Means |
|---|---|---|
| Plastic Outgassing | 35% | Trapped mold-release gases escaping the plastic push the adhesive off |
| Unsealed Edges | 25% | Exposed edges let water, dirt, and fuel creep underneath |
| Poor Surface Prep | 20% | Oils, silicone, or dust left under the graphic weaken the bond |
| Corner Curvature Stress | 12% | Tight bends pull the adhesive past its stretch limit |
| Adhesive Degradation | 8% | Age, UV, and heat break down the glue itself |
The takeaway is simple: fix the top two causes and you eliminate most of your rework. Address outgassing with proper surface heating and venting, then seal every edge you can reach – especially around the number plates.
Reapplication Workflow for Number Plate Corner Graphics
When personalized dirt bike graphics start lifting at the number plate corners, don’t blame the decal alone. Corners peel for two common reasons: trapped air from plastic outgassing and skipped edge sealing. Before you slap on a fresh set, work through the sequence below. Rushing it means the new graphics curl again within a few rides. Do it in this order and your custom dirt bike graphics have a chance to stay put lap after lap.
Step-by-Step Reapplication Process
- Remove the old graphics. Warm the decals with a heat gun on low, then peel slowly at about 45 degrees so the plastic does not tear.
- Strip leftover adhesive. Wipe the corners with isopropyl alcohol and a plastic scraper until the surface is residue-free.
- Run the outgassing check. Tape a clean plastic bag over the number plate for 24 hours. If it fogs or smells when you pull it off, the plastic is still releasing gas from plastic outgassing – wait before reapplying.
- Clean and degrease. Wash the plate with mild soap, rinse, and let it dry completely in a dust-free space.
- Test-fit the new decal. Set the graphic in place dry so the corner alignment and number cutouts line up perfectly.
- Apply with a squeegee. Start at the center and work outward to push out air bubbles and moisture.
- Heat-set the corners. Warm each corner and press firmly so the film conforms to the curve.
- Finish with edge sealing. Run a sealing pen or clear edge tape along every border to block dirt and lift.
Follow these eight steps and your number plate corners will hold strong through mud, washes, and heat.
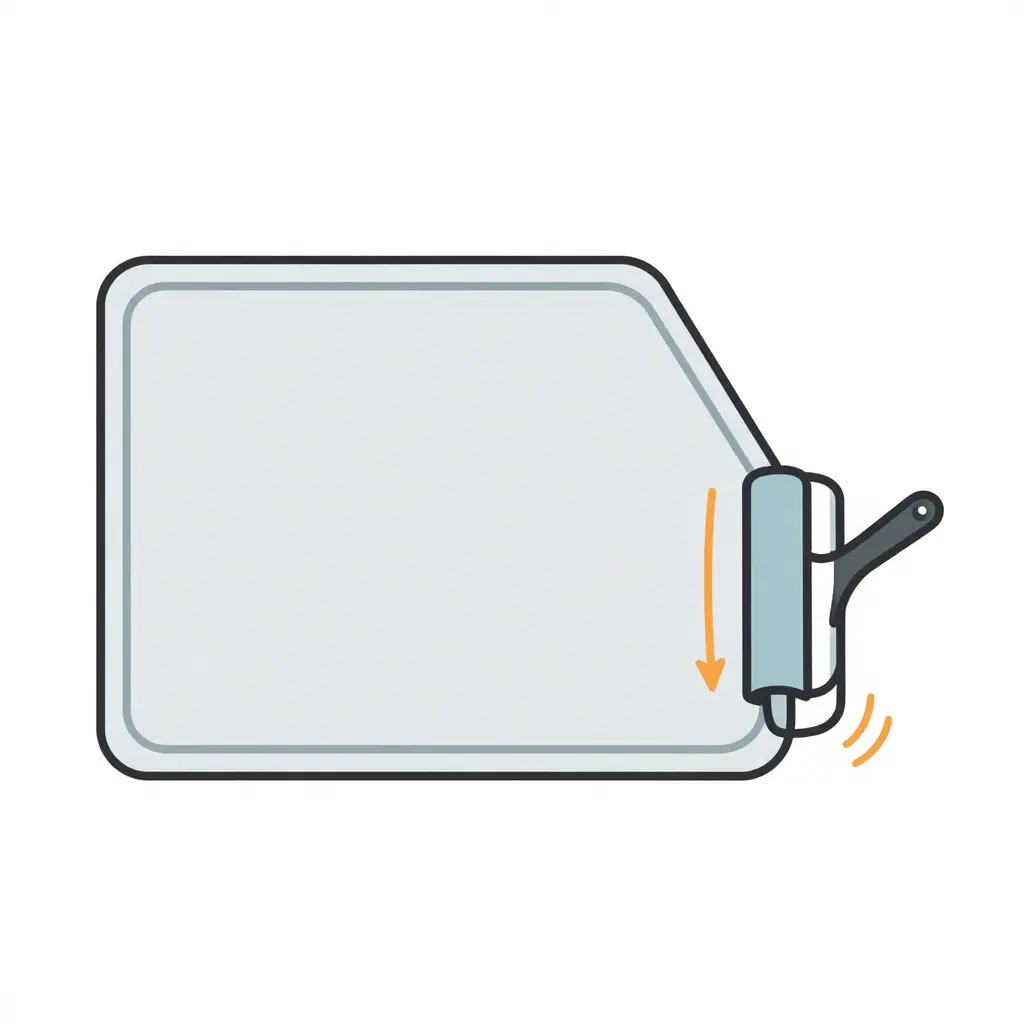
Flat-design 2D illustration of the edge sealing process: the graphic layer, its edge primer band, and the heated roller pressing the border down.
Surface Prep and Cleaning Before You Reapply
Before you pull the backing off a fresh set of dirt bike graphics kits, treat the plastic like a paint job, not a bumper sticker. Most corner lift starts long before the squeegee ever touches the panel. It starts with whatever is hiding underneath the new decal.
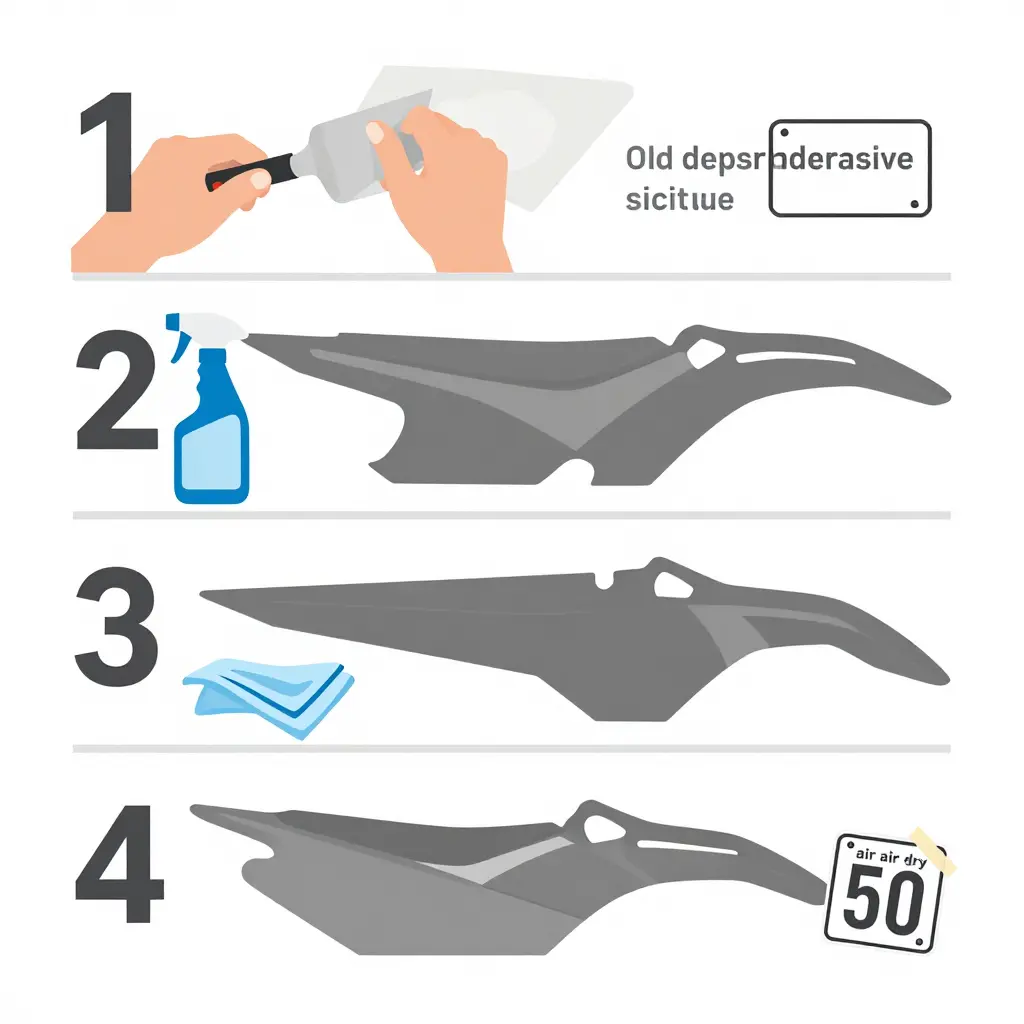
Step 1: Strip the Old Adhesive Residue
Warm the old vinyl with a heat gun, peel it back slowly at a low angle, then dissolve the leftover glue with a citrus-based remover or an adhesive eraser wheel. Any tacky film left behind becomes an invisible barrier that stops the new adhesive from biting into the plastic.
Step 2: Degrease the Panel
Wash the shroud, number plate, and fender with a mild dish soap solution to pull off chain lube, dirt, and leftover silicone from old polish. Rinse thoroughly so no soapy residue remains.
Step 3: Wipe with Isopropyl Alcohol
Follow the wash with a 70-90% isopropyl alcohol wipe. IPA flashes off surface oils and leaves a chemically clean surface that grips far better than a soap-and-water rinse alone.
Step 4: Let It Dry Completely
Wait until the plastic is bone dry. Residual moisture trapped under vinyl turns into steam pockets that bubble the film and open the door to lift.
Why Prep Connects to Outgassing and Edge Sealing
Clean prep sets up everything that follows. Plastic releases trapped gases, and dirt or oil only makes that release pattern worse. A truly clean panel lets you judge whether the plastic is still gassing off, so you can choose the right time to apply. That same clean, dry base is what allows edge sealing to work: press and heat the border onto a contaminant-free surface and the adhesive locks tight, so corners stop curling. Skip the prep and you fight lift forever. It is the same reason we build our kits the way we do – start with a spotless panel, then see our dirt bike graphic kits.
Frequently Asked Questions
Why do personalized dirt bike graphics lift at the number plate corners?
The number plate corners are the tightest, most stressed curves on your plastics. If the film is not warmed and pressed firmly during install, the adhesive cannot fully grab, so those edges start peeling first.
How long should I wait for plastic outgassing to finish?
There is no single number. Trapped gas can keep escaping for weeks, and heat and sunlight speed it up. Rather than count hours, let new shrouds and number plates sit in a warm, ventilated space until the surface reads dry and stable, then run the 24-hour bag test before you apply.
Is edge sealing necessary?
Yes. Sealing edges with a heat gun or edge tape locks out water, mud, and pressure-washer spray. Skipping it is the fastest way to watch even a perfect install creep and lift within weeks.
What’s the best way to reapply a lifted corner?
Clean the area with isopropyl alcohol, gently warm the film and plastic, then press the edge down firmly with a squeegee. For a durable finish, start with quality best dirt bike graphics that already hold up well.
Can I stop graphics from lifting again in the future?
Yes. Prep clean surfaces, apply in warm conditions, work out every bubble, and seal edges. Regular checks after muddy rides catch small lifts before they become full peel-offs.
Does temperature really affect how well graphics stick?
It does. Cold plastics make film stiff and prone to lifting, while extreme heat softens adhesive too much. Aim for a mild, room-temperature environment for the smoothest, longest-lasting bond.