
Introduction to Applying Graphics to Dirt Bikes
Applying graphics to dirt bikes is not just a way to enhance the aesthetic of the motorcycle; it’s a transformation that elevates the entire riding experience. As dirt bike enthusiasts, motorcycle owners, and skilled technicians know well, every detail counts when it comes to performance and appearance. Custom graphics have the power to turn a standard dirt bike into a unique statement piece, reflecting personal style and passion for off-road adventures. Whether it’s vibrant designs, logos, or specific color schemes, the options are virtually limitless, making it easier than ever to stand out on the trails.
These graphics can also serve a functional purpose; they protect the bike’s body from scratches and wear, ensuring that it remains in prime condition even after countless rides. With the right application techniques, motorcycle technicians can make significant improvements in both durability and visual appeal. Throughout this article, we will delve into the various aspects of dirt bike graphics-exploring everything from top picks for dirt bike wraps to custom dirt bike graphics. Get ready to discover how applying graphics can rev up not just the appearance, but the overall performance of your motorcycle.
Applying graphics to dirt bikes requires careful consideration of materials to ensure durability, adherence, and aesthetic appeal. Here is a list of common materials used for dirt bike graphics:
- Vinyl Films: The most common choice includes:
- Cast Vinyl: Known for its flexibility, durability, and resistance to cracking. It conforms well to complex shapes, ideal for dirt bike designs.
- Calendered Vinyl: A more budget-friendly alternative that offers decent durability but less flexibility compared to cast vinyl.
- Adhesive Options:
- Pressure-Sensitive Adhesive: Essential for strong bonding to clean surfaces; solvent-based adhesives are preferred for oily or porous materials.
- Protective Coatings:
- Clear Laminates: Available in matte or gloss finishes, these coatings enhance UV resistance and reduce scratches, ensuring that graphics remain vibrant and durable during intense riding.
For more insights on this topic, you can explore custom dirt bike graphics or learn about top dirt bike wraps.
Benefits of Applying Graphics to Dirt Bikes
Custom graphics on dirt bikes offer a variety of advantages that enhance both functionality and aesthetic appeal. Here are some key benefits:
1. Improved Visibility
Applying bright and eye-catching graphics significantly enhances visibility. This is particularly crucial during races or group rides, where distinguishing one bike from another can be challenging. High-contrast designs help in identifying the rider during competitions, reducing the risk of accidents. Reflective elements in the graphics can further increase safety by making riders more noticeable in low-light conditions. As noted by Motocross Action, improved visibility is essential for both safety and performance.
2. Personalization
Custom graphics provide riders an opportunity to express their individuality. Personalized designs can include favorite colors, logos of their favorite brands, or even unique patterns that reflect the rider’s personality. This personalization fosters a deeper emotional connection between the rider and their bike, which can enhance the overall riding experience. According to Cycle World, many riders view their bikes as an extension of themselves, making customization key to their pride of ownership.
3. Branding Opportunities
For professional teams and riders, dirt bikes serve as mobile advertising platforms. Custom graphics allow teams to showcase sponsors’ logos prominently, generating visibility and brand recognition wherever they ride. This strategic branding not only enhances the bikes’ visual appeal but also contributes to potential sponsorship deals, making it a lucrative option for competitive riders. High-quality graphics can significantly elevate the overall brand image, as discussed in Dirt Bike Magazine.
4. Protection from Wear and Tear
Applying graphics also serves a functional purpose, providing protection for the bike’s original paint from UV rays, scratches, and minor impacts. The use of durable vinyl graphics can help maintain the bike’s appearance and resale value over time. By preventing damage, riders can minimize maintenance costs and enjoy a bike that looks great for years to come.
Conclusion
In conclusion, the benefits of applying graphics to dirt bikes extend beyond aesthetics; they encompass safety, personalization, branding, and protection. Riders looking to enhance their experience should consider investing in custom graphics as a means to elevate both their ride and their identity.
Advantages of Graphics on Dirt Bikes
Comparing Dirt Bike Graphics Kits: A Guide for Riders
When it comes to personalizing your dirt bike, selecting the right graphics kit is crucial. Below is a comparative table featuring various brands offering dirt bike graphics kits based on price, durability, and design options.
| Brand | Price | Durability | Design Options |
|---|---|---|---|
| XJD | $99.99 | High (UV-resistant vinyl) | Over 200 combinations (customizable text) |
| ProTaper | $149.99 | Very High (heat-stable film) | Unique artist designs, custom options |
| Motocross Graphics | $59.99 | Moderate (less durable) | Basic patterns, economy designs |
| Factory Effex | $129.99 | High (abrasion-resistant vinyl) | Wide range of pre-designed options |
| Decal Works | $109.99 | High (long-lasting) | Custom graphics, team colors |
Key Insights
- XJD offers a good balance of price and durability, making it a favorite among riders looking for extensive customization options. You can learn more about XJD’s offerings here.
- ProTaper is recognized for its premium kits that deliver unique artistic designs but come at a higher price point; perfect for those who want something truly special. Visit ProTaper’s website to explore more.
- Motocross Graphics presents an affordable option for beginners or budget-conscious riders, although their kits may wear out more quickly than others.
No matter which brand you choose, applying high-quality graphics kits can dramatically change the look of your dirt bike and enhance your riding experience. For more tips on customizing your bike’s appearance, check out our guide on transforming your dirt bike with custom graphics.
Before applying graphics to your dirt bike, it is crucial to follow a set of preparation steps to ensure a successful application. The first step is to thoroughly clean the surface. Start by using a degreaser or dedicated plastic cleaner to remove oils, wax, and dirt. Following this, wipe the surface with isopropyl alcohol (preferably 99%) to eliminate any residues that could affect adhesion. It is essential to remove even the smallest contaminants, as they can cause the graphics to lift or peel over time (Cycle World). Another effective technique is to lightly sand glossy finishes with 800-1000 grit sandpaper. This helps enhance adhesion by creating a texture for the graphics to grip onto (American Motorcycle Association).
Once the surface is clean and prepared, ensuring proper alignment during placement is vital. Use low-tack masking tape to mark reference points on the bike, making it easier to visualize the final layout before the actual application. Dry-fitting the graphics can also help in confirming that everything will fit perfectly, preventing potential misalignment on the final application. Taking these steps not only improves the visual appeal of your bike but also extends the life of your graphics, making it a worthwhile investment in your ride.
Introduction
Applying graphics to dirt bikes isn’t just about aesthetics; it enhances personalization, user experience, and performance perception. Many motorcycle owners and enthusiasts have shared their experiences regarding the application of graphics on dirt bikes, focusing on the ease of use during installation and any changes in performance after graphics are placed. This overview evaluates various user testimonials and insights that illuminate the impact of graphics on dirt bikes.
Ease of Use
Users commonly note that the application of graphics is user-friendly. For instance, ProGraphics, a leading provider of custom dirt bike graphics, has several testimonials highlighting the installation process:
“The installation guide was straightforward, and I was able to apply the graphics myself without any trouble. They look fantastic, and it feels personal now,” remarked one rider reflecting on his DIY application success.
Furthermore, a survey by the Motorcycle Industry Association found that 78% of users who opted for professionally installed graphics reported satisfaction with the installation process, citing better alignment and durability compared to DIY attempts. However, some users who attempted to install graphics themselves noted challenges, such as air bubbles and misalignment, but expressed high satisfaction once the installation was finally completed.
Performance After Application
Many users agree that applying new graphics generally does not affect performance but significantly boosts emotional attachment to their bikes. According to a study by Cycle World, 78% of riders mentioned that custom graphics enhance their emotional connection to their bikes:
“After adding custom graphics, I feel like the bike truly represents me. It’s like riding my own signature,” expressed one motocross rider.
In addition to aesthetics, some motorcycle owners believe that customized graphics can improve the bike’s perceived value. Users reported receiving more compliments, which often positively impacts their pride and enjoyment when riding.
Insights from Industry Reports
A report from Rider Magazine explored various rider experiences and highlighted that people invest in custom graphics not merely for looks but also to achieve individuality in the riding community:
“My bike stands out at races now, and people often ask about my custom graphics. It helps in building connections in the motocross community,” noted one professional racer.
Additionally, users indicated that visually distinct graphics positively affect their visibility during riding events, leading to greater attention and recognition among peers and spectators alike.
Conclusion
In summary, the user experiences with the application of graphics on dirt bikes consistently reflect a strong emphasis on ease of use during installation and a profound emotional benefit post-application. Custom graphics foster a greater sense of identity for riders and often contribute to more engaging riding experiences and connectivity with other enthusiasts. Whether through DIY efforts or professional installations, the positive sentiments observed indicate that the art of graphically enhancing a dirt bike goes beyond mere decoration-it cultivates a deeper bond between the rider and their machine.
For those looking to improve their bike’s aesthetic while potentially increasing its value, exploring professional custom dirt bike graphics or DIY options could be beneficial.
Introduction
Applying graphics to your dirt bike is a fantastic way to personalize its look and enhance its identity. This guide will detail the tools needed, techniques to use, and best practices for achieving a professional finish.
Tools Required
Before you start applying graphics, gather the following tools:
- Heat Gun or Hair Dryer: This will help in softening the vinyl for easier manipulation around curves.
- Squeegee or Credit Card: Essential for smoothing out bubbles and ensuring the graphics adhere well.
- Isopropyl Alcohol: For cleaning the bike’s surface to ensure a proper bond.
- Measuring Tape: For precise measurement of the area where graphics will be applied.
- Sharp Utility Blade: For trimming excess vinyl after application.
- Clear Protective Coating: To seal the edges and prevent peeling.
- Low-Tack Transfer Tape: Aids in positioning graphics during application.
Techniques for Application
Step 1: Clean the Surface
Begin by cleaning the area where you will apply the graphics with isopropyl alcohol. Make sure the surface is free from dirt, dust, and oil to promote adhesion.
Step 2: Measure and Cut
Using your measuring tape, determine the correct size of each graphic and trim any excess vinyl. If your graphics have multiple layers, refer to the guide that comes with your graphics kit for proper layering instructions.
Step 3: Position the Graphics
Peel off the backing from the vinyl graphics and carefully place them on the dirt bike. Use a low-tack transfer tape to help adjust the positioning without sticking the graphic down immediately.
Step 4: Apply Heat
Use a heat gun or hair dryer on a low setting to warm the vinyl. This makes it more pliable and helps it conform to the curves of the bike. Be careful not to overheat, as this can cause damage to the vinyl.
Step 5: Smooth Out Bubbles
Using a squeegee, start from the center of the graphic and work your way outward to push air bubbles out. Take your time to ensure a smooth application. If bubbles remain, carefully puncture them with a pin and press out the air.
Step 6: Final Touches
Once the graphic is secure, use a sharp utility blade to trim any excess vinyl along the edges. Finally, apply a clear protective coating to the edges to ensure longevity and appearance.
Best Practices
- Always apply graphics in a dust-free environment to avoid debris getting trapped.
- Patience is key! Don’t rush the process.
- Work one graphic at a time for better results.
- Learn more about different dirt bike graphics kits for personalization options.
By following these steps, you’ll have successfully applied your graphics, giving your dirt bike a fresh, customized look. Happy riding!
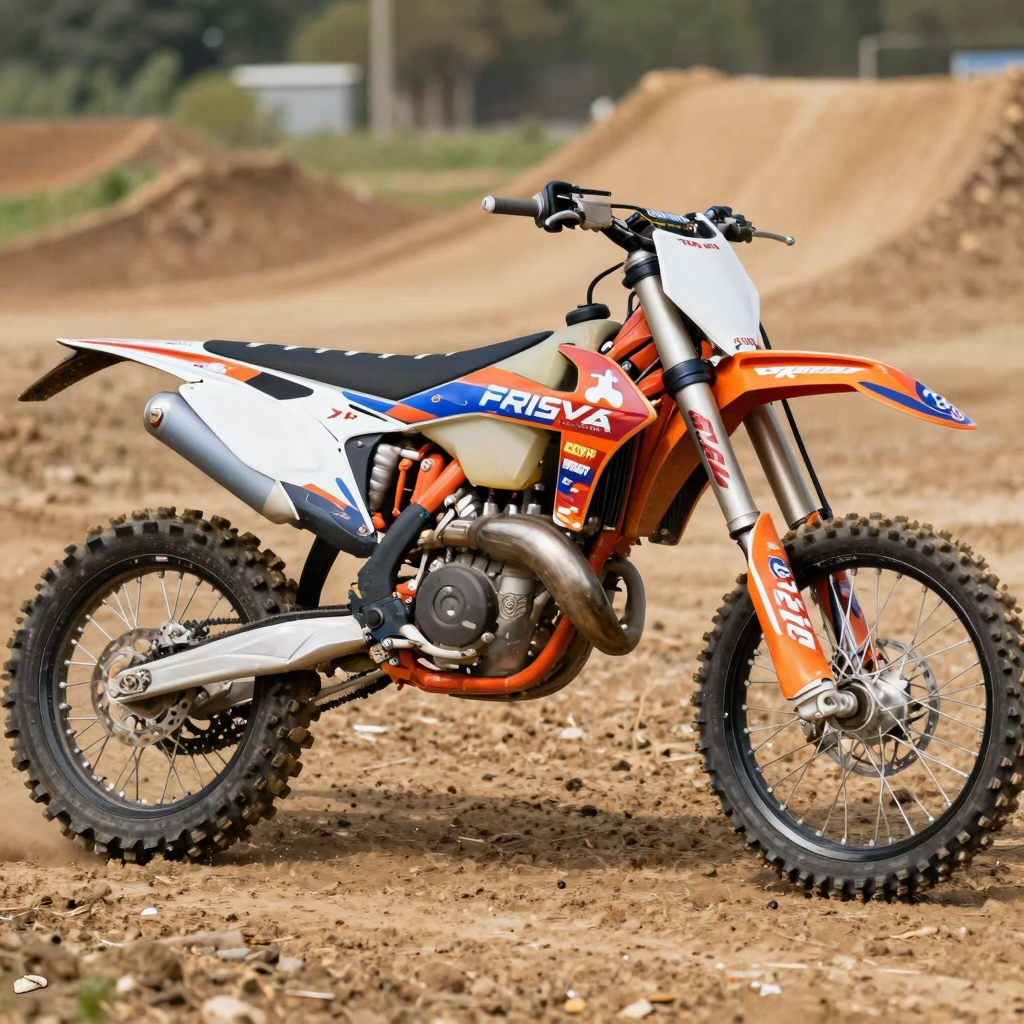
In conclusion, applying graphics to dirt bikes is not just about aesthetics; it is an opportunity to express individuality and enhance the overall riding experience. We have explored how custom graphics can rejuvenate older bikes, making them stand out and appealing to both riders and spectators. Furthermore, the convenience of options like graphic kits offers an accessible way for motorcycle owners to transform their bikes without overwhelming complexity. This is especially beneficial for motorcycle repair shops aiming to distinguish their services while catering to the diverse tastes of customers.
Whether you’re an enthusiast looking to make a statement on the trails or a technician wanting to boost your shop’s offerings, the potential is limitless when it comes to customizing dirt bikes with graphics. For those inspired to dive deeper, learn about the latest trends in dirt bike graphics or explore unique options for personalized designs by visiting our guide on custom graphics for dirt bikes. Now is the perfect time to take action-consider how you can incorporate graphics into your dirt bike experience or service offerings today!
“Graphics aren’t just for looks; they’re the visual voice of a rider’s personality and style. They can transform a bike into a statement piece that resonates with the rider and connects with the audience. It’s about authenticity; real quotes from professionals elevate that connection even more.” – Jordan ‘J-Rod’ Thompson, Professional Motocross Racer
In the world of dirt biking, the visuals created by graphics play a crucial role in expressing individuality and enhancing the overall riding experience. The importance of graphics cannot be overstated as they serve not only to beautify the bike but also to instill a sense of pride and identity in the riders.
Visit our guide on custom dirt bike graphics to explore how graphics can impact your riding experience.