
Customizing dirt bike graphics is more than just a trend; it’s a vital form of self-expression for motorcycle owners, offering a unique way to showcase individuality on the trails or at the track. Personalization allows riders to transform their machines into one-of-a-kind machines that reflect their style and personality. Moreover, it’s not merely about aesthetics; well-designed graphics can enhance your bike’s visibility and make it stand out in competitive environments. High-quality, customized graphics can even provide an additional layer of protection for your bike’s surfaces against scratches and the elements. As you explore options to customize your ride, consider the possibilities outlined in our guide on custom dirt bike graphics, where you can delve into various styles and techniques that can take your dirt bike’s appearance to the next level.
Benefits of Customizing Dirt Bike Graphics
Customizing dirt bike graphics is more than just an aesthetic decision; it’s a powerful way to enhance personal expression, visibility, and brand identity. Here are some key benefits of customizing graphics for your dirt bike:
-
Personal Expression
Custom graphics provide a unique canvas for riders to showcase their individuality. Each design can reflect the rider’s personality, interests, or experiences, transforming a standard bike into a personalized masterpiece. This connection can evoke feelings of pride and ownership among motorcycle enthusiasts. -
Improved Visibility
Custom graphics can significantly increase your bike’s visibility on the track, which is crucial for safety. Bright colors and unique designs make it easier for other riders and spectators to notice your bike, reducing the risk of accidents during rides or races. Improved visibility not only enhances safety but also ensures that you stand out in a crowd, whether on the track or during casual rides. -
Brand Identity
For those representing sponsors or personal brands, custom graphics are essential. They offer an opportunity to advertise, create a professional image, and build brand loyalty. A well-designed graphic can communicate professionalism and dedication to both sponsors and fans alike, fostering a deeper connection with them.
The emotional appeal of customizing graphics cannot be overstated. It connects riders to their machines, creating a narrative intertwined with their passion for biking. To further explore how to customize your ride, consider checking out top dirt bike wraps or our offerings of personalized dirt bike graphics.
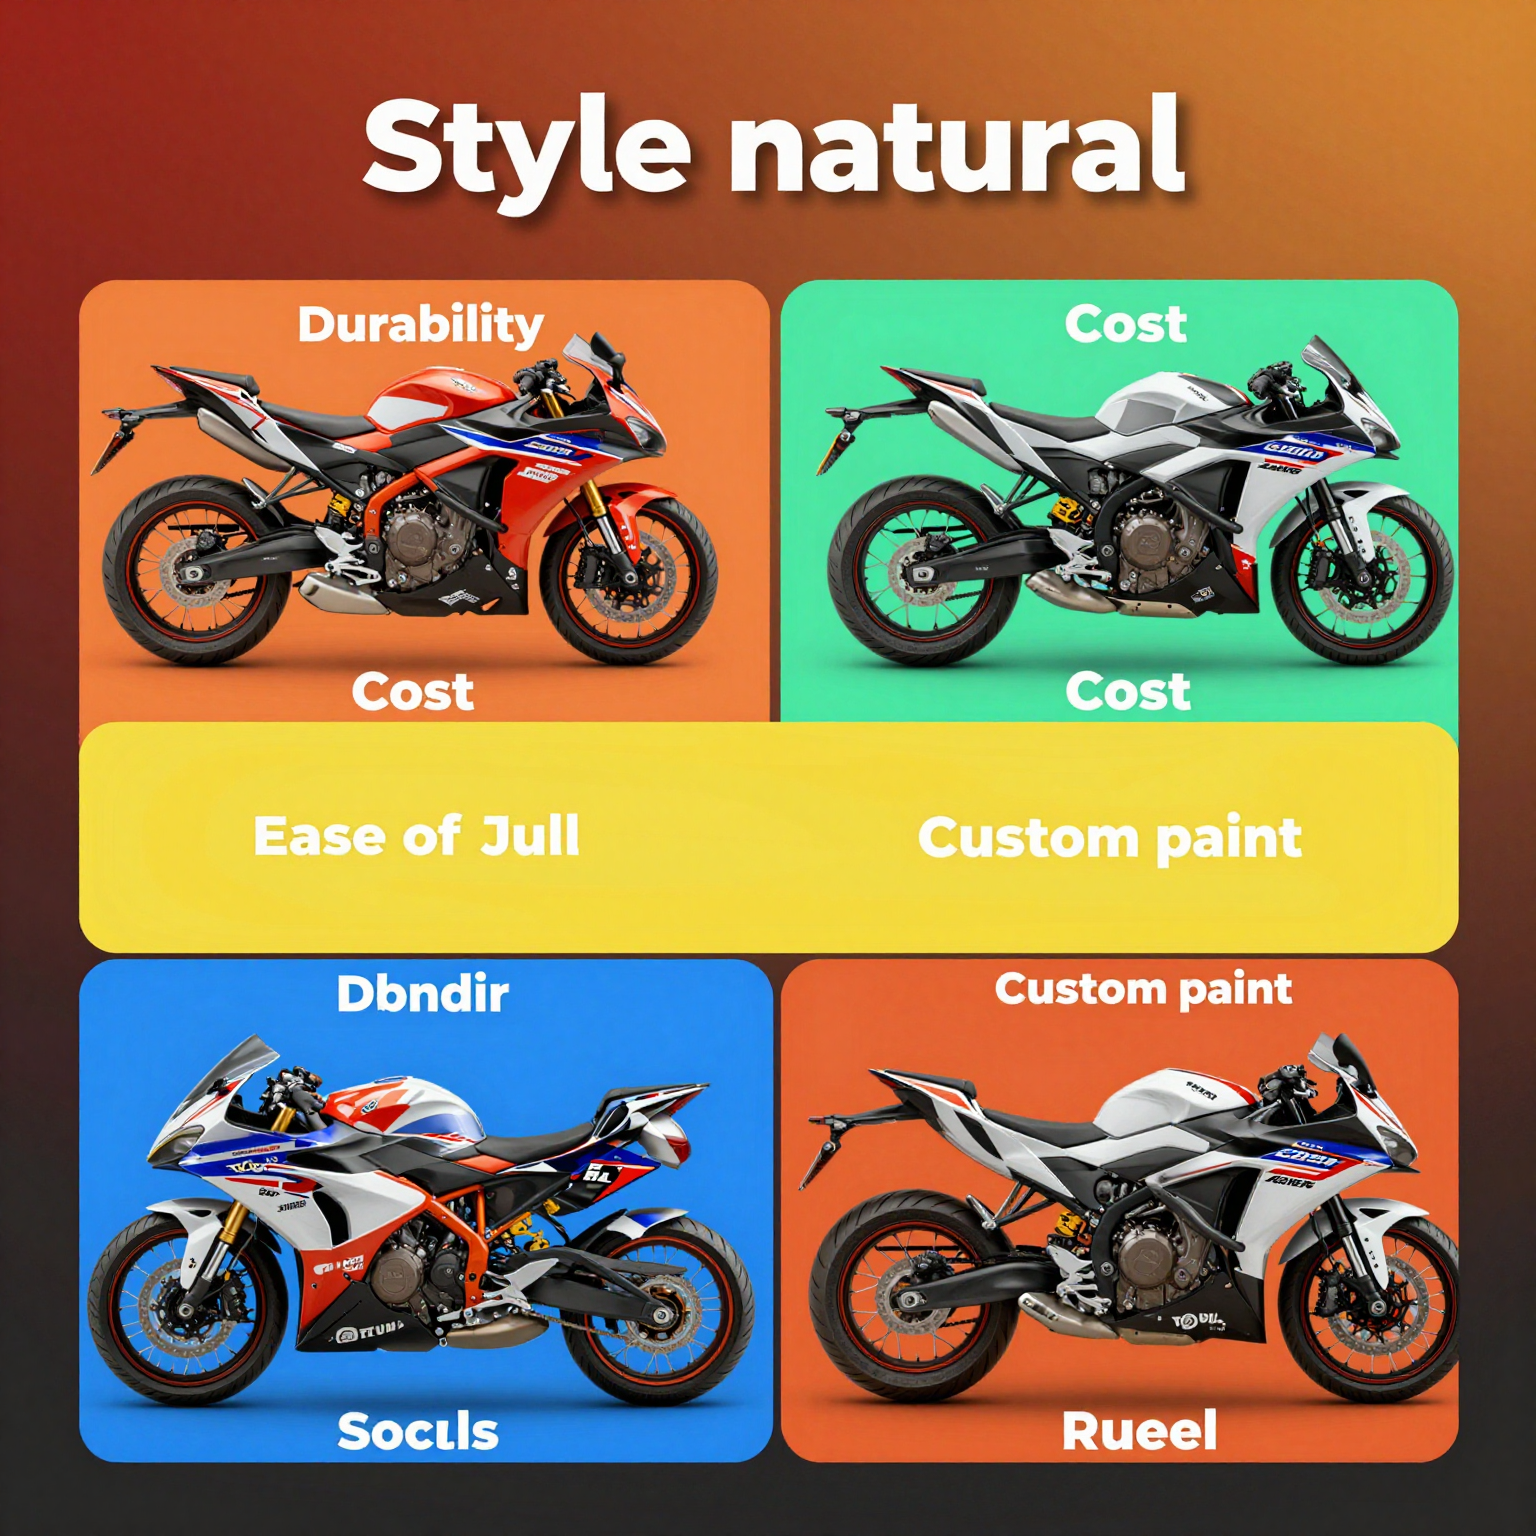
Comparing Graphic Customization Options for Dirt Bikes
As motorcycle enthusiasts know, customizing dirt bike graphics enhances the look and personality of the machine. Below is a comparison table detailing vinyl wraps, decals, and custom paint, focusing on important aspects such as durability, cost, and ease of application.
| Customization Method | Durability | Cost Range (USD) | Ease of Application |
|---|---|---|---|
| Vinyl Wraps | 5-7 years | $800 – $4,000 | Easy to moderate (professional installation recommended) |
| Decals | 2-5 years | $50 – $500 | Easy (self-application possible) |
| Custom Paint | 5-10 years | $3,000 – $10,000 | Moderate to hard (best with professional help) |
Summary of Options
- Vinyl Wraps: These provide a versatile and relatively affordable means to change the appearance without permanent alterations. They can also be removed or replaced easily.
- Decals: Ideal for smaller graphics and logos, decals are the quickest and least expensive option for customization.
- Custom Paint: While it offers the longest-lasting results and a seamless finish, custom paint jobs typically require more investment and skill to apply.
For more details on the best options available, you can explore our top 10 dirt bike wraps or learn about custom dirt bike graphics.
Materials Used for Dirt Bike Graphics
When customizing dirt bike graphics, the choice of materials plays a crucial role in the overall appearance, durability, and functionality of the design. There are several key materials commonly used in dirt bike graphics, each with distinct properties suitable for various applications.
Vinyl
Vinyl is the most popular material for dirt bike graphics due to its excellent durability and versatility. Premium vinyl options are available in different thicknesses, with 21mil being a common choice for robust performance. Vinyl graphics are designed to resist fading from UV rays, which is essential for maintaining visual appeal in outdoor conditions. Additionally, high-quality vinyl can withstand tearing and the rigors of off-road riding. Many riders appreciate the glossy finish that vinyl can provide, enhancing the overall aesthetic of their bike. As noted in sources like Decal Lab, the combination of a quality base vinyl and an overlaminate contributes significantly to the longevity and appearance of the graphics.
Decals
Decals are another common choice for custom dirt bike graphics. These graphics are typically made from thick vinyl that provides robust resistance to environmental factors such as mud, water, and UV exposure. High-quality decals will include vibrant colors and sharp details, making them visually appealing. The advantage of decals is their easy application and removal, which allows for quick customization based on personal preferences or sponsorships. According to articles from Rivalink Design Co., using premium decals ensures not only attractiveness but also resistance to peeling or fading over time.
Paint
While less common than vinyl and decals, paint can be used for custom designs on dirt bikes. Paint provides a unique, smooth finish and allows for intricate designs that might be difficult to achieve with vinyl or decals. However, paint does not typically offer the same level of durability, especially under harsh conditions, and may require more frequent touch-ups. Consideration of the overall maintenance and desired longevity should guide the decision to use paint as a graphic solution.
In conclusion, selecting the right material for dirt bike graphics involves understanding the specific needs of the bike and rider. Ensuring the material’s durability, aesthetic appeal, and compatibility with outdoor activities is crucial for a successful customization that can withstand the tests of time and terrain.
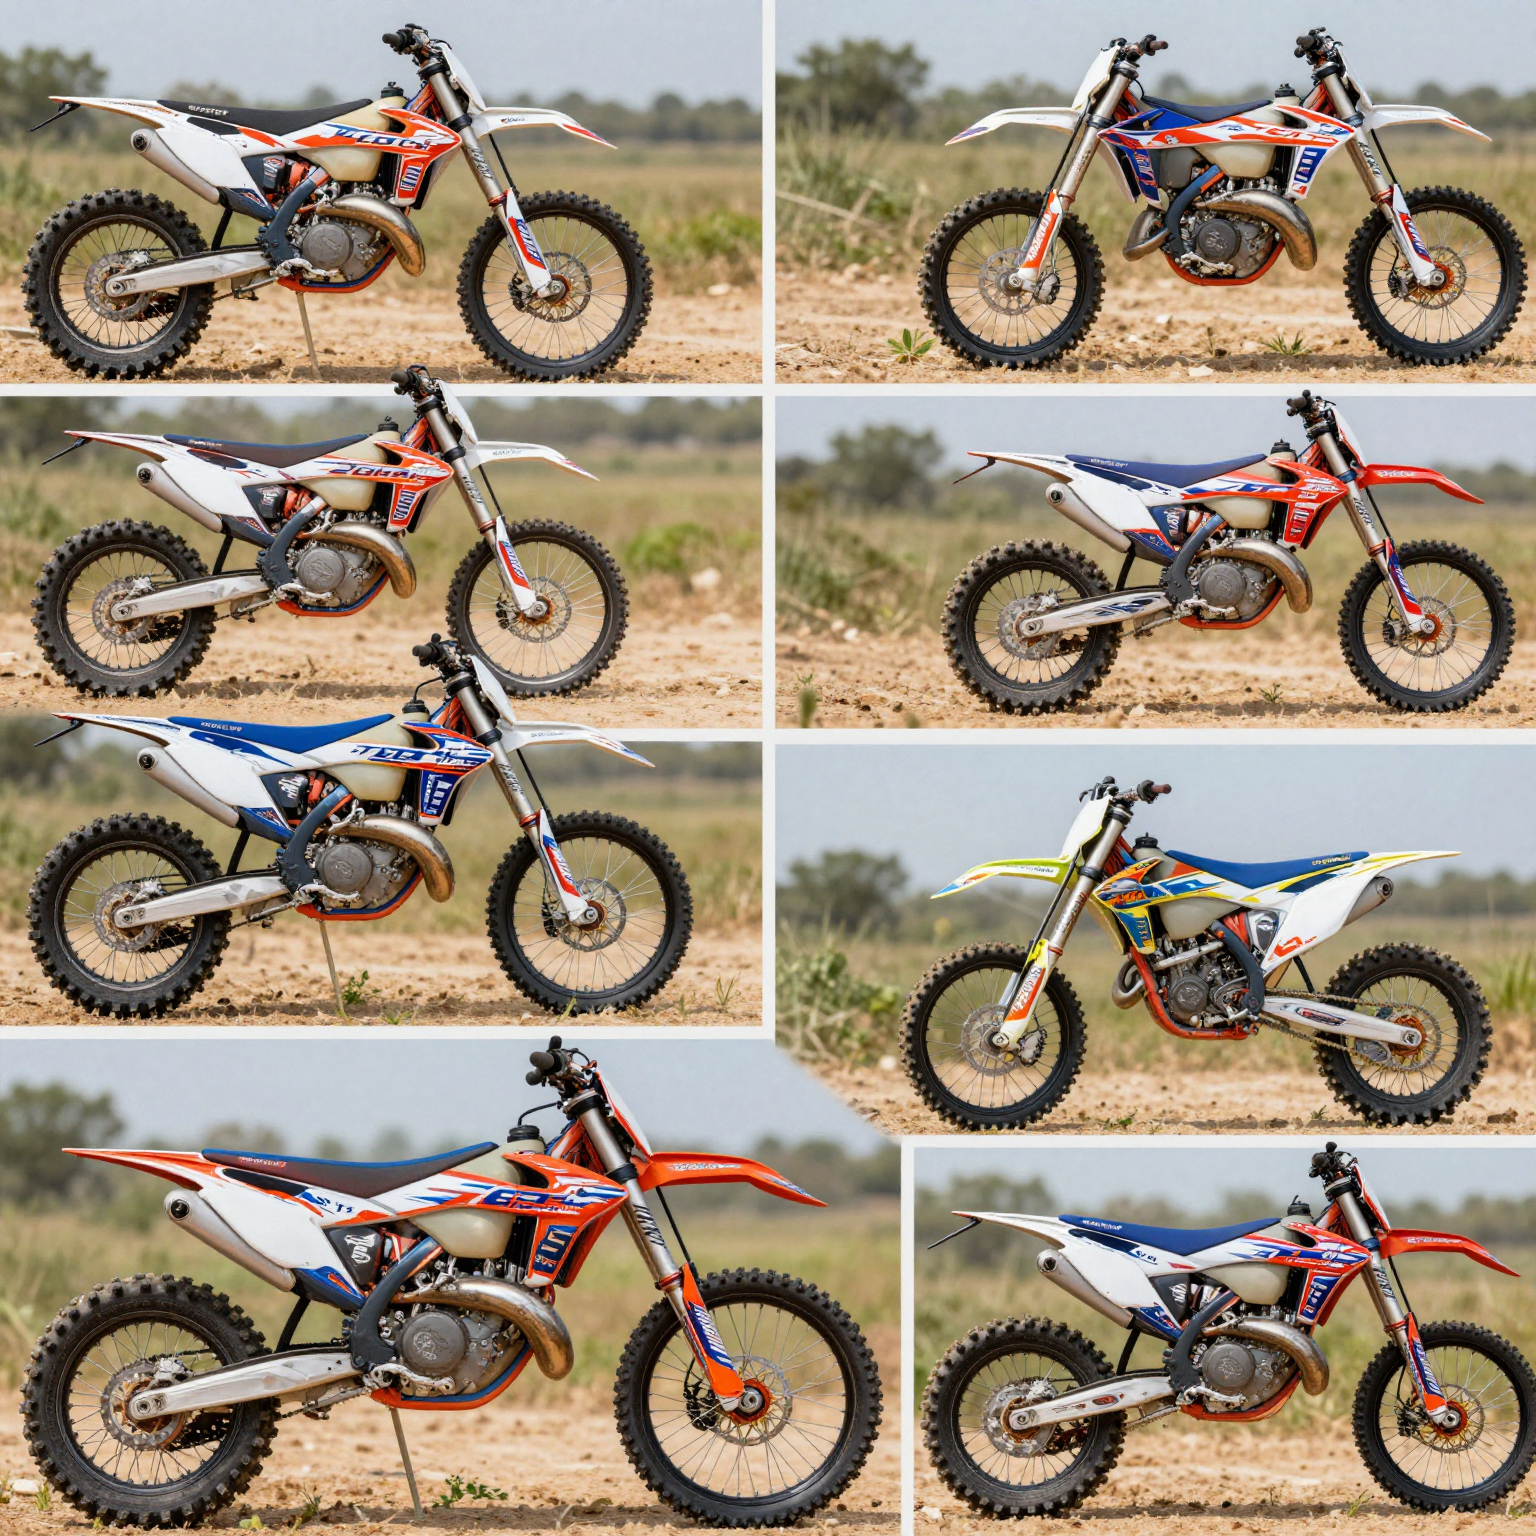
Examples of Customized Dirt Bike Graphics
Customized dirt bike graphics allow riders to express their personality and style while enhancing their bike’s appearance. From vibrant colors and eye-catching patterns to personalized logos and designs, the options are virtually limitless. Below are some notable styles and insights into the world of custom dirt bike graphics:
- Vibrant Colors: Bright and bold color combinations that stand out on the track.
- Unique Patterns: Geometric shapes, camouflage, or abstract designs that give a distinct look.
- Logos and Branding: Incorporating personal or sponsor logos adds a professional touch.
Inspiration Sources:
- Custom Motocross & Dirt Bike Graphics | Backyard Design USA – Design custom motocross graphics and dirt bike graphics online with premium quality.
- The Ultimate Guide To Customizing Your Dirt Bike Graphics – Decallab – Discusses three main options for customizing dirt bike graphics: Pre-Printed Kits, Semi-Custom Kits, and Fully Custom Designs.
For visual inspiration, check out this image showcasing various styles of customized dirt bike graphics:
Customizing your dirt bike not only enhances its look but also sparks camaraderie among fellow riders. Learn more about how to transform your bike’s appearance at MOTOGRAPICS.
How to Customize Dirt Bike Graphics: A Step-by-Step Guide
Customizing the graphics on your dirt bike is an excellent way to express your personality and make your ride stand out on the trails. Whether you’re a seasoned motorcycle enthusiast or a beginner, this guide will walk you through the process of selecting, applying, and maintaining your custom graphics.
Step 1: Design Selection
The first step in customizing your dirt bike graphics is selecting a design that reflects your style. Consider the following:
- Color Schemes: Choose colors that match your bike or create a striking contrast. Use tools like color wheels to find complementary colors.
- Patterns and Themes: From sleek and modern designs to bold and vibrant graphics, consider what best represents you. Websites like best custom dirt bike graphics offer inspiration.
- Number Plates and Names: Personalizing your number plates can enhance your bike’s identity. Look into options available at custom dirt bike number plate graphics.
- Consult Professionals: Sometimes, professional designers can elevate your vision. Check out resources like custom graphics for dirt bikes for expert assistance.
Step 2: Application Techniques
Once you’ve selected your design, it’s time to apply your graphics. Following the right techniques can ensure a seamless finish:
- Preparation: Clean the motorcycle’s plastics thoroughly to remove dirt, dust, and grease. Use isopropyl alcohol for a deep clean.
- Temperature: For the best adhesion, apply graphics in a warm environment (ideally 70°F to 85°F). This helps the adhesive become tacky.
- Application Method: You can apply graphics using either wet or dry methods:
- Dry Application: Peel off the backing and carefully place it on the bike, smoothing it out from the center towards the edges to avoid air bubbles.
- Wet Application: Spraying a light mist of soapy water on the surface before applying the graphic enables you to reposition it before adhesion.
- Finishing Touches: Use a squeegee to push out any remaining bubbles. Smooth the graphic down firmly, and consider using a heat gun sparingly to ensure a tight fit. For more detailed instructions, check out step-by-step guide: how to install your custom dirt bike graphics like a pro.
Step 3: Maintenance
Once your graphics are applied, maintaining them is essential to ensure longevity:
- Regular Cleaning: Use mild soap and water to wash your bike, avoiding harsh chemicals which can damage the graphics.
- Protection: If riding in rough conditions, consider applying a clear protective coat over the graphics.
- Touch-ups: Address any scratches or lifting edges immediately using appropriate adhesive to avoid further peeling.
Customizing your dirt bike’s graphics is not just about aesthetics; it’s a way to tell your story. Dive into the creative process, have fun, and make your ride truly yours! If you’re looking for where to buy quality graphics, refer to dirt bike graphic kits for various options.
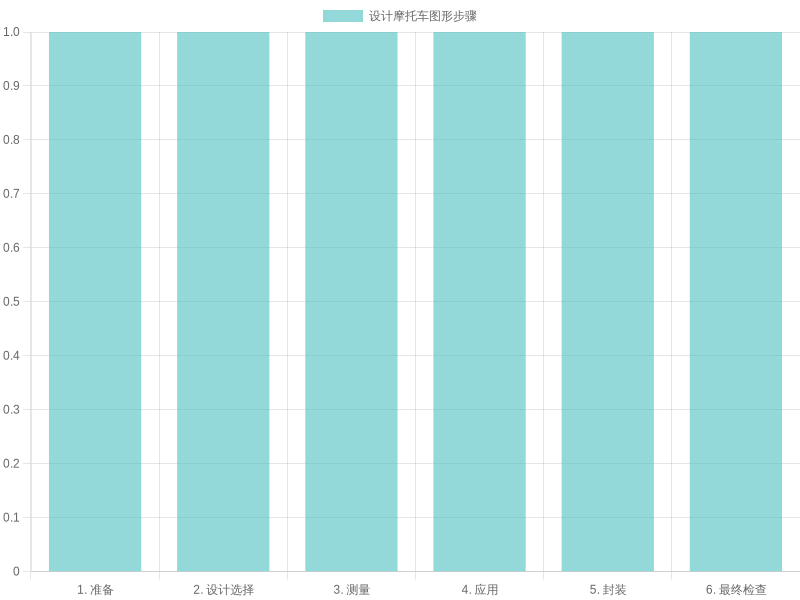
Steps for Designing Custom Motorcycle Graphics
Customizing dirt bike graphics involves a series of essential steps to ensure a professional and attractive finish. Here’s a clear guide to the process:
- Preparation: Begin by thoroughly cleaning the bike’s surface to remove dust, grease, and residue, ensuring that the stickers or graphics adhere appropriately.
- Design Selection: Choose the right graphic design that matches your style and bike model. Consider customized designs, brand logos, or artistic elements that resonate with your personality.
- Measurement: Accurately measure the dimensions of the bike’s body parts to ensure the graphics are sized correctly, avoiding any cutting errors or misalignment.
- Application: Carefully apply the graphics using a heat gun or squeegee, starting from the center and working outward to eliminate air bubbles and create a smooth fit.
- Sealing: Spray a clear protective coat over the graphics (such as varnish or polyurethane) to enhance durability, scratch resistance, and UV protection.
- Final Inspection: Conduct a thorough check for lifted edges, air bubbles, scratches, or misalignments, ensuring that the overall visual meets your expectations.
These steps help in applying graphics effectively and are crucial for achieving a long-lasting and clean finish on your dirt bike customization. For a deeper dive into customization options, check our page on custom dirt bike graphics.
Common Challenges and Solutions in Customizing Dirt Bike Graphics
Customizing dirt bike graphics can make your ride stand out, but it also comes with several challenges. Here, we’ll explore some of the most common issues-bubbling, peeling, and fading-and effective solutions for each.
Bubbling
Bubbling is often caused by air pockets trapped between the graphic and the bike’s surface during installation. This can lead to an uneven appearance and ultimately damage the graphics.
Solution: To prevent bubbling, ensure that the surface is clean and dry before application. Using a squeegee to carefully press out any air bubbles as you apply the graphics can also help. If bubbles do appear, you can often remove them with a pin to let the air escape, and then press down with a squeegee to smooth the area. For additional tips, check out this guide on How to Get Bubbles Out of Dirt Bike Graphics.
Peeling
Peeling can occur for several reasons, including poor adhesive quality, exposure to extreme temperatures, or not preparing the surface adequately before installation.
Solution: Using high-tack adhesive specifically designed for low-energy surfaces is crucial. It helps the graphics adhere better and prevents peeling over time. Regular maintenance, like gentle cleaning instead of high-pressure washing, can also help maintain the integrity of the graphics. Learn more about this in our article on Essential Maintenance Tips For Keeping Your Dirt Bike Graphics Looking Sharp.
Fading
Fading can result from UV exposure, leading to dull or discolored graphics over time.
Solution: To combat fading, consider graphics that have UV-resistant properties. Additionally, applying a protective clear coat can shield your graphics from the sun. Regularly washing your bike with non-abrasive materials will also help preserve the original colors.
In conclusion, being aware of these common challenges and applying the offered solutions can significantly enhance the durability and appearance of your customized dirt bike graphics. Taking proactive steps will ensure that your dirt bike not only looks great but also lasts longer.
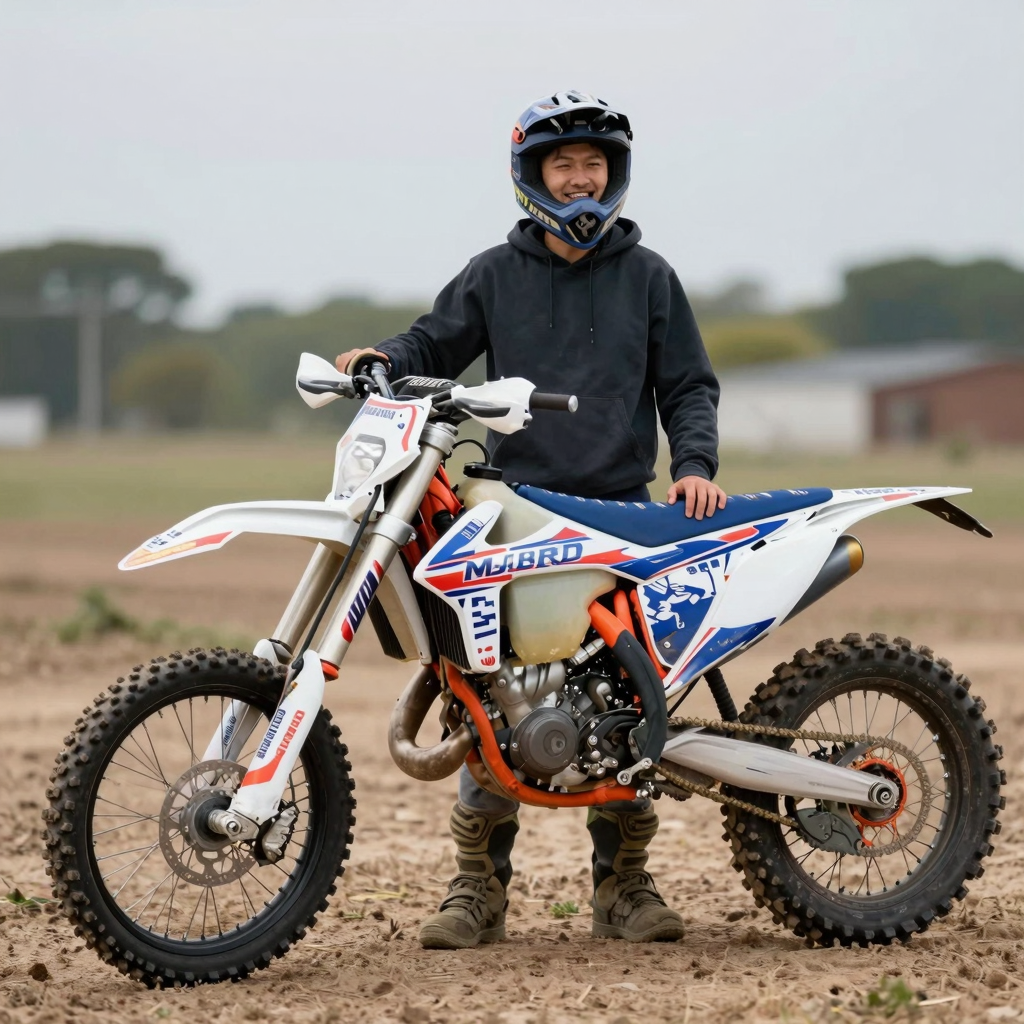
Customer Testimonial
“I never knew my dirt bike could look so good! The graphics totally transformed my ride and made it stand out on the trails. My friends can’t stop asking about where I got them! I definitely recommend customizing your dirt bike graphics if you want to express your personality and style. The colors are vibrant and have exceeded my expectations!”
- Peter, passionate dirt biker
Customizing your dirt bike graphics is not just about aesthetics; it can boost your confidence and enhance your riding experience. Users like Peter have experienced a remarkable transformation in their biking journeys with unique, personalized designs. For more inspiration on creating your own graphics, check out our top 10 dirt bike wraps.
With the right custom graphics, you can make your motorcycle uniquely yours and attract attention wherever you ride.
Conclusion
Customizing dirt bike graphics not only allows riders to express their unique identity but also offers numerous practical advantages. As discussed, personalized graphics can significantly enhance the visual appeal of a motorcycle while providing essential protection for the bike’s plastics. They serve as a canvas for creativity, enabling riders to showcase their personality and stand out on the track or trail. Furthermore, well-designed graphics contribute to increased visibility, which can be a vital safety measure in motocross racing.
Opting for custom graphics is a smart investment-whether you’re looking to establish a personal brand, protect your bike from wear and tear, or simply elevate its aesthetic. With various kits available, such as custom dirt bike graphics, riders can easily find a fit for their style and budget.
If you’re eager to get started on your customization journey, exploring options through dirt bike graphics kits is a perfect step. Unleash your creativity and transform your ride today!