
Unleash Your Style: The Importance of Monster Dirt Bike Graphics
When it comes to dirt biking, performance is only half the story. A rider’s machine reflects their passion and individuality, and that’s where monster dirt bike graphics come into play. These vibrant, dynamic decals are not just about looking good; they serve as a canvas for personal expression while also enhancing the bike’s brand identity. The right graphics can transform a standard dirt bike into a unique, eye-catching ride that stands out in a sea of competition.
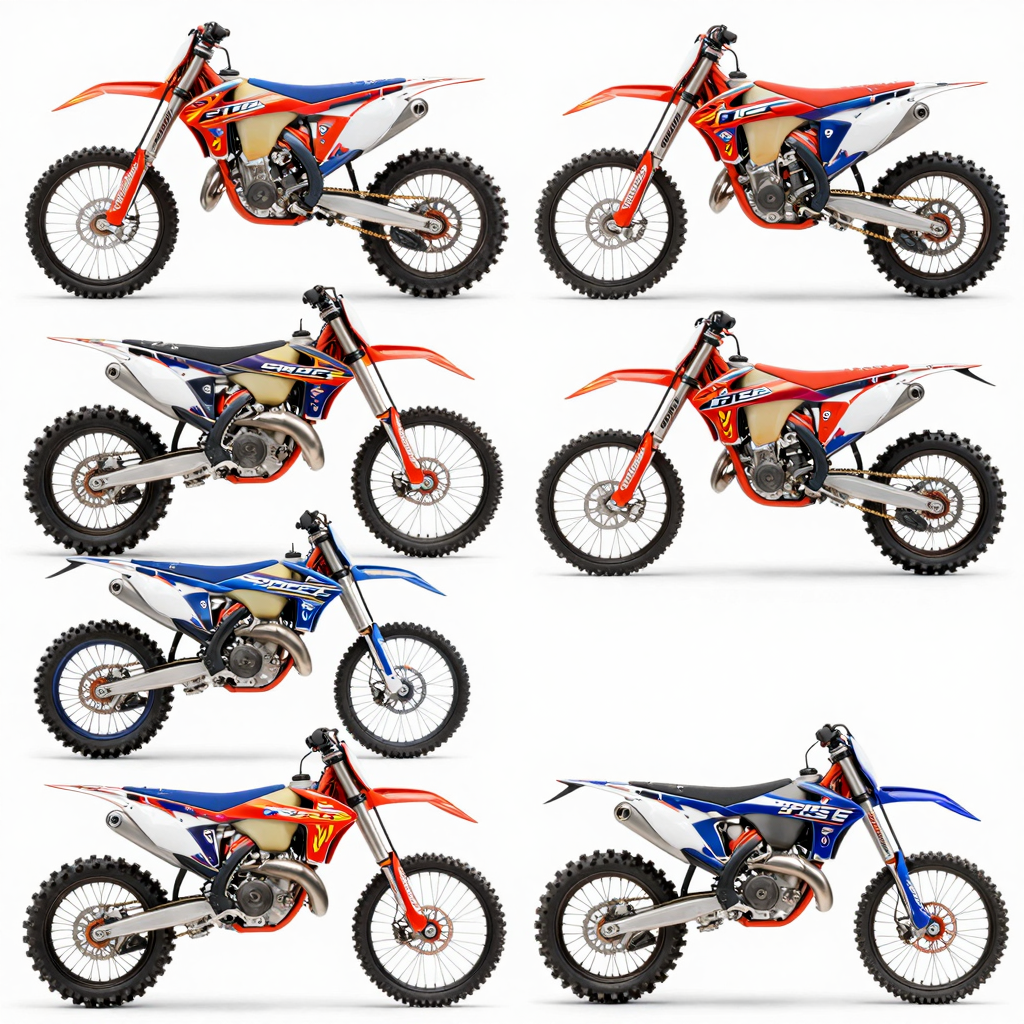
Monster dirt bike graphics are crucial for several reasons. Firstly, they elevate the aesthetics of your motorcycle, setting the tone for your riding style and personality. Bold designs, custom colors, and intricate patterns can convey a rider’s identity and even their favorite brands or sponsors. This is especially important for competitive riders who want to make an impression on the track, as well as for recreational riders looking to show off their distinctive style.
Additionally, these graphics can influence how a bike is perceived in terms of value and branding. A well-decorated motorcycle can attract attention, showcasing care and creativity, which can enhance resale value and brand reputation.
But the excitement of customizing with monster dirt bike graphics extends beyond mere looks; they offer riders the opportunity to personalize their bikes in countless ways. With options ranging from wild color combinations to unique decals that tell a story, customizing helps riders create a vehicle that truly represents them. Plus, the installation of graphics kits is typically straightforward, allowing many enthusiasts to engage in this personalization without professional assistance. To explore popular options, check out our top 10 dirt bike wraps, or dive into the endless possibilities with custom dirt bike graphics.
Overall, monster dirt bike graphics not only fulfill an aesthetic purpose but serve as a vital element of branding and individuality in the dirt biking community. They set the stage for expression, competition, and creativity, making them an integral part of the riding experience.
Popular Graphic Designs for Dirt Bikes
In the world of dirt biking, graphic design on motorcycles is more than just aesthetics; it reflects the personality, style, and individualism of the rider. As the sport continues to grow, so do the trends and preferences associated with dirt bike graphics.
1. Customization is Key
The concept of customization stands at the forefront of dirt bike graphic designs. Motorcycle owners are increasingly opting for unique graphics that resonate with their personal style and riding ethos. Whether it’s a flashy neon color scheme or a more subdued matte finish, there’s no shortage of options available.
- Individual Preferences: Riders today prefer graphics that allow them to stand out. Options range from bold patterns, intricate illustrations, to simple, clean designs.
- Personal Branding: Some riders even use custom graphics as a way to brand themselves, incorporating personal logos, favorite colors, and even names into their designs.
Learn more about various styles by exploring custom dirt bike graphics.
2. Trending Themes
Several themes regularly emerge in dirt bike graphic designs:
- Retro Designs: Vintage styles are making a comeback, with designs that evoke nostalgia through classic color palettes and iconic motifs.
- Nature and Adventure: Designs inspired by nature, landscapes, or extreme sports adventure elements are becoming popular, appealing to riders who love the outdoors.
- Abstract Art: From geometric patterns to fluid shapes, abstract designs allow for creative expression and individuality that many riders desire.
3. Incorporating Technology
Modern technology is another significant driver of change in dirt bike graphics. Advances in printing technology mean that graphics can now be more detailed and vibrant than ever.
- High-Resolution Prints: Riders can enjoy high-resolution imagery on their bikes, allowing for intricate designs that were previously challenging to produce.
- Durability: Modern materials used in the production of these graphics are more resilient, ensuring that they can withstand various weather conditions and rough riding environments.
Consider looking into the top ten dirt bike wraps for inspiration on durable and stylish designs.
4. Color Choices
Color plays a pivotal role in graphic design, affecting both style and visibility. The preferences for colors can change seasonally:
- Bold and Bright Colors: Vivid colors such as neon greens, reds, and yellows are popular for their visibility and excitement, especially in competitive racing environments.
- Earthy Tones: For off-road riders, earthy tones can help the bike blend into natural surroundings, appealing to those looking for a more understated look.
5. Functionality Meets Fashion
While aesthetics are crucial, functionality remains a priority. The latest designs consider not just how they look but also how they perform:
- Easy Application: New adhesives and designs allow for easier application and replacement of graphics, ensuring that maintenance is straightforward.
- Protection: Many graphics come with protective qualities, resisting scratches and fading from UV rays, thereby preserving their vibrant look for longer.
Conclusion
In conclusion, the world of dirt bike graphic designs is vibrant, innovative, and continually evolving. From personalization and cutting-edge technology to the latest trends in color and function, these graphics are a reflection of rider individualism and the culture surrounding dirt biking. As motorcycle owners seek to express themselves through their machines, the demand for unique and trendy graphic designs will only continue to grow.
If you’re looking to transform your ride with custom graphics, check out our guide to custom dirt bike graphic kits.
Customer Testimonials on Monster Dirt Bike Graphics
The appreciation for monster dirt bike graphics among motorcycle enthusiasts and repair shops is palpable. Here are some testimonials that highlight satisfaction and experiences with these vibrant designs:
“I recently upgraded my dirt bike with the custom graphics from MotoGrafics, and I couldn’t be happier! The vibrant colors and personalization options let me express my style, and everyone at the track has remarked on how awesome my bike looks!” – Jake M., motorcycle owner
“As a repair shop owner, I often recommend MotoGrafics to my customers. The quality of their graphics is unmatched, and they stand up well to the rough conditions of dirt biking. It’s important to provide my customers with durable and stylish options, and MotoGrafics never disappoints!” – Linda T., repair shop owner
“The installation process was straightforward, and the graphics adhered perfectly to my bike. I can’t believe the transformation! It’s like having a brand-new bike. Thank you, MotoGrafics!” – Kevin R., enthusiastic rider
These testimonials reflect the impact that personalized monster dirt bike graphics can have, enhancing not just the appearance of bikes but also the riding experience itself. If you’re considering a makeover for your ride, check out the custom dirt bike graphics options available!
Essential Tips for Maintaining the Quality of Dirt Bike Graphics
Maintaining the appearance and longevity of dirt bike graphics is essential for both aesthetics and performance. Here are some crucial care tips to ensure your graphics remain in top condition.
1. Regular Cleaning
- Gentle Cleaning: Use a mild soap and water solution for cleaning. Avoid abrasive cleaners as they can scratch the graphics.
- Soft Cloths: Always use a soft, lint-free cloth to wipe down the graphics to prevent scratches.
- Drying: After washing, thoroughly dry the graphics with a microfiber cloth to prevent water spots and streaks.
2. Avoid Harsh Chemicals
- No Harsh Solvents: Avoid using solvents like gasoline, acetone, or ammonia-based cleaners as they can damage the adhesive and design of the graphics.
- Chemical Test: Before using any new cleaner, test it on a small, inconspicuous area of the graphics.
3. Proper Storage
- Environment: Store the dirt bike in a cool, dry place away from direct sunlight. UV rays can cause the graphics to fade over time.
- Covering: If storing for an extended period, consider using a breathable cover that protects against dust but allows moisture to escape.
4. Avoid High Heat and Direct Sunlight
- Heat Exposure: Prolonged exposure to high temperatures can cause the graphics to peel. Avoid leaving the bike in hot environments.
- Sun Protection: Use a UV protective spray specifically designed for graphics, or park under shade to minimize sun exposure.
5. Resisting Scratches and Damage
- Use Bike Wash: A dedicated bike wash can help preserve graphics while cleaning the dirt and grime that accumulate during rides.
- Avoid Rubbing: When cleaning, avoid heavy rubbing that could damage the graphics. Gentle motions work best.
6. Reapply Edge Sealer
- Edge Sealer Consideration: Applying edge sealer around the edges of the graphics can help prevent lifting from dirt and debris, extending the life of the graphics.
7. Monitor for Damage
- Regular Checks: Frequently inspect the graphics for any peels, scratches, or fading.
- Prompt Repairs: If any damage is found, consider repairs or replacing the graphics sooner rather than later to maintain the bike’s overall appearance.
8. Consider Professional Help
- Professional Cleaning: If the graphics appear especially dirty or damaged, consider a professional cleaning service that specializes in motorcycle care.
- Expert Installation: For new graphics, having them professionally installed can help in maintaining their longevity as well.
Conclusion
By following these maintenance tips, dirt bike owners can ensure their graphics remain vibrant and intact throughout the riding season. Regular care not only enhances the bike’s look but also protects the investment in customization. For further insights on custom designs and graphics, check out our article on the top 10 dirt bike wraps and custom dirt bike graphics.
DIY Guide: Installing Graphics on Your Dirt Bike
Installing graphics on your dirt bike not only enhances its appearance but also protects its plastic surfaces from scratches and wear. This guide will provide you with a comprehensive step-by-step process and the necessary tools to execute a successful graphic installation.
Tools and Materials Needed
Before you begin the installation, gather the following tools and materials:
- Graphic Kit or Decal Set: Specific to your dirt bike model.
- Heat Gun or Hair Dryer: For warming the vinyl to ensure proper adhesion.
- Squeegee or Credit Card: To smooth out air bubbles.
- Utility Knife or Razor Blade: For trimming excess vinyl.
- Rubbing Alcohol or Degreaser: To clean the bike’s surface.
- Microfiber Cloth: For cleaning.
- Masking Tape: To position graphics before final application.
- Tape Measure or Ruler: To ensure precise placement.
- Gloves: To avoid fingerprints and oils on the adhesive.
Step-by-Step Instructions
Step 1: Clean the Surface
-
Wash Your Dirt Bike: Thoroughly clean the areas where you plan to apply the graphics. Use soapy water and rinse well.
-
Degrease: Wipe the surfaces with rubbing alcohol to remove any grease or residues. Allow the surface to dry completely.
Step 2: Plan Your Design
-
Layout: Unroll the graphic kit and lay out all pieces on a flat surface. Identify sections that go where on your bike.
-
Mark Positions: Use masking tape to position the graphics on the bike without removing them from their backing. This helps you visualize the final look.
Step 3: Pre-Heat the Area
- Warm the Surface: Use a heat gun or hair dryer to gently warm the area where the graphics will be applied. This step is crucial as it helps the vinyl conform to the bike’s curves and promotes adhesion.
Step 4: Apply the Graphics
-
Peel and Stick: Start with one graphic piece. Slowly peel the backing paper away while carefully aligning the graphic with your marked positions. Avoid touching the adhesive side with your fingers.
-
Smooth Out Bubbles: Once placed, use a squeegee or a credit card to push out any air bubbles. Work from the center outwards.
-
Trimming: If needed, carefully trim any excess material with a utility knife. Ensure it’s aligned properly with the edge of the bike.
Step 5: Heat and Finalize
-
Reheat: After applying the graphics, lightly heat them with the heat gun. This will help the adhesive bond strongly and conform better to the curves of the bike.
-
Final Squeegee: Go over the graphics again with the squeegee to ensure a smooth finish and to eliminate any remaining bubbles.
Step 6: Cure Time
- Allow to Set: Let the graphics cure for at least 24 hours before exposing your bike to weather conditions. Avoid washing your bike during this time to ensure the adhesive fully sets.
Tips for Success
- Take Your Time: Rushing can lead to mistakes. Be patient for a clean and professional finish.
- Work in a Warm Environment: If possible, perform the installation in a warm area to enhance the adhesive ability.
- Check for Compatibility: Ensure your graphics are compatible with your specific dirt bike model.
Conclusion
By following this DIY guide, you can successfully install graphics on your dirt bike, ensuring a personalized and appealing look. Not only does this add to the aesthetics of your bike, but it also protects its bodywork. For those interested in more customization options, check out custom dirt bike graphics for a variety of designs available.
By embracing DIY projects like this one, motorcycle owners can save money and enjoy the satisfaction of enhancing their bikes independently.
Conclusion: The Impact of Monster Dirt Bike Graphics
In conclusion, monster dirt bike graphics play a pivotal role in transforming not only the aesthetics of your bike but also enhancing your riding experience. As we’ve explored throughout this article, custom graphics allow for personal expression, help in creating a unique identity on the track, and provide an opportunity for branding for sponsors and businesses.
The benefits of incorporating these graphics extend beyond mere looks. Quality designs can significantly protect your bike from wear and tear while ensuring improved visibility. This is especially crucial in competitive environments where distinguishing your dirt bike from others can lead to greater recognition and potential sponsorship opportunities.
Moreover, engaging with professional graphic services can generate tailored solutions that cater specifically to your riding style and preferences. Programs like custom dirt bike graphics allow you to personalize your ride in ways that reflect your personality. This level of customization not only makes your bike stand out but can also connect you deeper with the sport.
As you consider enhancements to your dirt bike, we encourage you to explore the many options available, including the top 10 dirt bike wraps that can take your biking experience to the next level. Investing in monster dirt bike graphics is more than just about aesthetics; it’s about embracing a lifestyle that celebrates individuality and performance.
Don’t miss out on the chance to transform your dirt bike into a masterpiece. Get started today and see the difference that vibrant, custom designs can make!