
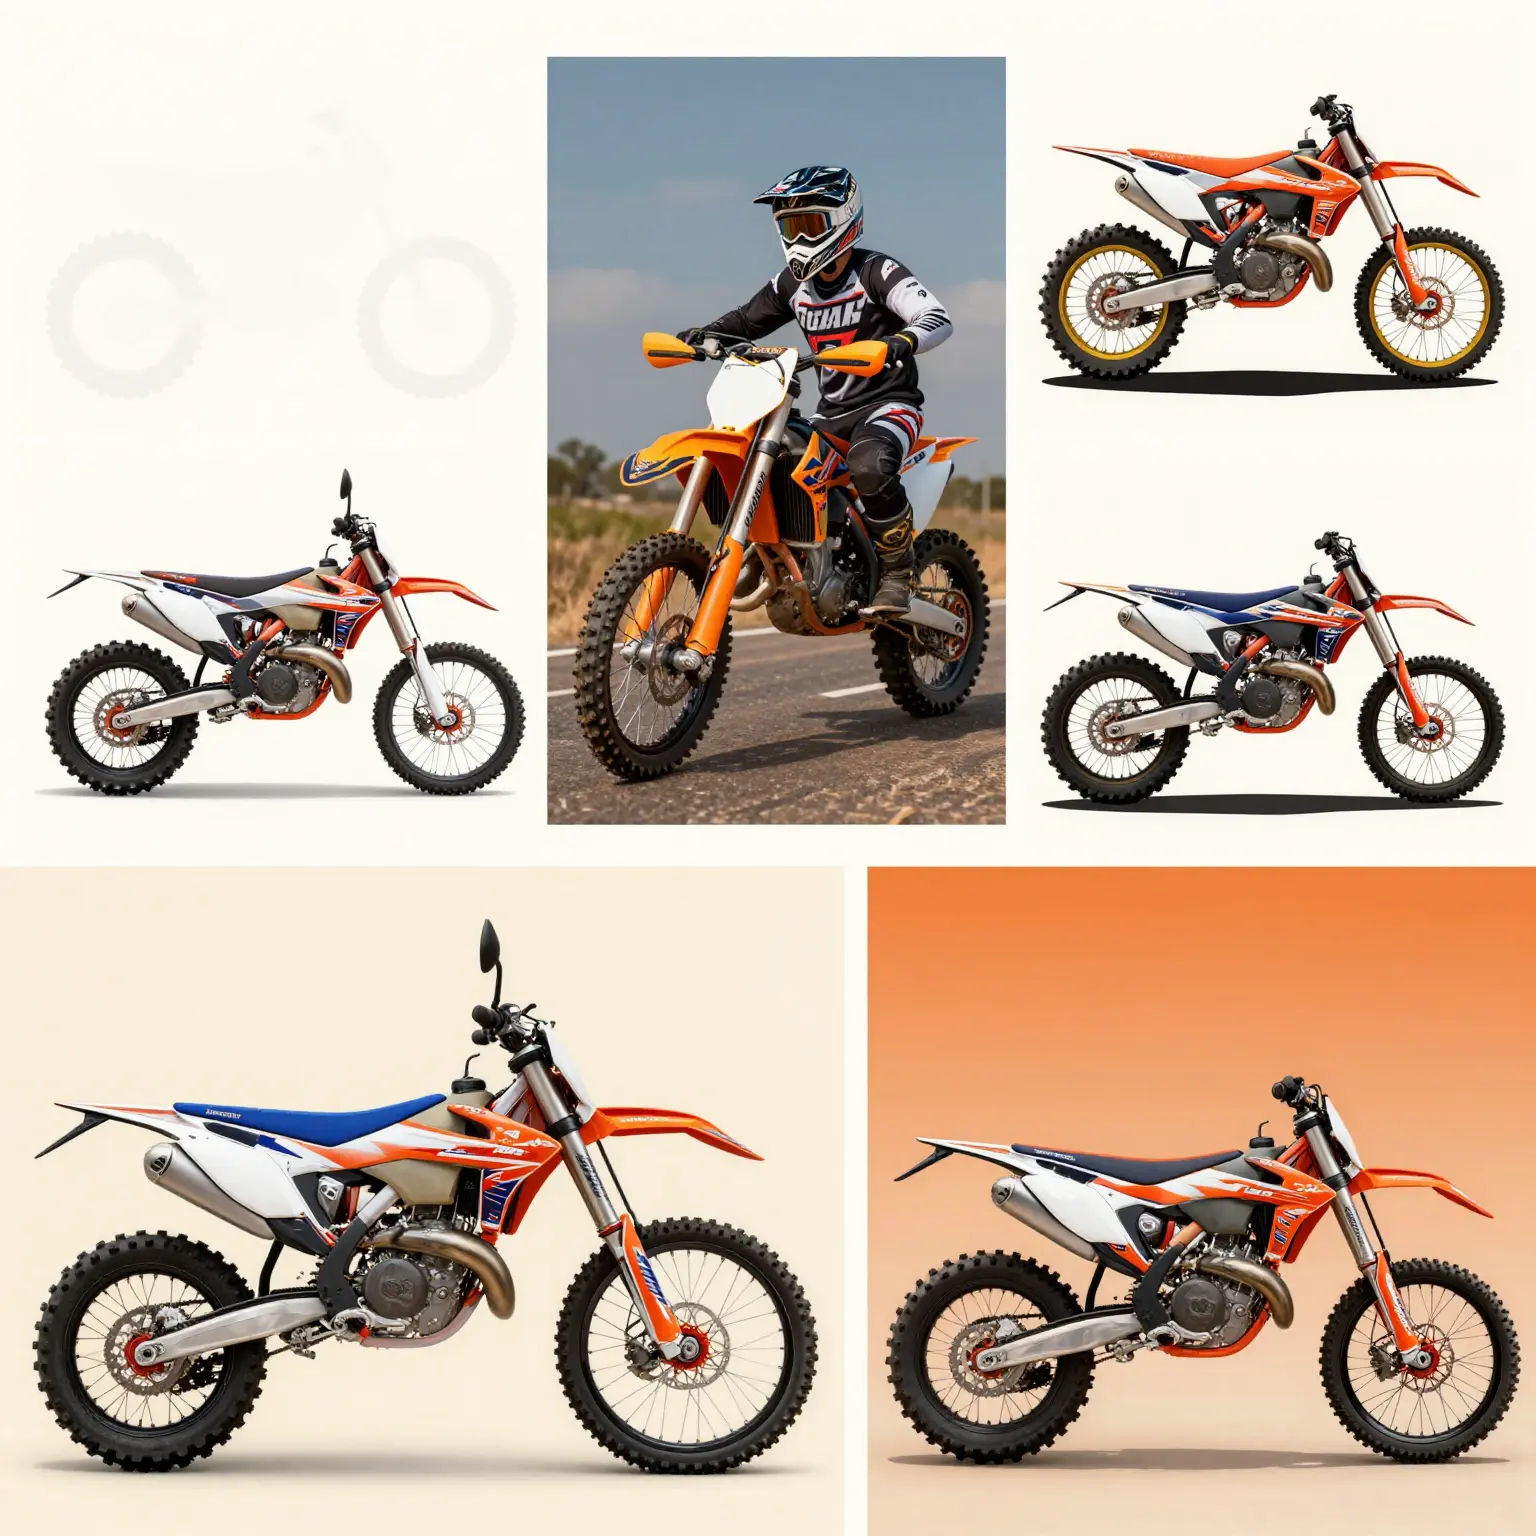
When it comes to dirt bike ownership, personalization is key. DIY dirt bike graphics offer an exciting opportunity to express your individuality and style, turning ordinary bikes into unique masterpieces that reflect your personality. Gone are the days of settling for generic decals; with DIY graphics, you can customize every aspect-from vibrant colors to custom logos. Not only does this creativity enhance the aesthetic appeal of your bike, but it also provides a cost-effective solution compared to professionally done designs. Take pride in being part of the customization process, knowing that you’ve played a pivotal role in crafting a look that’s entirely your own. The satisfaction of riding a bike that truly represents you is unmatched, making DIY dirt bike graphics an appealing choice for motorcycle owners, technicians, and enthusiasts alike. Explore a variety of options by visiting our selection of dirt bike graphics and unleash your creativity!
Participating in the design process not only amplifies your connection to your machine but also enhances the overall riding experience, making every adventure a personal statement. So, why not transform your ride today?
Essential Tools for Creating DIY Dirt Bike Graphics
Creating custom graphics for dirt bikes is an exciting way for motorcycle owners to express their unique style. Whether you’re looking to replace old graphics or design something entirely new, the right tools are essential. Below, we explore some of the key tools you’ll need for a successful DIY graphics project, including graphic design software and printing equipment.
Graphic Design Software
- Adobe Illustrator:
- Overview: A professional vector graphic design software widely used for creating intricate designs.
- Usefulness: Its precision and flexibility allow users to create scalable graphics without losing quality. Many custom graphic designers prefer Illustrator for its comprehensive toolset, making it easy to produce unique designs.
- CorelDRAW:
- Overview: Another powerful vector graphic design tool used by both amateurs and professionals.
- Usefulness: CorelDRAW is known for its user-friendliness and robust features, including tools for designing complex graphics. It’s especially popular among manufacturers of custom dirt bike graphics, as it integrates well with printing processes.
- Inkscape:
- Overview: A free and open-source vector graphics editor.
- Usefulness: Great for hobbyists or those on a budget, Inkscape provides many features found in premium software. Users can create professional-grade designs and export them in various formats suitable for printing.
Printing Equipment
- Inkjet Printer:
- Overview: High-quality inkjet printers are essential for printing designs onto adhesive vinyl or other substrates.
- Usefulness: They can produce vibrant colors and detailed images, making them ideal for custom graphics. Look for printers with large color gamuts to achieve the best results.
- Vinyl Cutting Machine:
- Overview: A machine that cuts vinyl sheets into precise designs.
- Usefulness: This tool is crucial for creating the actual decals once your designs are finalized. A vinyl cutter will help in producing clean and accurate shapes that can be easily applied to a dirt bike.
- Laminator:
- Overview: A laminating machine that adds a protective layer to your printed graphics.
- Usefulness: Laminating protects against the elements and wear and tear, ensuring that your graphics last longer on the track or trail.
Conclusion
Investing in quality tools such as graphic design software and printing equipment will enhance your DIY dirt bike graphics project. By using professional-grade design programs and reliable printing tools, you can create high-quality, durable graphics that reflect your personality and style. For more inspiration or to explore existing designs, check out our range of bike graphics.
With the right approach, you’ll be well on your way to transforming your dirt bike into a personalized masterpiece!
Choosing Design Themes for Dirt Bike Graphics
When it comes to designing graphics for your dirt bike, the theme you choose can significantly impact not only the look of the bike but also your overall riding experience. Here are some popular design themes to consider:
1. Minimalist
The minimalist design theme emphasizes simplicity and clean lines. This approach often uses a limited color palette and avoids clutter, making the graphics sleek and modern. Suitable for riders who appreciate elegance and understated beauty, minimalist designs can come in subtle tones or simple geometric shapes.
Example: A black and white graphic with a simple logo can provide a classic yet modern look.
Tips for Choosing Minimalist Graphics:
- Opt for high-quality materials to ensure longevity.
- Keep branding or logos small and unobtrusive.
2. Aggressive
Aggressive themes are perfect for those who want their dirt bike to look fierce and bold. This style often incorporates dynamic shapes, sharp angles, and vivid colors. Aggressive graphics can convey a sense of speed and power, resonating well with competitive riders who wish to make a statement.
Example: A design featuring flames or jagged lines in fiery reds and oranges can embody an aggressive aesthetic.
Tips for Choosing Aggressive Graphics:
- Look for designs that enhance aerodynamics visually.
- Choose colors that reflect your personality and competitive spirit.
3. Retro
Retro designs bring back the classic styles from the past, making bikes look nostalgic and unique. This theme can include vintage logos, old-school color schemes, and classic motifs that pay homage to dirt bike history. Retro graphics are ideal for riders who want to stand out with a vintage flair.
Example: A graphic that uses pastel colors and retro fonts can create a fun, nostalgic look.
Tips for Choosing Retro Graphics:
- Incorporate elements from the era that resonates with you personally.
- Consider how well the retro design complements modern bike features.
Final Thoughts
When selecting the best theme, consider the style of your bike and your personal riding identity. A well-chosen graphic design not only enhances your bike’s appearance but also reflects your personality and riding style. If you’re looking for customizable dirt bike graphics, explore options at MotoGraphics and Backyard Design USA.
Whether you opt for minimalist, aggressive, or retro themes, each choice has its unique appeal and can elevate your dirt bike experience to new heights.
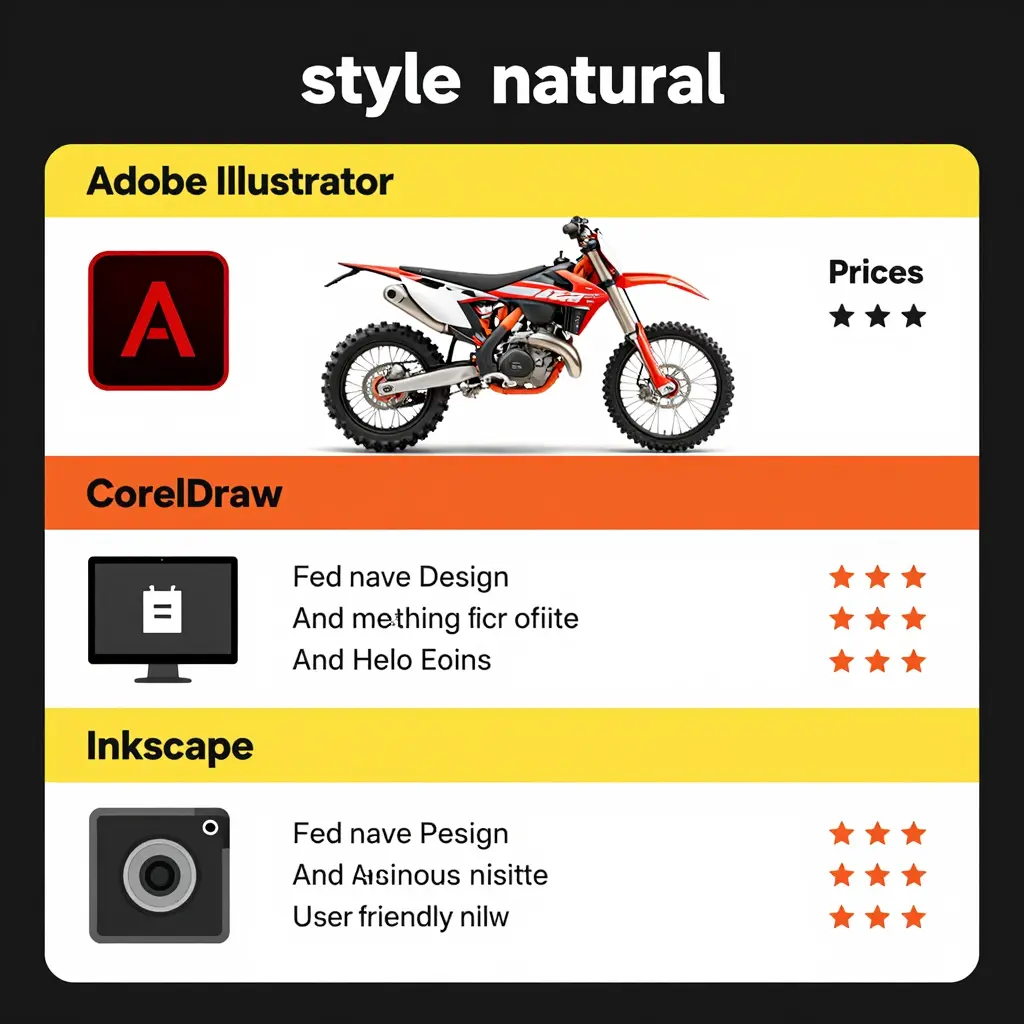
Comparing Popular Graphic Design Software for Dirt Bike Graphics
Creating custom graphics for dirt bikes can be made easier with the right software. Below is a comparison of three popular graphic design tools: Adobe Illustrator, CorelDRAW, and Inkscape. This table outlines their features, pricing, and user-friendliness, helping you choose the right tool for your needs.
| Software | Features | Pricing | User Friendliness |
|---|---|---|---|
| Adobe Illustrator | Advanced vector graphics, powerful drawing tools, and great typography. Ideal for professionals. | $20.99/month or $239.88/year (Adobe) | Moderate; requires learning curve for beginners |
| CorelDRAW | Versatile graphic design software with a user-friendly interface and powerful features for illustration and design. | One-time purchase option starting at around $499 or subscription options available (CorelDRAW) | High; intuitive interface, great for all levels |
| Inkscape | Free, open-source vector graphics editor with robust features for creating professional-grade designs. | Free to use (Inkscape) | High; user-friendly for beginners and essential tools available |
Step-by-Step Guide to Designing Graphics for Your Dirt Bike
Designing graphics for dirt bikes involves a creative process that enhances the motorcycle’s aesthetics while reflecting the rider’s personality. This guide will take you through the different stages of graphic design, from brainstorming ideas to finalizing the design, along with tips for using various software effectively.
Step 1: Brainstorming Ideas
Begin by gathering inspiration for your graphic design. Consider the following techniques:
- Research: Look at existing designs in the dirt bike community. Explore websites, social media, and design galleries. For instance, you might want to check out various bike graphics on platforms like Motograpics to see what appeals to you.
- Mind Mapping: Draw a mind map that connects themes, colors, and design elements that resonate with you.
- Mood Board: Create a mood board using images, color palettes, and fonts that ignite your creativity. Tools like Pinterest can be useful for this.
Step 2: Define Your Objectives
Clarifying your design objectives is crucial. Ask yourself:
- What message do I want the graphics to convey?
- Who is the target audience?
You might want to create designs that cater to different groups such as professional riders or casual enthusiasts. Knowing your audience will help in making design choices.
Step 3: Sketch Initial Concepts
Once you have a clear vision, begin sketching initial ideas. This can be as simple or detailed as you prefer:
- Use pencil and paper for quick sketches to visualize your concepts.
- Utilize software like Adobe Fresco or Procreate for digital sketches, allowing you to experiment with colors and shapes effectively.
Step 4: Choose the Right Software
Selecting the appropriate design software is crucial for your graphic design project. Some popular choices include:
- Adobe Illustrator: A premier vector graphics tool for creating high-quality images. It’s well-suited for intricate designs and allows for easy manipulation of shapes and colors. See more details here.
- CorelDRAW: Excellent for vector illustration, it is user-friendly and great for beginners.
- Canva: A web-based design platform ideal for those who prefer a simpler interface with drag-and-drop functionality.
Tip: When using Adobe Illustrator:
- Take advantage of the layers feature to separate different design elements.
- Familiarize yourself with the pen tool to create custom shapes and paths.
Step 5: Create Digital Drafts
Convert your sketches into digital drafts:
- Start with basic shapes and colors to outline your design.
- Focus on layering elements – adjust opacity, blend modes, and positioning to add depth to your design.
Step 6: Refine Your Design
After you’ve created a draft, refine your design by considering the following:
- Color Harmony: Make sure your colors blend well together. Websites like Adobe Color can help generate suitable palettes.
- Typography: Choose fonts that align with the motorcycle culture while remaining legible.
- Get feedback from peers or target audiences to ensure your design resonates well.
Step 7: Finalize the Design
Once you are satisfied with your graphics, it’s time to finalize:
- Proofread text: Ensure there are no spelling errors if your design includes words.
- Check Dimensions: Ensure your file is the correct size and resolution for print or digital display.
- Save your work in multiple formats (.AI, .EPS, .PDF, .PNG) for flexibility across various applications.
Step 8: Print and Apply Graphics
The final step involves printing or applying your graphics:
- If you are printing, choose a reliable printing service that specializes in motorcycle graphics.
- Follow guidelines for application to ensure durability and proper adherence. Consider protective coatings for added longevity.
Additional Tips
- Keep learning about new trends and tools to enhance your graphic design skills.
- Engage in online communities for dirt bikers where you can share your work and get constructive criticism.
In conclusion, designing graphics for dirt bikes is an exciting and rewarding process that takes time and effort. By following these steps and effectively utilizing graphic design software, you can create stunning visuals that stand out on the track. For those looking to explore premade options, feel free to check out the collection of Surron graphics and other dirt bike graphics available on Motograpics.
This comprehensive guide not only outlines the creative process but also equips motorcycle owners, repair shops, and technicians with valuable insights on how to bring their graphic ideas to life. Happy designing!
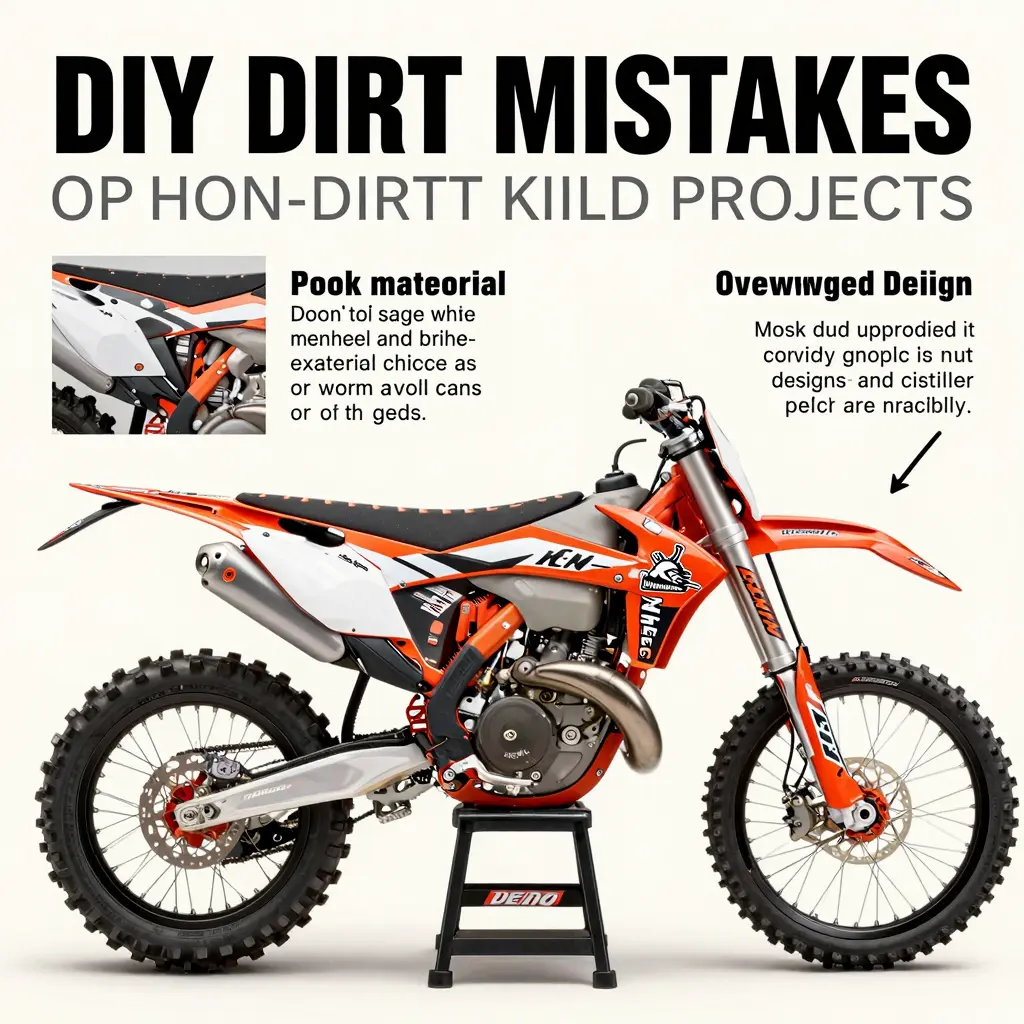
Common Mistakes to Avoid in DIY Dirt Bike Graphics Projects
Creating your own dirt bike graphics can be a rewarding experience, allowing for personalization and creativity. However, it’s easy to encounter pitfalls. Below are common mistakes people often make along with tips to avoid them:
1. Choosing Poor Quality Materials
Using low-quality vinyl or adhesive can lead to graphics that peel or fade quickly. Tip: Invest in high-quality materials that are weather-resistant and designed specifically for vehicle graphics. This will ensure your design lasts longer and maintains its vibrant colors. For great options, check out our selection of dirt bike graphics.
2. Overloading with Elements
A common mistake in DIY design is overcrowding the graphics with too many elements or colors. Tip: Stick to a simple color palette and limit the number of graphics to create a clean, professional look. Focus on a few key features that represent your style without overwhelming the overall design.
3. Improper Installation Techniques
Incorrect installation can lead to bubbles, wrinkles, and overall poor appearance. Tip: Follow a systematic installation process. Clean the surface thoroughly, use a heat gun to make the vinyl pliable, and have a squeegee handy for a smooth application. For detailed expertise, refer to this guide on how to install dirt bike graphics.
4. Ignoring the Target Audience
Sometimes DIY graphic designers forget to consider who they are designing for, which can lead to designs that don’t resonate with viewers. Tip: Think about your audience and try to incorporate elements they’ll connect with. This might involve trends popular within the dirt biking community or specific designs that appeal to enthusiasts.
5. Skipping the Planning Phase
Jumping straight into design can result in missed opportunities for refinement. Tip: Take your time to sketch out a few designs, and gather feedback before you finalize your graphics. Planning allows for better alignment with your vision and adjustments based on feedback.
By avoiding these common mistakes, you’ll ensure that your DIY dirt bike graphics not only stand out but also last longer on the trails. For more options on graphics tailored to your dirt bike model, see our collection of custom dirt bike graphics.
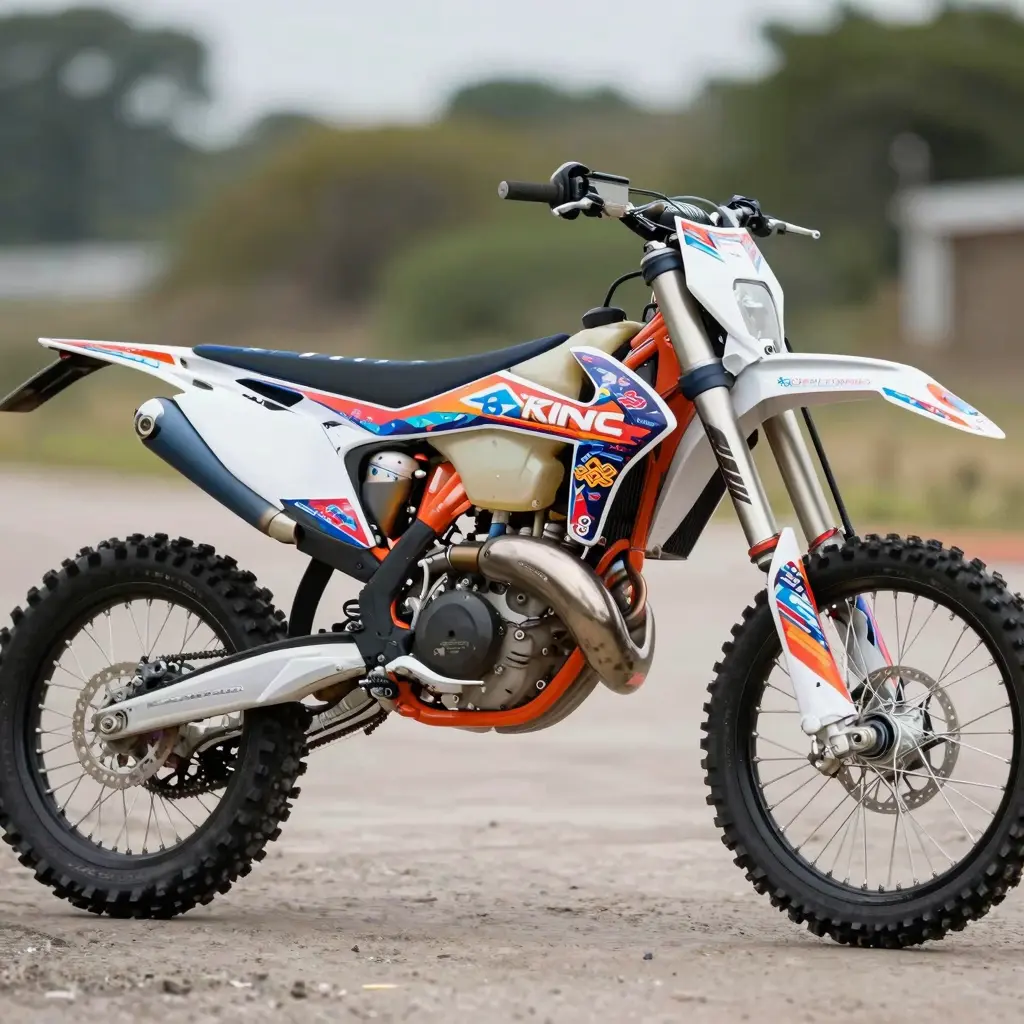
Applying vinyl graphics to your dirt bike can significantly enhance its appearance and provide personal expression. However, the application process is crucial not just for aesthetics but also for ensuring the longevity of the graphics. Here’s a detailed guide on how to properly apply these graphics while avoiding common pitfalls.
Steps for Applying Vinyl Graphics
- Preparation of the Surface:
- Clean the bike’s surface thoroughly using a degreaser and a lint-free cloth. Removing dirt, oil, and old adhesive is essential for ensuring the new graphics adhere properly.
- Make sure the surface is completely dry before proceeding.
- Measure and Align:
- Before removing the backing paper, measure and mark where the graphics will be applied. Use masking tape to create guidelines and ensure accurate placement.
- If the graphics are intricate, consider laying them out on the bike without peeling the backing to visualize the final look.
- Peeling the Backing:
- Start peeling the backing away slowly from one end while keeping the graphic aligned with your markings. Avoid touching the adhesive side.
- Applying the Graphic:
- Use a plastic squeegee to press the graphic onto the surface. Start from the center and work outward to eliminate any air bubbles, pushing any trapped air towards the edges.
- For larger graphics, use a heat gun or hair dryer on a low setting to help conform the vinyl to curves and ridges, which can prevent issues with bubbles.
- Final Inspection and Trimming:
- Once the graphic is applied, inspect for any air bubbles. If any are present, carefully poke a tiny hole with a pin and use the squeegee to push the air out.
- Trim any excess material from the edges neatly.
Best Practices for Longevity
-
Choose Quality Materials: Invest in high-quality vinyl graphics that are UV-resistant and durable. This reduces the chances of fading and peeling, especially in harsh weather conditions. You can browse quality options in the KTM graphics section for some of the best designs.
-
Avoid Direct Sunlight: Prolonged exposure to sunlight can degrade vinyl graphics. When storing your bike, try to keep it in shaded or covered areas.
-
Gentle Cleaning: Clean the graphics with mild soap and water. Avoid using chemicals or abrasive materials that could scratch or fade the design. Regular maintenance in line with recommendations from Better Dirt Bike Riding can keep your graphics looking new.
-
Vinyl Care: Apply a protective layer or wax occasionally to enhance the lifespan of the graphics. This can also help shield against environmental elements, such as dirt, mud, and rain.
Following these steps and best practices will ensure that your vinyl graphics not only look great when applied but also maintain their vibrant appearance for years to come. Whether you’re a motorcycle enthusiast or a technician, mastering the application of graphics is a valuable skill that elevates any dirt bike.
With a little patience and care, you can achieve a professional-looking finish that sets your bike apart.
Popularity of Graphic Styles in DIY Dirt Bike Customization
Understanding the graphic styles that resonate with motorcycle owners can significantly enhance the appeal of your dirt bike customization projects. A recent survey illustrates the popularity of various graphic styles currently trending in the DIY dirt bike community.
Popular Graphic Styles Chart
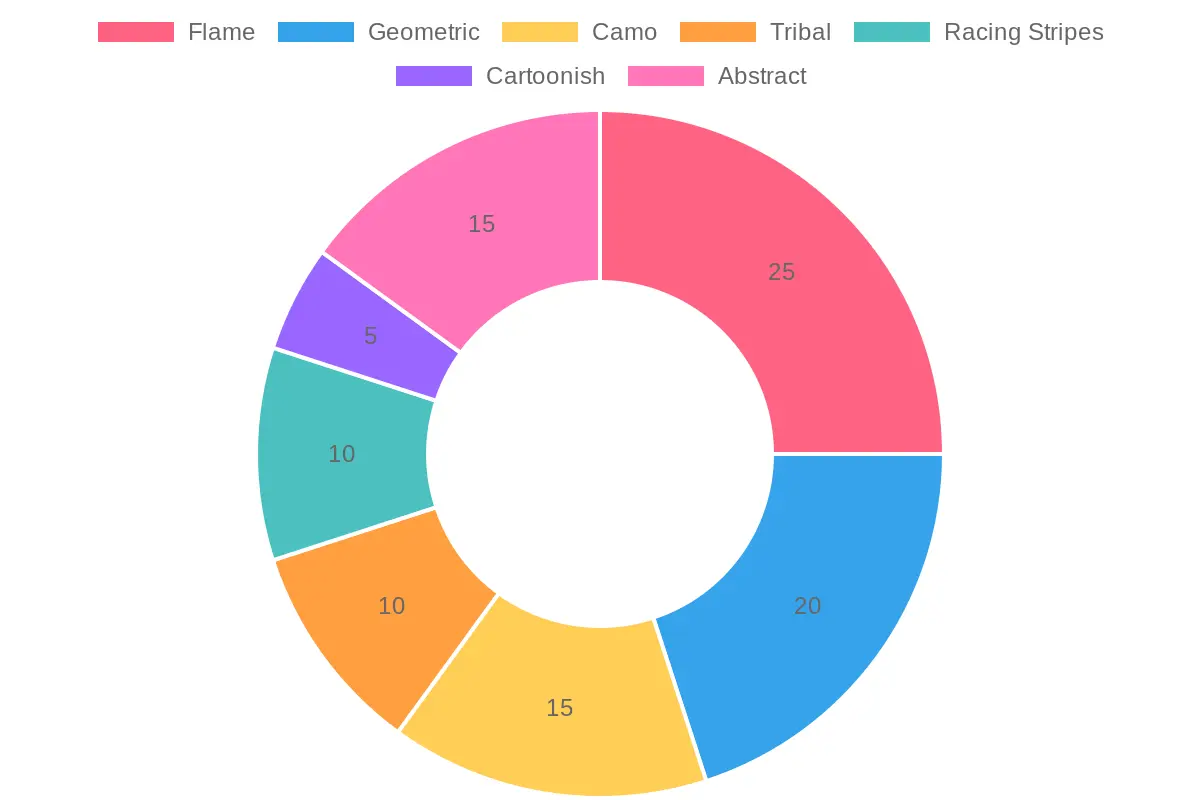
Here’s a breakdown of the most popular graphic styles used:
| Graphic Style | Popularity (%) |
|---|---|
| Flame | 25 |
| Geometric | 20 |
| Camo | 15 |
| Tribal | 10 |
| Racing Stripes | 10 |
| Cartoonish | 5 |
| Abstract | 15 |
These styles reflect the current trends and preferences among riders and customization enthusiasts.If you’re looking for graphic styles for your bike, explore our product categories here for unique options.
Conclusion: Embrace Your Creativity with DIY Graphics!
Starting your DIY dirt bike graphics project can be an incredibly rewarding experience. Not only does it allow you to personalize your ride, but it also saves you a significant amount of money compared to hiring professionals. By taking control of the design process, you ensure that your graphics truly reflect your personality and style. Instead of settling for generic options, you can create a one-of-a-kind look that stands out on the track or the trails.
Moreover, engaging in DIY projects fosters creativity and provides an opportunity to learn new skills. Whether you choose to use a Cricut machine or opt for manual methods, you will develop a sense of accomplishment as you see your vision come to life.
Why not take the plunge? Gather your materials and explore our vast range of DIY graphic options designed specifically for dirt bikes. You have the power to make your dirt bike not just a means of transport but a canvas for your artistic expression! So, what are you waiting for? Unleash your creativity, save on costs, and let your dirt bike graphics tell your story!
Get started today and turn your imagination into reality!