
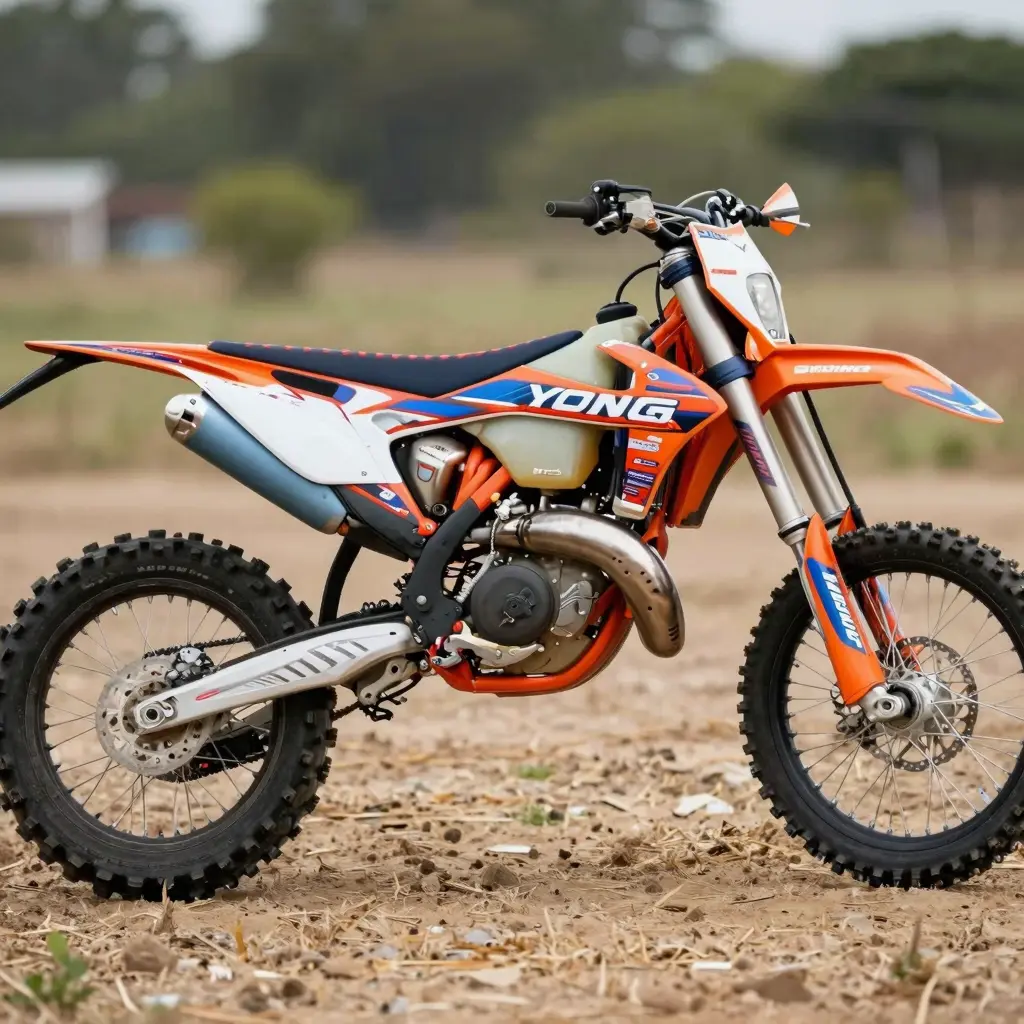
Unlocking Creative Potential: The Importance of Custom Dirt Bike Graphic Kits
When it comes to dirt biking, performance and style go hand in hand. Customization is not just a matter of aesthetics; it’s a powerful expression of individuality for motorcycle owners. Dirt bike graphic kits have emerged as essential tools for personalization, allowing riders to showcase their unique character while enhancing the bike’s overall appeal. As a motorcycle owner or a representative of a repair shop, understanding the impact of custom graphics can elevate the riding experience that you offer to your clients.
Imagine tearing down a trail on a bike that not only performs like a champion but also looks like it belongs in the spotlight. Custom graphics can provide a significant edge, attracting attention and signaling professionalism. For repair shops, offering customization services can increase customer satisfaction and loyalty, giving clients a reason to return for more than just routine maintenance.
With a wide range of options available, from KTM graphics to Surron light bee graphics, dirt bike graphic kits open the door to creative possibilities and set the stage for unforgettable riding adventures. Whether upgrading an existing bike or building a new one, embracing the world of custom graphics is a decision that speaks volumes about the passion for the sport. Join us as we delve deeper into the captivating world of dirt bike graphics and discover how they can transform the ordinary into the extraordinary!
Benefits of Custom Graphic Kits for Dirt Bikes
Custom graphic kits for dirt bikes play a vital role in enhancing the riding experience. They come with a multitude of advantages that cater to both personal expression and practical functionality.
1. Aesthetic Appeal
Custom graphics significantly enhance the visual appeal of dirt bikes. Riders can select colors, designs, and logos that reflect their personality, making their bikes stand out in a crowd. Riders often find that these eye-catching designs contribute to a unique bike identity, leaving a memorable impression on their peers and competitors. A well-designed graphic kit can elevate the bike’s appearance to an art form, offering riders a way to showcase individuality in the competitive world of dirt biking.
2. Personalization and Emotional Attachment
The process of customizing a dirt bike fosters a personal connection between the rider and their machine. Many riders report that customizing their bikes increases their emotional attachment, enhancing their overall riding experience. According to Off-Road Weekly, personalized graphics transform bikes from standard products into cherished possessions. Riders can also use graphics to commemorate achievements, such as race milestones, highlighting personal expertise and fostering pride in their bike.
3. Branding Opportunities for Repair Shops
Custom graphic kits are not only beneficial for personal riders but also present significant branding opportunities for motorcycle repair shops. Utilizing custom graphics on the shop’s vehicles, uniforms, and signage helps create a cohesive and professional brand identity. According to a Motorcycle Mechanics Magazine, shops that invest in distinctive visual branding experience improved customer recognition and loyalty. Strong visual branding can lead to an increase in walk-in customers and enhance online engagement. Furthermore, consistent use of graphic kits across all platforms reinforces brand credibility and helps communicate professionalism to potential customers.
4. Durability and Protection
High-quality graphic kits not only beautify the bike but also help protect its original paint from scratches and weather wear. Many kits are designed to withstand challenging environments by using UV-resistant materials that prevent fading over time. Riders can enjoy their customized aesthetics without the worry of damage from outdoor conditions.
5. Easy Installation and Versatility
Today’s custom graphic kits are designed for ease of installation. Many kits come with modular components, allowing riders and shops to easily update or change designs without damaging the bike’s surface. This flexibility enables riders to switch themes or upgrade styles as trends change throughout the season.
In conclusion, choosing custom graphic kits for dirt bikes provides riders and repair shops with numerous benefits, from aesthetic value and personalization to branding opportunities. Riders gain a unique sense of individuality, while shops can enhance their market presence effectively.
Popular Brands of Dirt Bike Graphic Kits
Dirt bike graphic kits are not only a means to personalize your ride but also provide protection to your bike’s underlying paint. Here’s a look at some of the most popular brands in the market, their key features, and unique selling propositions that make them stand out.
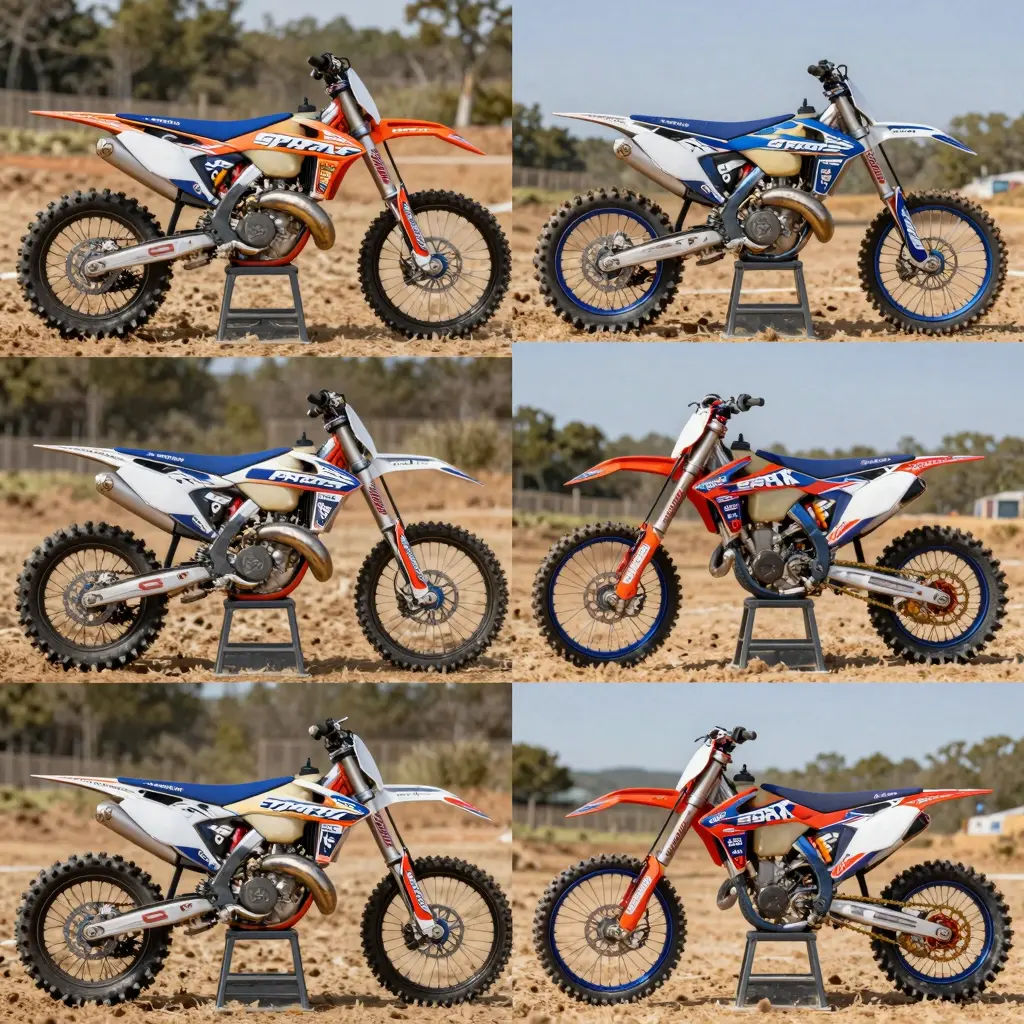
Collage of popular dirt bike graphic kits showcasing vibrant designs and branding logos from top brands.
1. Sparx Graphics
Sparx Graphics is renowned for its high-resolution digital printing techniques that allow for a high degree of customization. Customers can upload personal images or collaborate with the design team to create unique graphics. Key features include:
- Fast turnaround; typically ships within 72 hours.
- Durable material designed to withstand rigorous outdoor conditions.
- Available designs include vibrant colors and detailed graphics that appeal to various riding styles.
Learn more about Sparx Graphics
2. MotoGrip
MotoGrip is a crowd favorite, especially among younger riders. Known for its intuitive installation process, MotoGrip offers:
- High-quality adhesive with minimal air bubbles during application, ensuring a smooth fit.
- Designs that maintain clarity and color for up to three years, even under harsh sunlight.
- A wide range of styles that cater to both modern and retro aesthetics.
Citation: Cycle World
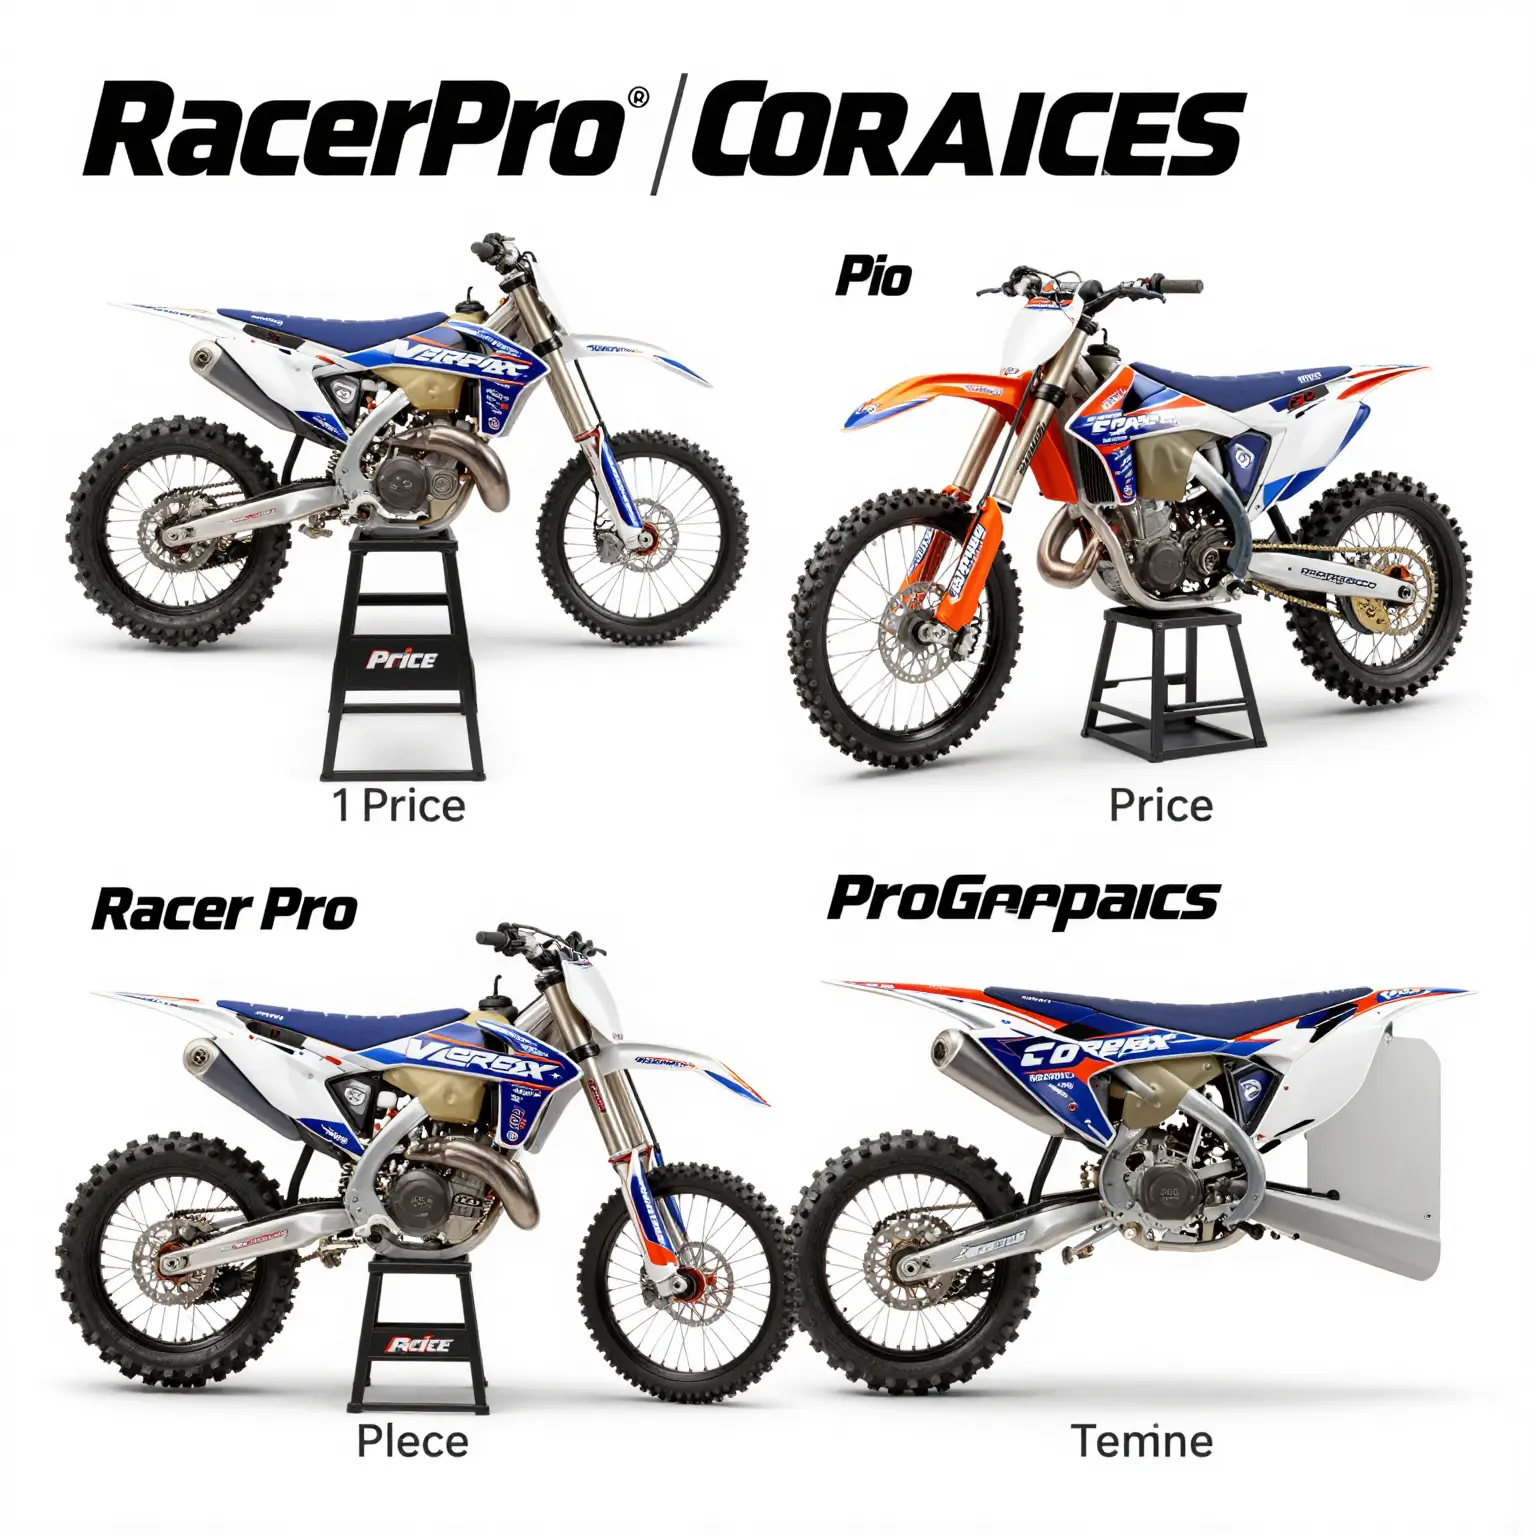
3. RacerX Pro
With an emphasis on performance and aesthetics, RacerX Pro targets competitive riders. This brand offers:
- High-contrast graphics that effectively pop out on the track.
- Easy-to-peel backing that allows for a simple installation process even for beginners.
- Environmental durability with UV-resistant coatings that prevent fading.
Citation: Reddit Community Insights
4. T-Motors
T-Motors is gaining traction for its blend of affordability and quality. Their offerings include:
- Full-body wrap kits that cover all areas of the bike, including tougher spots like the fork guards.
- Extensive designs that give riders options without breaking the bank.
- High ratings for customer satisfaction, especially regarding fit and durability.
Citation: Motorcycle.com
5. KTM Factory Racing
For those who ride KTM bikes, the official graphic kits provide unmatched compatibility. Unique features include:
- Officially licensed designs replicating those seen in professional competitions.
- Perfect fitment and color-matching to original equipment manufacturer (OEM) parts, ensuring aesthetic cohesion.
- Quality materials that withstand competitive racing conditions.
Explore KTM Graphics
Conclusion
Choosing the right graphic kit can significantly enhance the look of your dirt bike while also providing essential protection. The brands mentioned above are highly regarded for their quality, durability, and design options. Whether you are a casual rider or a competitive racer, there’s a graphic kit to suit your style. Explore the extensive collection at MotoGraphics for your next customization project!
Comparison Table of Dirt Bike Graphic Kits
When selecting a graphic kit for your dirt bike, various factors such as price, customization options, and material quality significantly affect your decision. Below is a comparison table of some prominent brands in the market, showcasing their unique features:
| Brand | Price Range (USD) | Customization Options | Material Quality |
|---|---|---|---|
| RacerPro | $200 – $500 | Full custom designs | Premium-grade vinyl |
| Vortex Graphics | $150 – $350 | Personalized options | UV-resistant vinyl |
| Motocross Graphics | $150 – $300 | Semi-custom patterns | Durable vinyl |
| ProGraphics | $250 – $450 | High-end custom designs | Scratch-proof vinyl |
| MX Designs | $100 – $200 | Limited custom colors | Standard vinyl |
| AliExpress | $50 – $150 | Generic designs | Varies greatly |
Key Takeaways:
- RacerPro offers the most comprehensive customization options but comes at a higher price point. Their kits are known for high durability.
- Vortex Graphics balance customization with a reasonable price range, making them a popular choice for both novices and pros.
- The Motocross Graphics offer good value for those who want protection and style simultaneously without breaking the bank.
- ProGraphics is aimed at racers who need high-quality graphics that won’t wear out easily.
- AliExpress is a budget-friendly option but may lack the quality and precision fit of professional brands.
For more options and to explore the latest kits, check out MotoGraphics Dirt Bike Graphics and discover what’s available for your bike.
Additionally, to learn more about what to look for in dirt bike graphics, read our guide on custom options.
Visual Overview
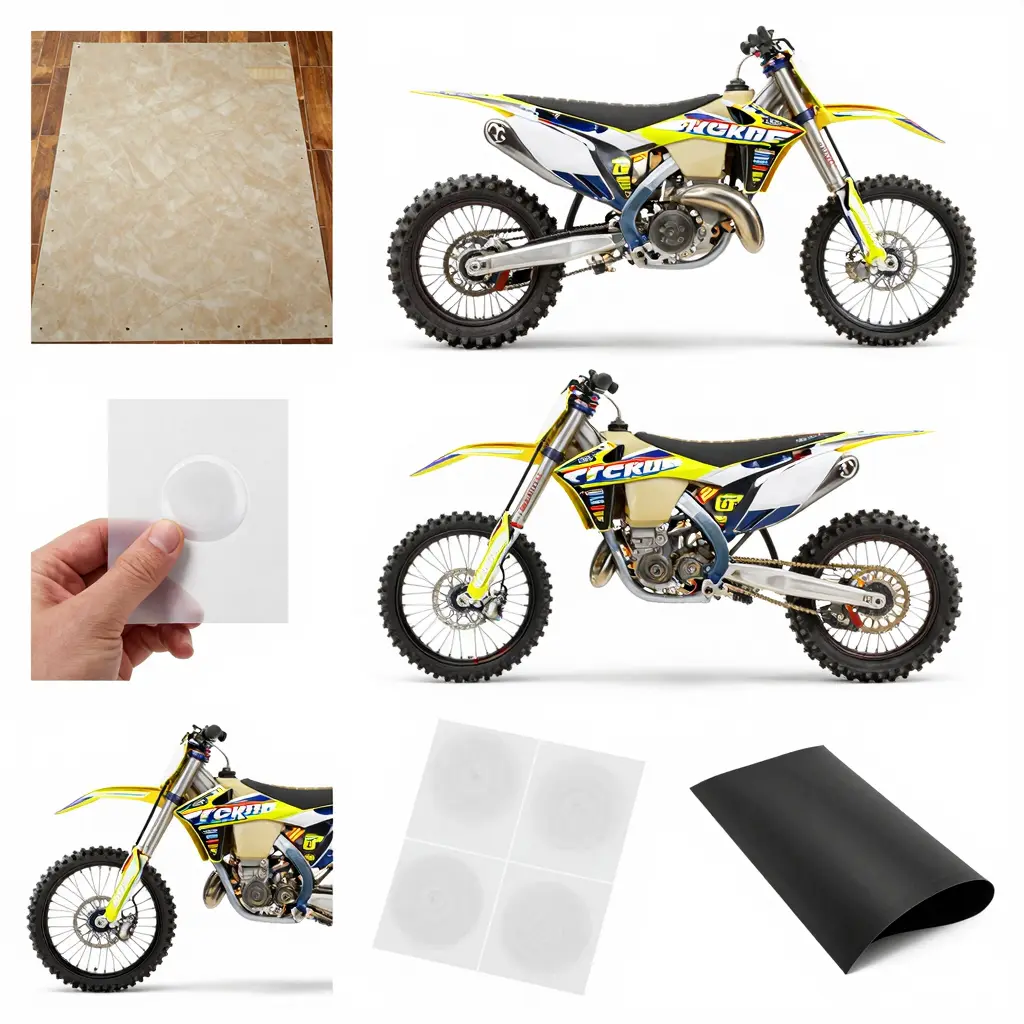
DIY Installation of Dirt Bike Graphic Kits
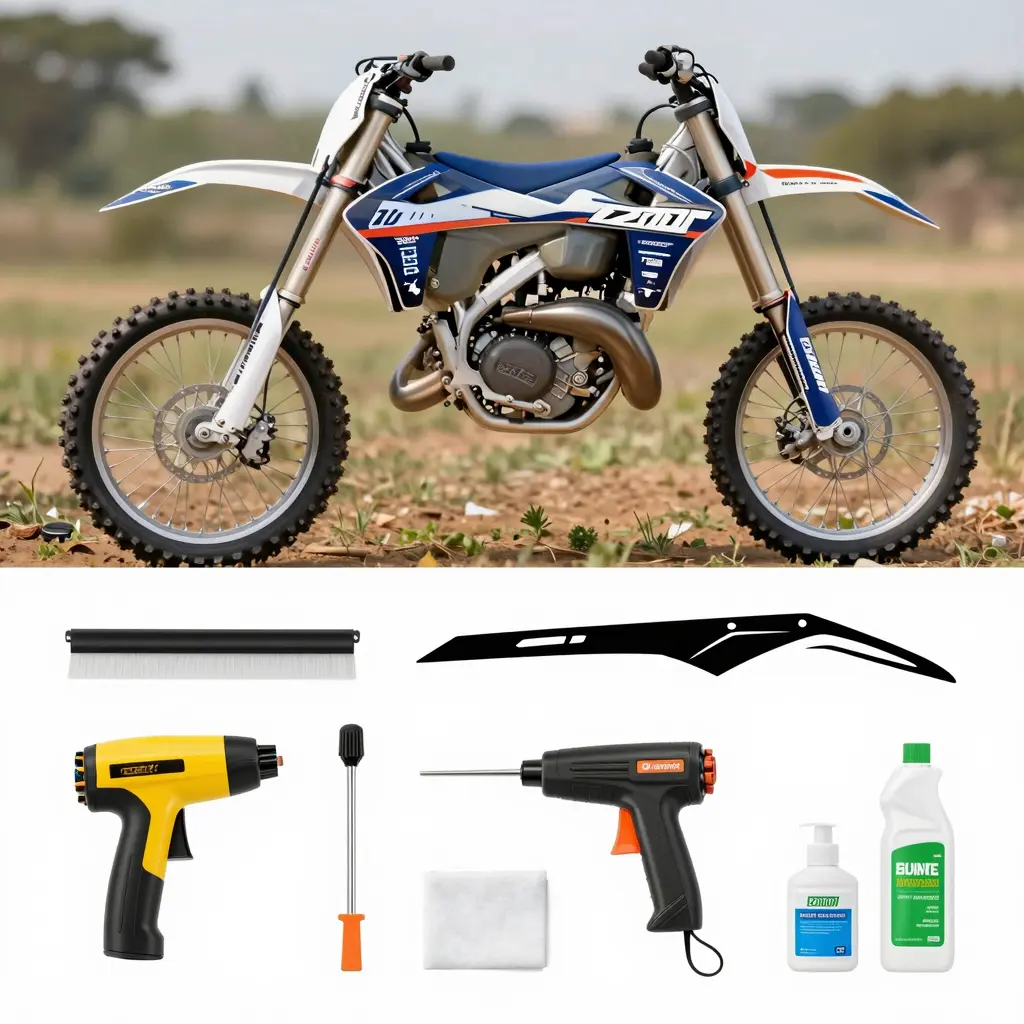
Installing a graphic kit on your dirt bike can enhance its aesthetic appeal and protect its surface at the same time. Here’s a step-by-step guide to help motorcycle technicians and owners successfully execute a DIY installation of graphic kits. This guide will cover essential tools, preparation steps, and tips for achieving a professional finish.
Tools Needed
Before starting the installation, gather the following tools:
- Heat Gun or Hair Dryer: To soften the graphic material for easier application.
- Squeegee or Credit Card: To smooth out the graphics and eliminate air bubbles.
- Alcohol and Cleaning Cloths: To thoroughly clean the bike’s surfaces.
- Scissors or Utility Knife: For trimming the graphics as necessary.
- Measuring Tape: To ensure proper alignment of the decals.
- Masking Tape: For temporarily positioning the graphics before final application.
Step-by-Step Installation Process
1. Preparation of the Bike
- Clean the Surface: Start by cleaning the areas where the graphics will be applied. Use isopropyl alcohol with a microfiber cloth to remove any grease, dust, and debris. Ensuring a clean surface is critical for adhesion.
- Remove Old Graphics: If there are any existing graphics, make sure to take them off completely to avoid complications during installation.
2. Positioning the Graphics
- Dry-Fit the Graphics: Before peeling off the backing, lay the graphics on the bike to find the best positioning. Use masking tape to hold the graphics in place without sticking.
- Check Alignment: Use measuring tape to ensure that everything is centered and aligned correctly.
3. Applying Heat
- Warm the Graphics: Lightly warm the graphics with a heat gun or hairdryer. This makes the vinyl more pliable and easier to work with, especially around curves and complex shapes.
4. Sticking the Graphics
- Peel the Backing: Start peeling the backing from one side while carefully applying the graphic to the bike’s surface. Don’t peel off the backing completely; this prevents the graphic from sticking prematurely.
- Smooth Out Air Bubbles: Begin from the center and use the squeegee or credit card to push out air bubbles towards the edges. Work slowly and methodically to avoid creases and wrinkles.
5. Trimming Excess Material
- Use Scissors: If necessary, use scissors or a utility knife to trim the edges of the graphics. Be careful not to cut into the bike’s body or other graphics.
6. Final Touches
- Cure Time: Give the installed graphics sufficient time to properly adhere, typically around 24 hours before riding. Avoid washing the bike during this period.
Additional Tips
- Avoid Windy Conditions: It’s best to install graphics in a controlled environment, avoiding windy or cold days which can lead to bad adhesion and dirt becoming trapped underneath.
- Follow Manufacturer Instructions: Each graphic kit may come with specific directions or recommendations for installation that should be closely followed.
In conclusion, the installation of dirt bike graphic kits can be performed easily with the right tools and by following these steps. For high-quality graphic kits, explore our custom dirt bike graphic kits that offer a wide selection for personalization. Happy customizing!
Essential Maintenance Tips for Graphic Kits of Dirt Bikes
Maintaining the appearance and integrity of your custom graphic kits is crucial for motorcycle owners looking to keep their rides looking sharp. Here is a carefully curated list of maintenance tips tailored for motorcycle enthusiasts and repair shops:
1. Regular Cleaning
- Use Mild Soap: Clean your graphic kits with a solution of mild soap and water, avoiding abrasive materials or pressure washers that can damage the vinyl. This ensures the graphics remain intact without causing wear.
- Microfiber Cloth: After washing, dry the graphics with a microfiber cloth to prevent water spots, as excessive moisture can lead to mold and degradation of the adhesive.
2. Avoid Harsh Chemicals
- Stay Away from Alcohol or Ammonia: These chemicals can break down the vinyl material. Opt for a dedicated vinyl cleaner for tougher grime instead. Using wrong products leads to premature damage to the graphics.
3. UV Protection
- Limit Sun Exposure: Park your bike in shaded areas whenever possible. Prolonged exposure to sunlight can cause fading and cracking. Consider using a breathable motorcycle cover for added protection when parked outdoors.
4. Temperature Control
- Avoid Extreme Heat: Ensure that your motorcycle doesn’t sit in direct sunlight for long periods. Additionally, avoid washing with high-pressure sprayers that can expose the graphics to extreme temperature variations which lead to cracking.
5. Inspect for Damage
- Frequent Checks: Regularly inspect the edges of the graphics for any lifting or peeling. If you notice flaking or bubbling, act promptly by re-adhering the vinyl with a heat gun or hairdryer to avoid further damage.
6. Restore Adhesion
- Use Heat for Reapplication: If graphics begin to peel, gently apply heat to the lifted edge to soften it before pressing it back into place. Use a squeegee for a smooth finish and seal with vinyl adhesive if necessary.
7. Protect During Rides
- Avoid Dirty Environments: When possible, avoid riding in excessively dusty or muddy conditions. After each ride, wipe down the graphics to remove dust and contaminants that can embed into the vinyl.
8. Store Properly
- Indoor Storage: Whenever possible, store your motorcycle indoors to minimize exposure to adverse weather conditions like rain and snow.
9. Timely Replacement
- Don’t Delay Replacement: If graphics are damaged beyond simple reapplication, consider replacing them entirely. This ensures not only aesthetic appeal but safety, especially if critical information like VIN plates is obscured.
10. Consult Professionals
- Seek Expert Advice: For tricky repairs or concerns that arise regarding your graphics, consult with motorcycle technicians who are experienced in handling graphic kits. Sometimes, the right advice can save you from costly mistakes.
By following these maintenance tips, motorcycle owners can ensure that their graphic kits remain vibrant, intact, and functional, contributing to both the look and value of their bikes. For more information on suitable graphic kits, visit MotoGraphics to explore a variety of options.
“The graphics not only made my bike stand out on the track but also boosted my confidence during races. The quality is exceptional-no peeling or fading even after months of hard riding in all conditions.” – A satisfied racer, discussing their experience with custom graphics from Rider’s Edge Graphics.
This quote effectively reinforces the benefits of custom graphic kits, adding credibility and reflecting the positive experiences of users.
When considering enhancing your motorcycle’s look, check out the options available for dirt bike graphic kits to find the perfect style for your ride!
Conclusion: The Advantages of Custom Graphic Kits for Your Dirt Bike
In summary, investing in custom graphic kits for your dirt bike offers a spectrum of benefits that go beyond mere aesthetics. Firstly, these kits elevate your bike’s visual appeal, allowing riders to express their personalities and stand out in competitive settings such as motocross and off-road racing events. According to Cycle World, custom graphics enhance brand identity and personal expression, crucial for competitive riders.
Moreover, the durability of high-quality vinyl wraps ensures that the bike maintains its appearance against mud, impacts, and UV exposure over time. This implies that riders can enjoy their customized designs without the concern of frequent wear and damage. With certain technical designs integrated into graphics, they can also provide functional benefits, such as improved aerodynamics and performance cues, enhancing riders’ overall experience on the trails.
Additionally, a personalized graphic kit fosters a stronger emotional connection between the rider and their bike, contributing positively to rider confidence and focus during intense riding sessions. As highlighted by Dirt Bike Magazine, this psychological impact can lead to greater performance and reduced hesitation during challenging trails.
In conclusion, custom graphic kits are not just a visual enhancement; they represent a blend of style and practicality that is increasingly adopted in various facets of dirt biking, from amateur to professional spheres. Whether you’re looking to upgrade the look of your bike or enhance your riding experience, consider exploring the wide range of designs available.
If you’re ready to make a statement on the dirt track, visit our website to browse our selection of custom graphic kits and transform your dirt bike today!