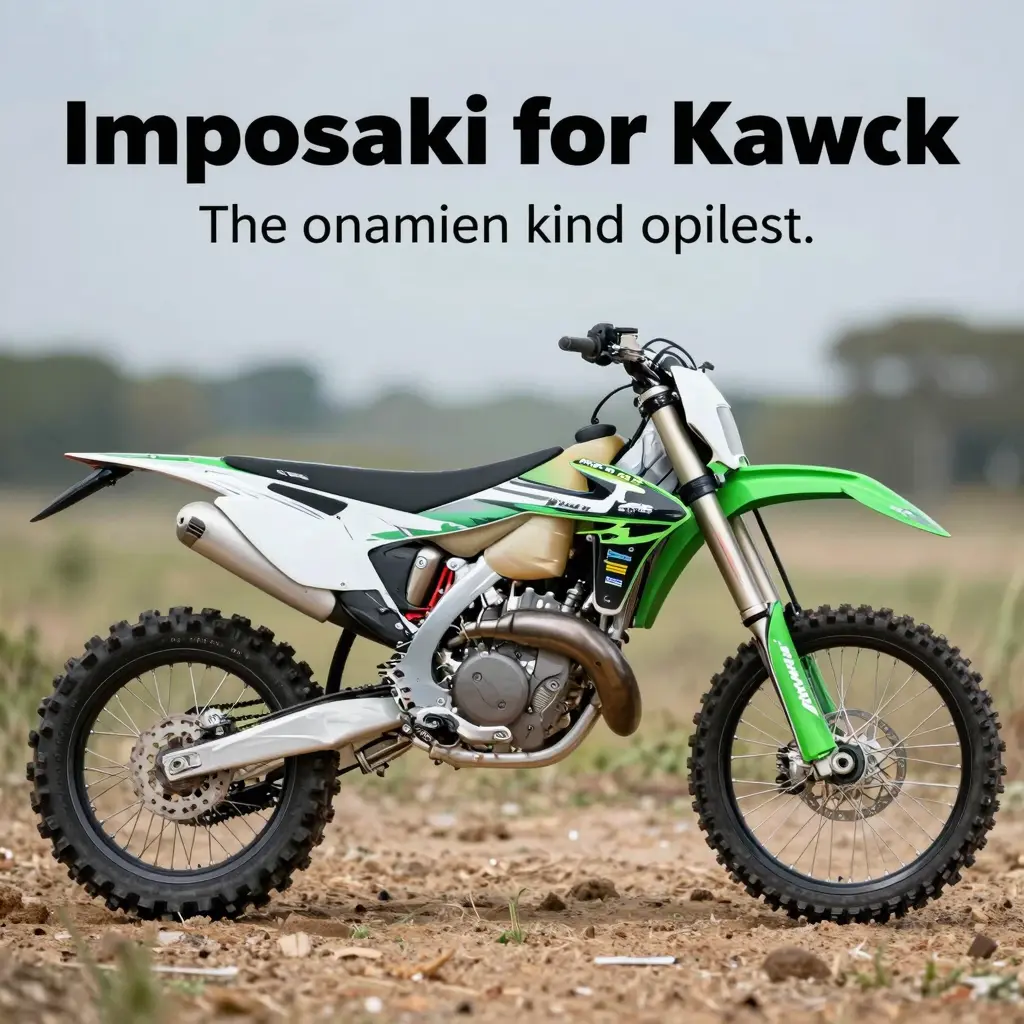
When it comes to dirt biking, particularly for Kawasaki enthusiasts, personalization and protection go hand in hand, and the perfect way to achieve both is through graphics kits. These vibrant designs allow riders to express their individuality while also enhancing the durability of their motorcycle. A well-designed graphics kit not only makes a dirt bike stand out on the track or trail but also provides a layer of protection against the elements, dirt, and scratches. By adding graphics that reflect personal style or team colors, riders can foster a sense of connection with their machine that goes beyond mere performance. In an adventure where every detail counts, investing in high-quality Kawasaki bike graphics becomes essential for those who want both aesthetic appeal and reliable safeguarding. Explore the endless possibilities of customization that graphics kits offer, and watch your Kawasaki transform into a true reflection of you!
Installation Tips for Kawasaki Dirt Bike Graphics
Installing graphics kits on your Kawasaki dirt bike can completely transform its appearance and give it a personalized touch. Follow these step-by-step tips for a seamless installation process.
Step 1: Gather Your Materials
Before you start the installation, ensure you have all the necessary tools and materials:
- Graphics kit specific to your Kawasaki model
- A clean cloth
- Rubbing alcohol or a cleaning solution
- Utility knife or scissors
- Squeegee or credit card (for smoothing)
- Heat gun or hairdryer (optional)
- Masking tape
Step 2: Prepare the Surface
- Clean the Bike: Remove any dirt, grease, and old adhesive from the area where you’ll apply the graphics. Use rubbing alcohol to wipe down the surface thoroughly; this ensures the adhesive adheres effectively.
- Dry the Area: Allow the cleaned surfaces to dry completely to avoid trapping moisture under the graphics.
Step 3: Plan Your Placement
- Dry Fit: Before peeling off the backing, place the graphic in its intended position. Use masking tape to temporarily hold it in place for a quick visual confirmation.
- Adjust if Necessary: Make any adjustments for optimal placement, ensuring the graphics align with existing features and contours of your bike.
Step 4: Applying the Graphics
- Peel and Stick: Starting at one end, carefully peel the backing off the graphic. Position the graphic on the bike and stick down one edge.
- Smooth Out Bubbles: As you press the graphic down, use a squeegee or credit card to smooth out any bubbles or wrinkles, working from the center outwards.
- Use Heat for Curved Areas: For any curved sections or areas with complex contours, gently heat the graphic with a heat gun or hairdryer to make it more pliable, allowing for a better fit.
Step 5: Final Touches
- Trim Excess Material: If the graphics extend beyond your bike’s surface, carefully trim the excess with a utility knife for a clean finish.
- Ensure Adhesion: Go over all edges and corners of the graphic to ensure they are firmly adhered to the bike, using the squeegee where needed.
Step 6: Allow to Cure
After installation, leave the bike undisturbed for at least 24 hours to allow the adhesive to cure properly. Avoid washing or exposing the bike to harsh conditions during this period.
Conclusion
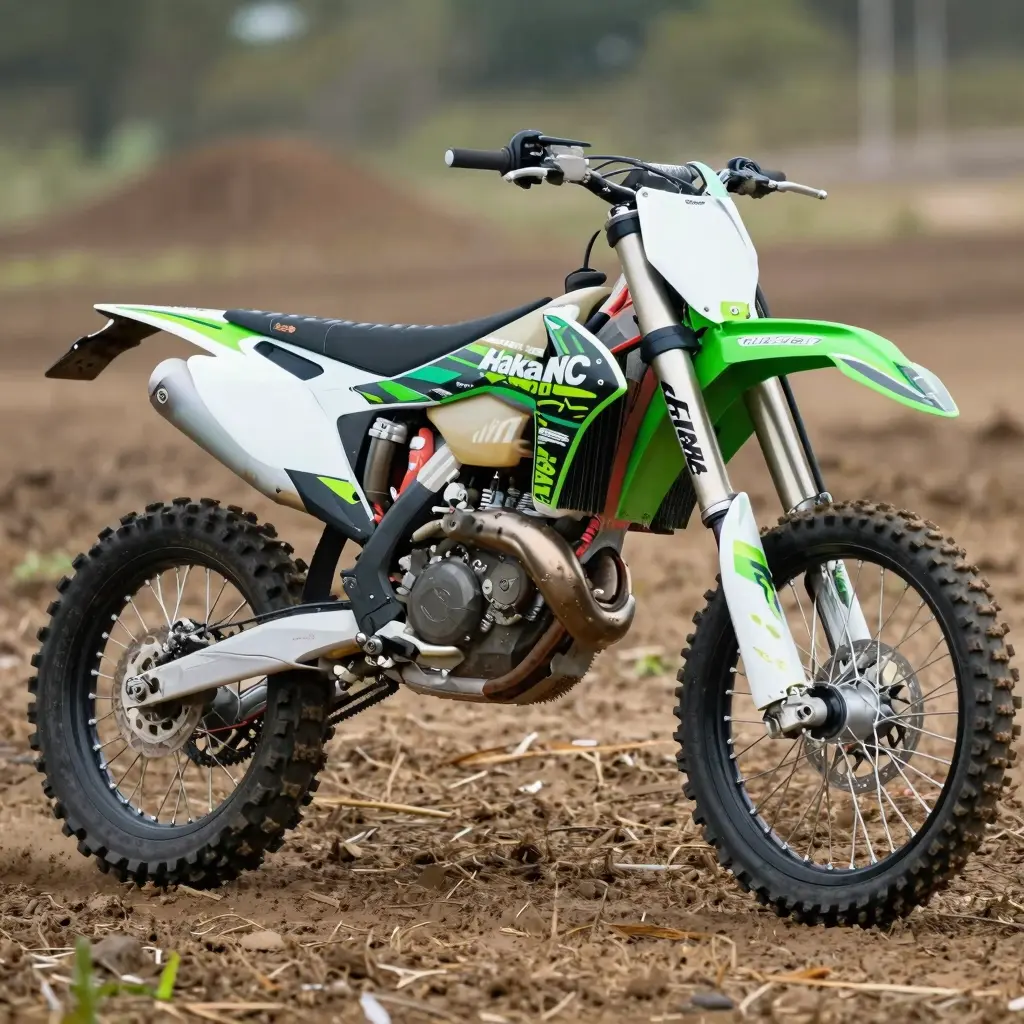
Installing graphics kits on your Kawasaki dirt bike can enhance its look while expressing your personality. Following these steps can lead to a successful DIY graphics installation. For quality graphics kits tailored for various models, check out Motographics’ collection.
By following these tips, you can give your dirt bike a fresh, customized look that stands out on the trails. Enjoy your ride with your new graphics!
In conclusion, selecting the right graphics kit for your Kawasaki dirt bike is crucial not only for aesthetic appeal but also for protecting your bike and reflecting your unique style. The right kit enhances visibility on the trails and allows riders to stand out while ensuring that their bikes remain in good condition against wear and tear. Customization is not merely a trend; it’s an essential element of dirt biking culture that enhances personal expression and bike personalization. As you consider your options, remember that investing in high-quality graphics can elevate your riding experience significantly. Don’t just ride; make a statement! Explore our wide range of graphics kits tailored for Kawasaki dirt bikes at MotoGraphics and customize your ride today!