
Dirt Bike Plastics and Graphics Kits: The Essential Upgrade for Enthusiasts
As dirt biking continues to surge in popularity, customization trends are taking center stage in enhancing performance and aesthetics alike. The right combination of dirt bike plastics and graphics kits not only transforms the look of a motorcycle but also plays a crucial role in maintenance and repair. According to recent trends, riders are increasingly opting for personalized graphics and durable plastics that not only make their bikes stand out but also provide essential protection against the rigors of off-road riding.
Plastics are not just decorative; they serve vital functions in protecting the motorcycle’s frame, engine, and suspension from the impacts and abrasions of rough terrain. High-quality plastics can absorb shock and reduce vibrations, giving riders a smoother, more controlled ride. Technicians often rely on OEM-compatible kits for efficient repairs, ensuring that bikes maintain their structural integrity after a fall. This makes the choice of materials in graphics kits equally important-using UV-resistant and scratch-resistant materials can prevent fading and cracks, keeping the motorcycle looking new for longer.
Moreover, customization is not merely an aesthetic choice; custom graphics enhance brand identity, allowing enthusiasts to express themselves while fostering team cohesion at events. As riders increasingly share their customized bikes on social media, they contribute to a vibrant community that prioritizes individuality and creativity. Whether you are a motorcycle enthusiast looking to stand out or a technician aiming to up your repair game, investing in high-quality dirt bike plastics and graphics kits is a smart move. To explore the latest options and see which kits can give your bike the makeover it deserves, check out our top picks for dirt bike wraps or discover how to transform your ride with custom graphics.
Types of Dirt Bike Plastics Available
Dirt bikes are built to endure some of the most challenging terrains, and the materials used in their construction play a crucial role in their performance and aesthetics. Among these materials, plastics are the most common choice for components such as fenders, shrouds, and side panels. The two primary types of plastics used in dirt bikes are polyethylene (PE) and Acrylonitrile Butadiene Styrene (ABS), each offering unique advantages.
Polyethylene (PE)
Polyethylene is highly regarded in the dirt bike industry, particularly for components like fenders. Here’s why:
- Impact Resistance: PE is known for its high impact resistance, providing excellent durability against falls and collisions. This is essential for off-road riding, where impacts from rocks and debris are common.
- Flexibility: The flexible nature of PE allows it to absorb shock without cracking, which is vital in protecting the underlying frame and reducing vibration.
- Moisture and Chemical Resistance: PE is resistant to moisture and many chemicals, making it ideal for rough and muddy conditions. It doesn’t readily absorb water, preventing deterioration over time.
- UV Stabilization: While all plastics degrade under UV light, properly stabilized PE resists UV degradation better than some options, maintaining its structure and color for a longer duration.
ABS Plastics
ABS is the second most popular plastic used in dirt bike manufacturing, particularly for aesthetic components such as side panels and decorative trims. Some of its key benefits include:
- Strength and Rigidity: ABS provides a more rigid structure compared to PE, which is beneficial for parts that require enhanced durability without excessive weight.
- Premium Aesthetic Appeal: ABS boasts a high-gloss finish that enhances the overall appearance of the bike and holds paint better than PE, allowing for vibrant custom graphics. Riders can explore options such as custom dirt bike graphics to personalize their rides further.
- Scratch Resistance: It offers superior resistance to scratches and abrasions, maintaining its visual appeal even after extensive use.
- Thermal Stability: ABS performs well in varying temperatures, retaining its shape and structural integrity better than polyethylene in high-heat conditions.
Comparison of Performance and Aesthetics
While PE is lightweight and incredibly resilient, ABS is favored when aesthetics and finish quality are top priorities. Many riders choose a combination of both materials, utilizing PE for parts subjected to heavy impact and ABS for external components. For instance, fenders are often made of PE to maximize flexibility, while side panels are made of ABS for their visual appeal and paintability. As a rider, understanding these materials can help you make informed decisions about replacements and upgrades.
Importance of Quality Plastics
The type of plastic used on a dirt bike significantly impacts its overall performance, handling, and longevity. Quality plastics:
- Enhance Performance: Lightweight plastics improve handling and speed, allowing for better maneuverability in tight turns or rough terrains.
- Reduce Maintenance Costs: Durable plastics like PE resist wear and tear, leading to less frequent replacements and maintenance.
- Contribute to Safety: Strong, impact-resistant materials protect not only the body of the bike but also the rider, helping prevent severe damage during crashes.
In conclusion, understanding the types of plastics available for dirt bikes can enhance your maintenance strategy and improve your bike’s performance. For those looking to elevate their bike’s aesthetics, utilizing quality plastic components complements a custom graphics kit, allowing for unique personalization and standout style. Explore ideas for your own ride in the top ten dirt bike wraps.
Overall, whether you prioritize aesthetics, performance, or durability, choosing the right plastic components will lead to a successful dirt biking experience.
Comparing Popular Dirt Bike Plastics Brands
When it comes to enhancing performance and aesthetics in dirt bikes, the brand of plastics you choose can make a significant difference. Below is a table comparing features, pricing, and durability of some popular dirt bike plastics brands currently available in the market.
| Brand | Features | Pricing (Approx.) | Durability |
|---|---|---|---|
| BOSUER | Aerodynamic design, high-strength plastics, integrated with alloy frame. | Mid-to-high-end | Premium durability, long-term use. |
| TARNS | Custom-designed using advanced injection molding, impact-resistant materials. | Mid-tier to luxury | Exceptional durability for extreme conditions. |
| Stuntcx | Reinforced ABS and polycarbonate composites for stunt riding and motocross. | Competitive | Built to withstand harsh use, strong longevity. |
| OEM 250cc | High-impact ABS plastic, OEM-certified replacement parts, good for beginners. | Affordable | Reliable for regular trail use. |
Overview of Brands
-
BOSUER
BOSUER is known for its high-performance dirt bikes such as the M300, featuring a durable plastic body built for skilled riders. The premium quality ensures long-term durability due to its robust construction, making it suitable for competitive riders. -
TARNS
Specializing in high-end motorcycle components, TARNS uses advanced techniques to craft their custom plastics. Suitable for extreme conditions, their products are often found in professional racing circles, reflecting superior craftsmanship and durability. -
Stuntcx
Stuntcx manufactures durable protection plastics specifically for extreme sports. Designed with input from real-world riders, their products focus on impact resistance. The competitive pricing makes them appealing for both enthusiast and pro-rider segments. -
OEM 250cc
These OEM-certified replacement parts are economical and made for durability under regular use. While not aimed at professional racing, they offer sufficient quality for recreational riders who want reliable performance.
For more insights into unique graphics options available for your dirt bike, check out this comprehensive guide on custom graphics for dirt bikes. Furthermore, if you’re looking for ways to personalize your bike, read about the top 10 dirt bike graphics that can help elevate your ride’s appearance.
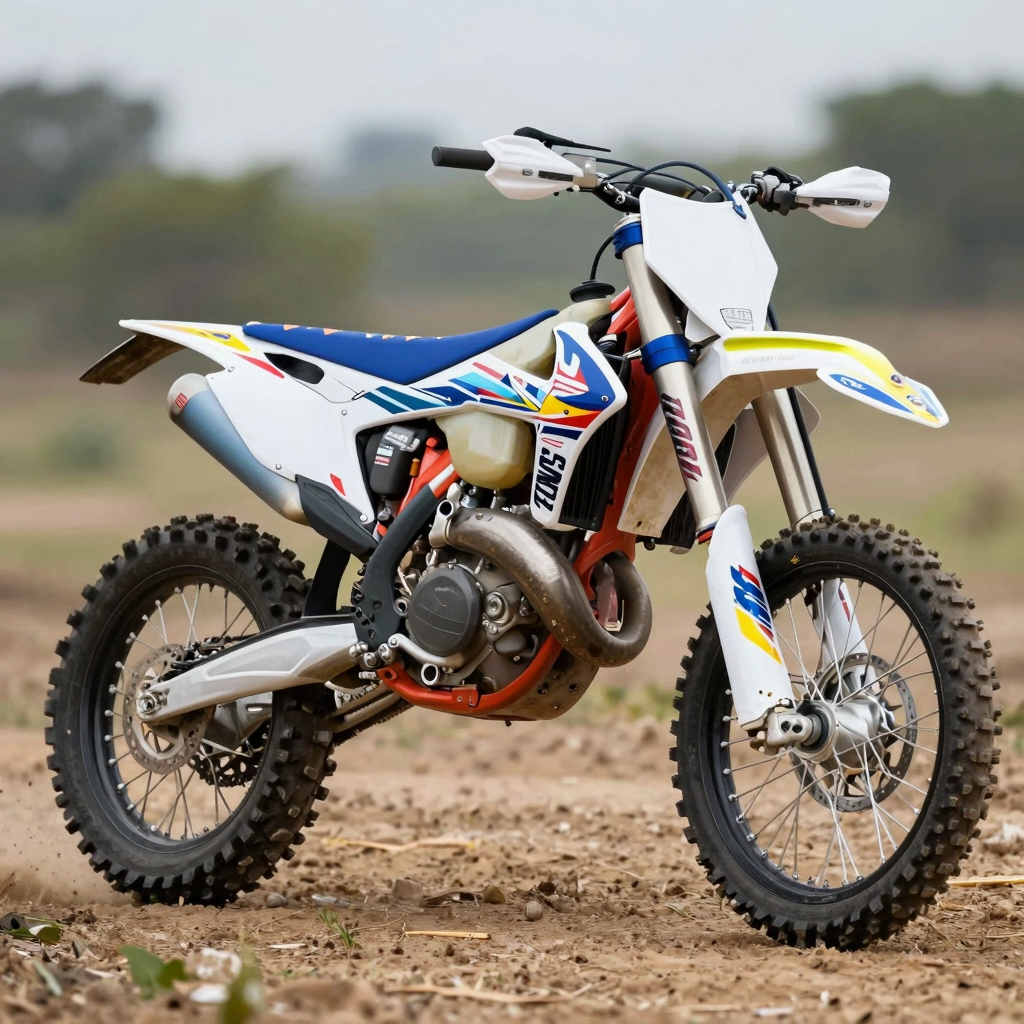
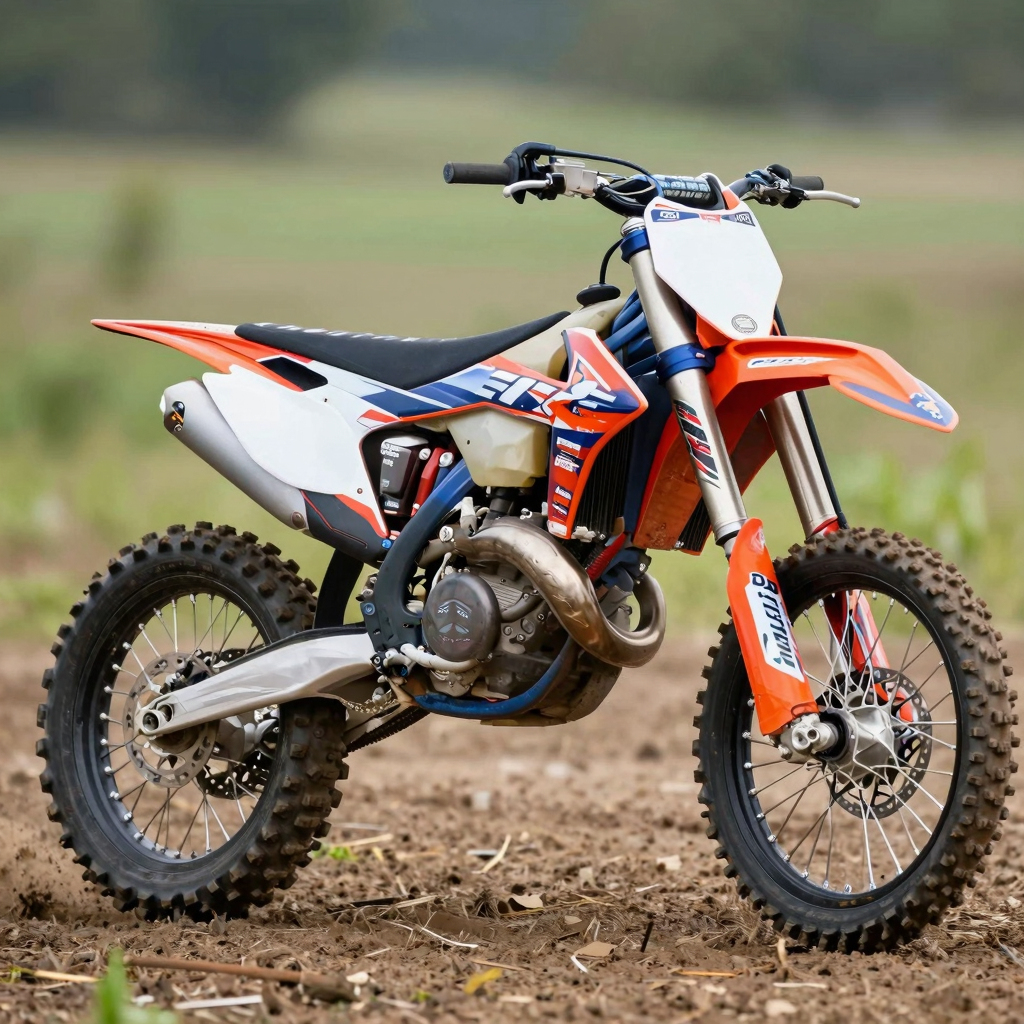
An incredible dirt bike showcasing custom plastics and graphics kits.
Choosing Graphics Kits for Dirt Bikes
Selecting the right graphics kit for dirt bikes is an important process, especially for owners and repair professionals looking to enhance the appearance and performance of the bike. Here are the key factors to consider:
1. Compatibility with Specific Models
When choosing a graphics kit, it is crucial to ensure that it is compatible with the specific make and model of the dirt bike. Different motorcycles come with distinct shapes, sizes, and design elements, so a generic kit may not fit properly. Shoppers should confirm the kit’s design specifications against their motorcycle’s model and year to ensure a perfect match. Incorrect fitting can lead to aesthetics that do not complement the bike’s overall design and make installation challenging.
Tip: Check your bike’s model number and year when searching for graphics kits to avoid issues related to fit.
2. Material Quality
The quality of materials used in graphics kits directly impacts their durability, visual appeal, and how well they withstand outdoor elements. The most common materials include:
-
PVC (Polyvinyl Chloride): Known for its durability and maintenance ease, PVC stands up well in various weather conditions, but prolonged exposure to sunlight can lead to fading and potential brittleness over time.
-
PET (Polyethylene Terephthalate): It’s lightweight yet durable and resistant to UV damage and water. PET graphics provide good clarity and remain stable in dynamic conditions, making them a reliable choice for high-end custom graphics.
-
Vinyl: Highly flexible and commonly used for custom decals and wraps, vinyl resists UV damage, making it a good option for the rugged dirt biking environment.
The table below summarizes these materials:
Material Features PVC (Polyvinyl Chloride) Durable, waterproof, flexible, UV resistant. Often used in motorcycle graphics kits for its long-lasting performance and resistance to environmental factors. PET (Polyethylene Terephthalate) Lightweight, durable, water-resistant, UV resistant. Known for excellent clarity and dimensional stability, making it suitable for high-quality graphics with sharp detail. Vinyl Highly flexible, durable, waterproof, UV resistant. Commonly used for custom decals and wraps due to its ease of application and ability to conform to curved surfaces.
3. Style Preference
Graphics kits come in a wide variety of styles, catering to different tastes and aesthetic preferences. Whether the goal is to achieve a vibrant, modern look or a classic, rugged design, it’s important to select a kit that aligns with the owner’s taste and the bike’s character. Popular design styles include:
-
Retro and vintage looks
-
Racing-inspired aesthetics
-
Customized graphics that reflect personal branding or themes.
Choosing a style that resonates with the rider can greatly enhance the bike’s visual impact and is often a key driver in the purchase decision.
4. Installation Ease
The complexity of installation can vary significantly between different graphics kits. Some come as comprehensive kits necessitating professional installation, while others come with detailed instructions and are designed for easy DIY application. Owners should consider whether they have the skills and tools necessary to install the kit themselves or if hiring a professional is a better option. Look for kits that include cut templates and clear installation guides which can significantly streamline the process.
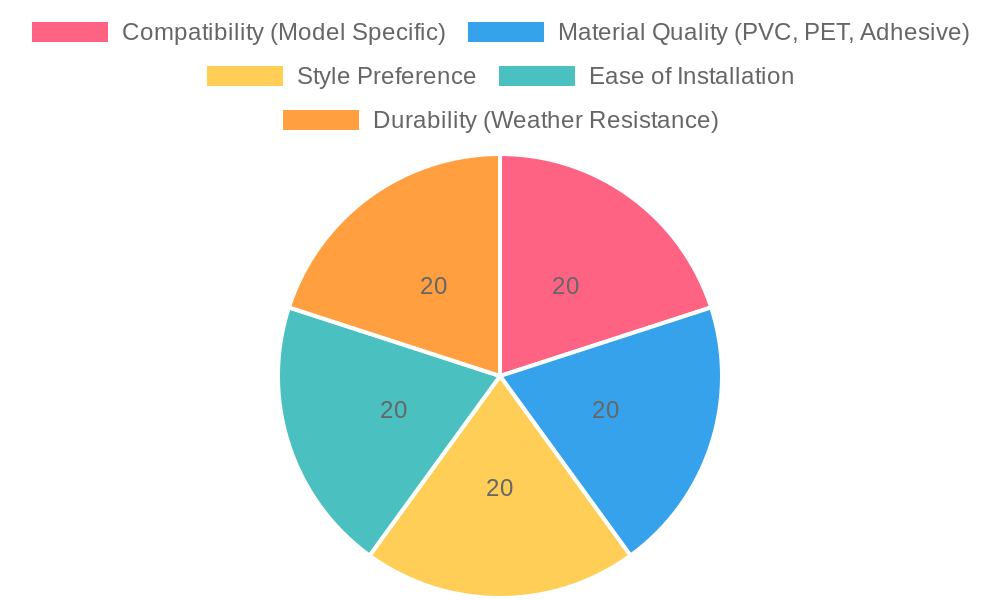
Graph Image:
5. Durability
Finally, the durability of the graphics kit plays a crucial role in maintaining the bike’s appearance over time. High-quality graphics should be able to withstand adverse weather conditions, including rain, mud, and varying temperatures. Look for kits labeled as weather-resistant or UV-resistant to ensure they will last longer and maintain their visual integrity.
Factor Overview:
| Factor | Description |
|---|---|
| Compatibility (Model Specific) | Ensure the kit fits the specific make, model, and year of your motorcycle for a perfect installation. |
| Material Quality (PVC, PET, Adhesive) | The quality of the materials directly affects durability and aesthetic appeal. |
| Style Preference | Choose designs that reflect personal style and complement the bike’s overall look. |
| Ease of Installation | Some kits require professional installation, while others can be easily applied at home. |
| Durability (Weather Resistance) | Look for graphics that possess strong weather resistance to maintain appearance. |
With these factors in mind, motorcycle owners and repair professionals can confidently select the most suitable graphics kits for their dirt bikes. For more inspiration, check our guide on Top 10 Dirt Bike Wraps to explore the best options available.
Installation Tips for Skins and Plastics
Installing graphics kits and plastics on your dirt bike can greatly enhance its appearance and functionality. However, to achieve a perfect installation, following proper techniques and utilizing the right tools is crucial. Here’s a detailed guide to help you through the installation process, avoid common mistakes, and achieve that professional finish.
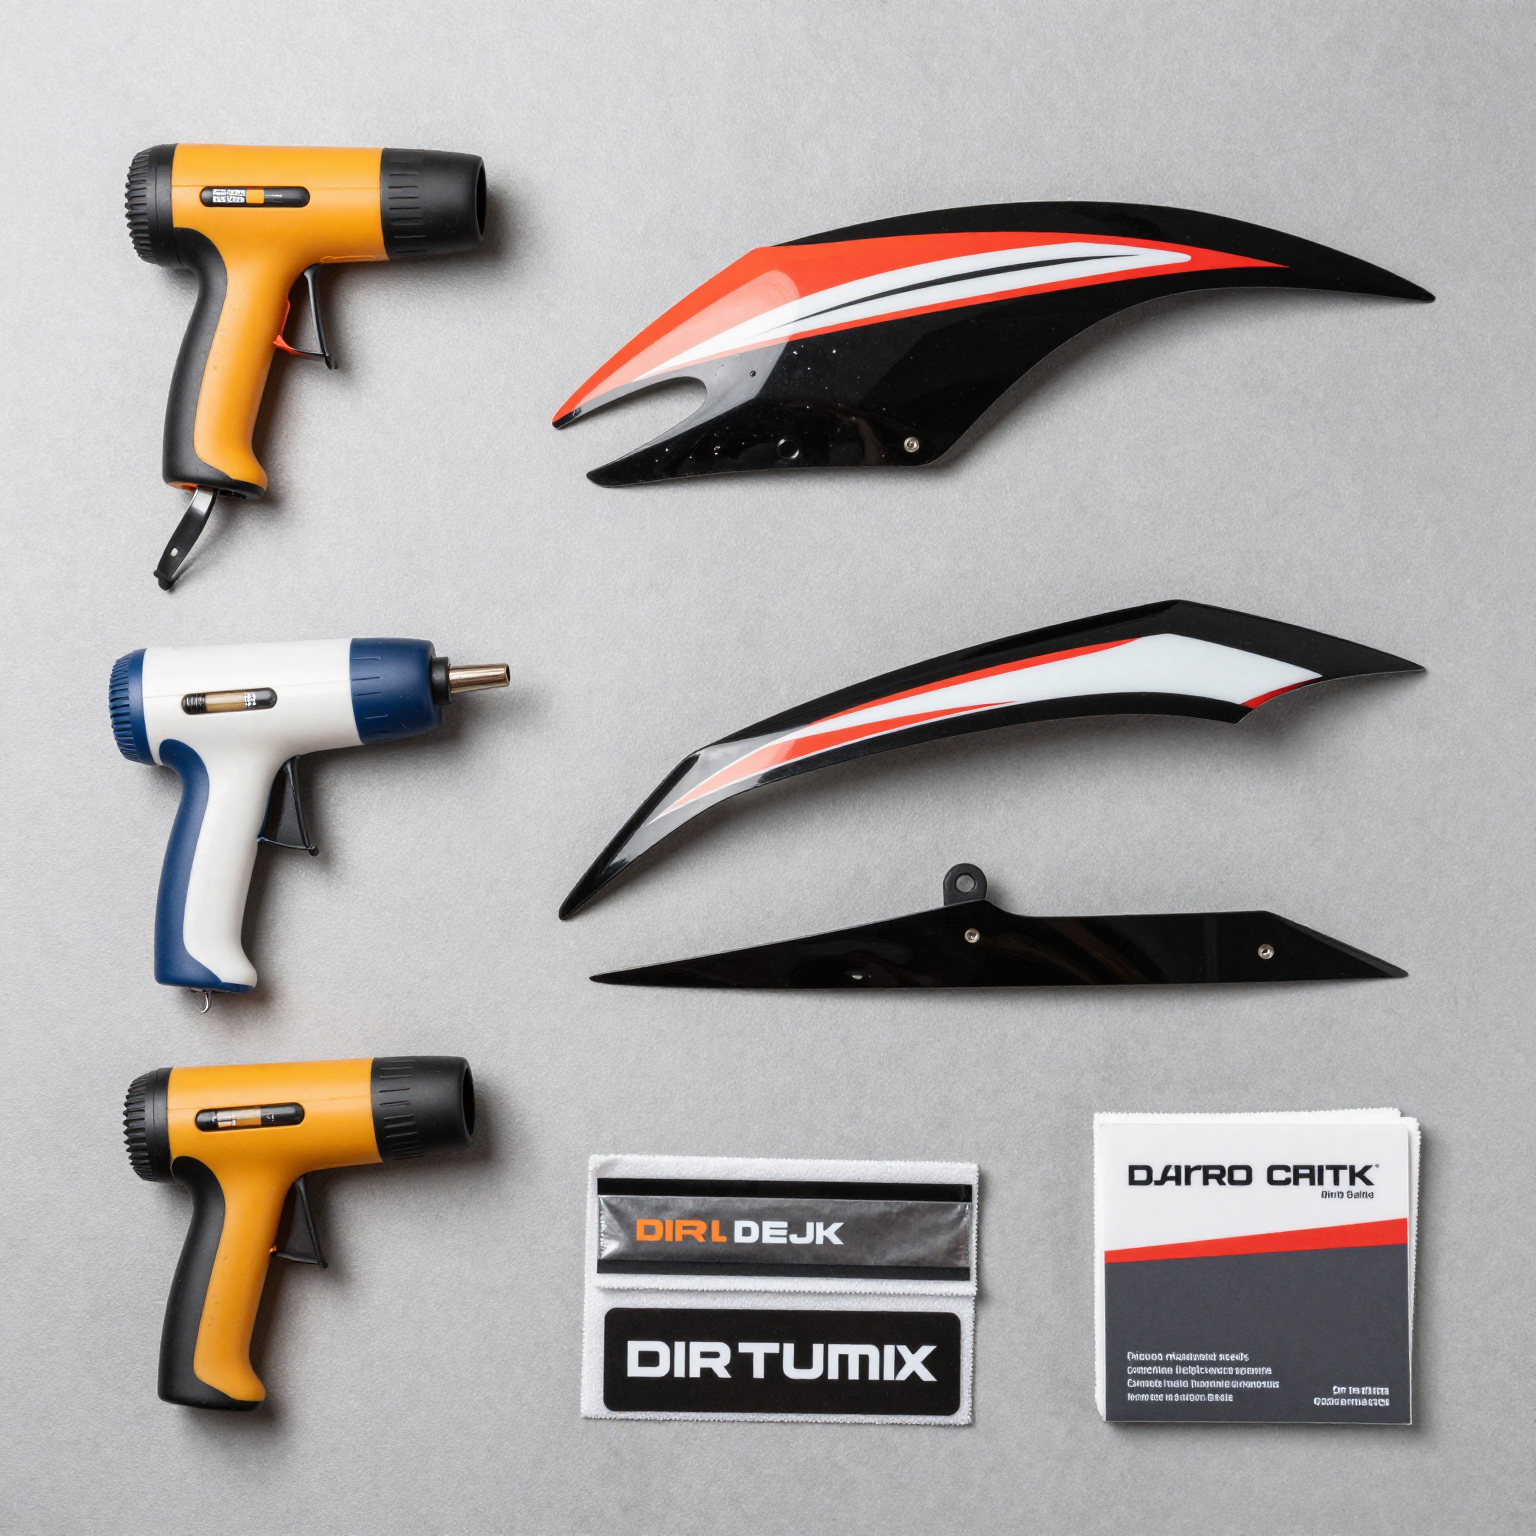
Recommended Tools
Before starting, ensure you have the following tools on hand:
- Heat Gun: For warming plastics and ensuring better adhesion.
- Squeegee or Credit Card: Essential for smoothing out air bubbles and securing the graphic firmly to the plastic.
- Microfiber Cloth: For cleaning surfaces without leaving scratches or dust.
- Applicator Solution: Consider using a specialized graphic application solution for better positioning of graphics (not water).
- Razor Blade or Utility Knife: To trim excess material carefully once installed.
- Masking Tape: Useful for temporarily positioning graphics before the final application.
Step-by-Step Installation Process
-
Preparation:
Begin by cleaning the plastic surfaces of your dirt bike with a degreaser or isopropyl alcohol. This removes any oils, dirt, or contaminants, which is essential for ensuring proper adhesion. Avoid touching the cleaned surfaces with your hands as this can transfer oils. -
Preheat the Plastics:
Using a heat gun, gently warm the plastic surfaces. This makes them more pliable and helps the graphics conform better to the contours of your bike. -
Position the Graphics:
Unroll your graphics kits and, if applicable, lay them out on the plastics without removing the backing. Use masking tape to hold them in place and make adjustments until you’re satisfied with the alignment. -
Apply the Graphics:
Peel back a portion of the backing and press the graphic onto the surface working from the center outwards. Use your squeegee to smooth the graphic down, pushing out air bubbles as you go. It’s best to apply gradually-remove more backing as you stick down more of the graphic.
-
Warm it Up Again:
After applying the graphics, use the heat gun again to activate the adhesive under the film, ensuring a much stronger bond. Be careful not to overheat to prevent any lifting or wrinkling. -
Finishing Touches:
After installation, carefully trim any excess graphic material along the edges using a razor blade. This gives a clean look and prevents peeling. -
Final Check:
Inspect your work for any bubbles or imperfections. If you notice any, gently work them out with your squeegee. For stubborn bubbles, you can prick them with a pin and smooth them out.
Common Pitfalls to Avoid
- Leaving Dust and Debris: Not cleaning the surface properly is the most common mistake, as it leads to poor adhesion. Always thoroughly clean the area where you will be applying the graphics.
- Incorrect Alignment: Ensure graphics are aligned properly before fully adhering them. Misalignment can be hard to fix after too much of the graphic is stuck down.
- Rushed Application: Take your time during the installation process. Rushing can lead to air pockets and wrinkles.
- Using Improper Tools: Using non-approved tools can damage the graphic or surface. Stick to recommended tools such as a specialized squeegee and applicator solutions.
- Inadequate Heat Application: Proper heating is crucial for the adhesive to activate correctly. Ensure even application without overheating the material.
Conclusion
Installing graphics kits and plastics can be a rewarding experience, enhancing the aesthetic of your dirt bike while also protecting the underlying components. By following these tips and avoiding common mistakes, you’ll achieve a professional finish that not only looks great but also stands the test of time.
For more insights and ideas on dirt bike graphics, check out our top 10 dirt bike wraps and custom dirt bike graphics.
For further reading on maintaining the appearance of your ride, explore our resources on personalized dirt bike graphics.
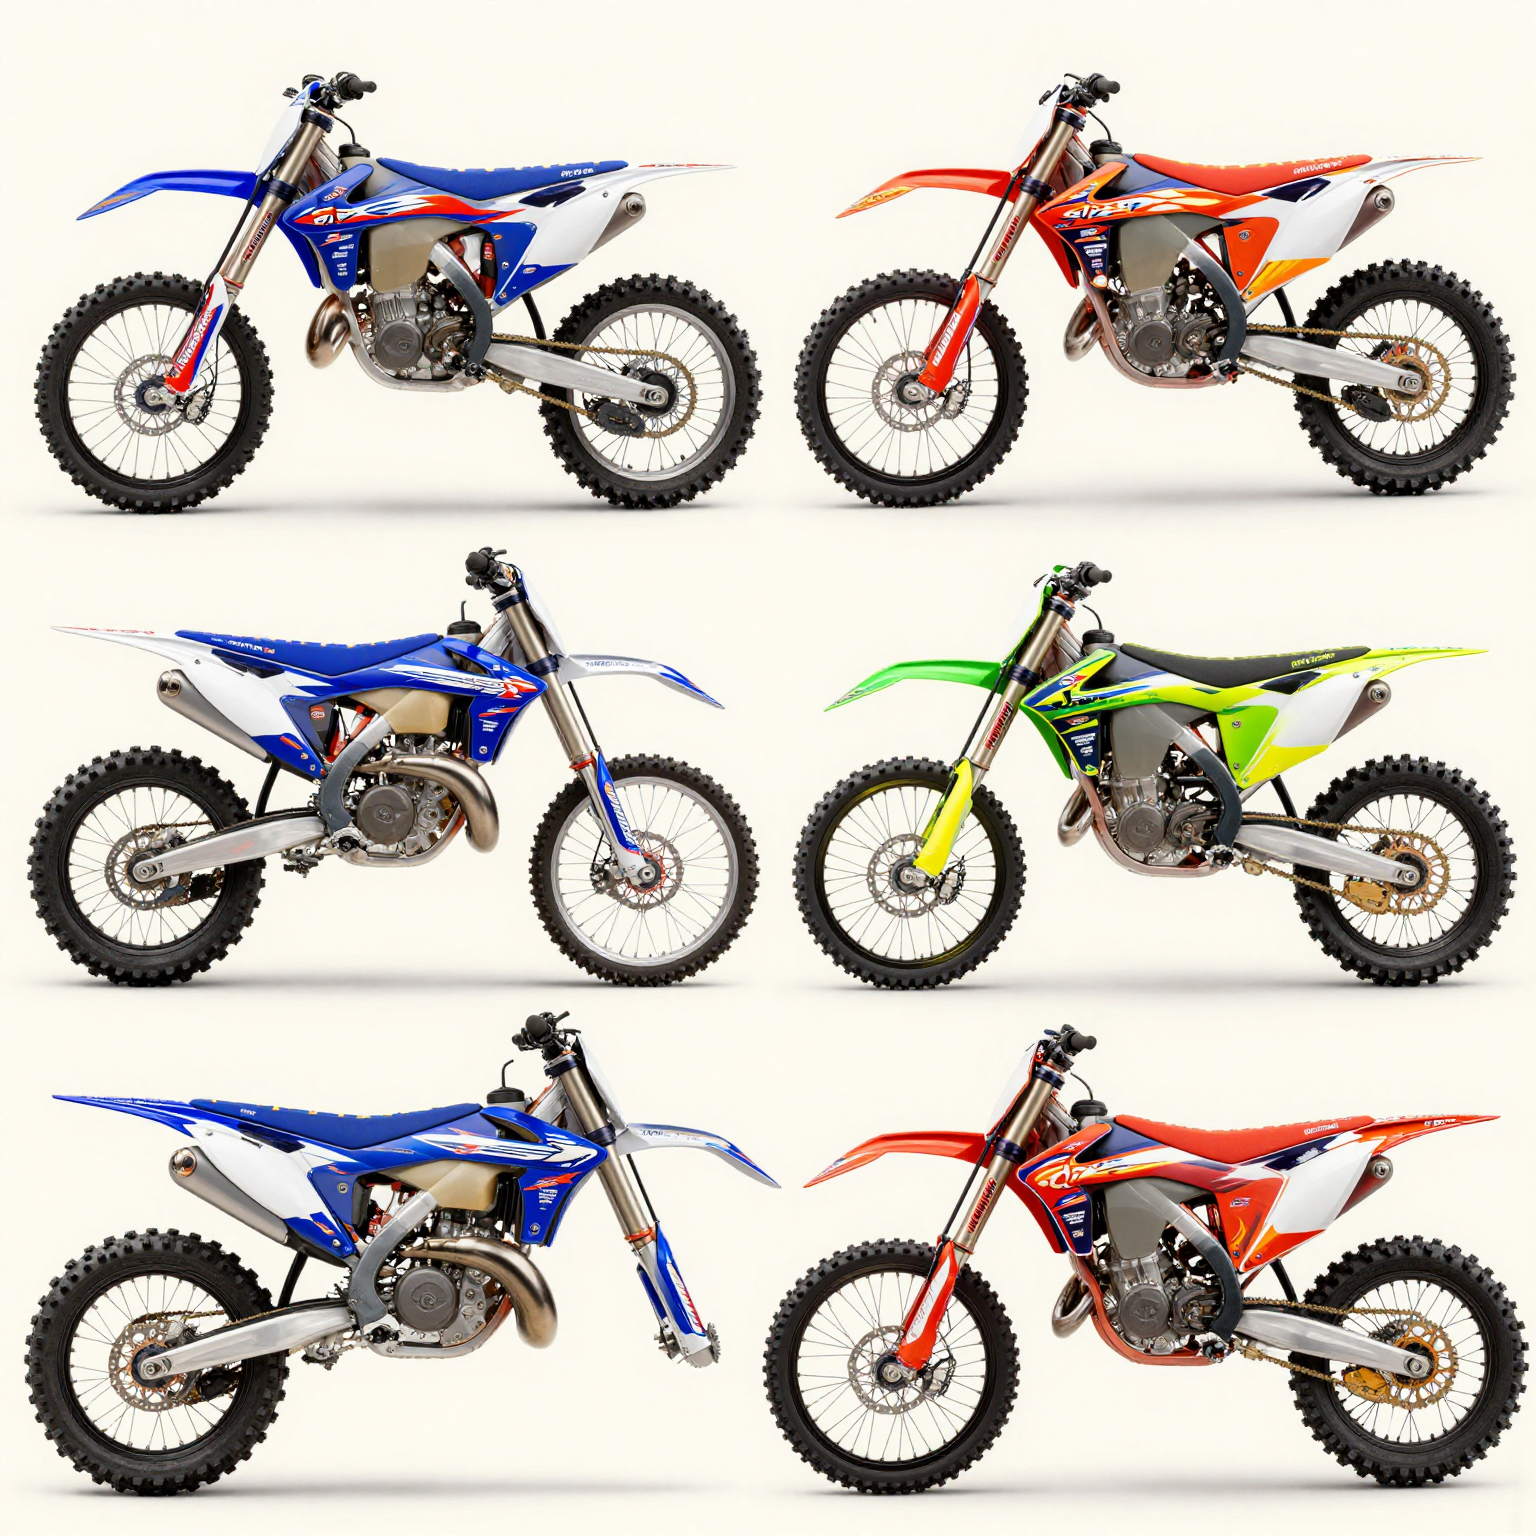

Explore various graphic styles for your dirt bike through these stunning designs.
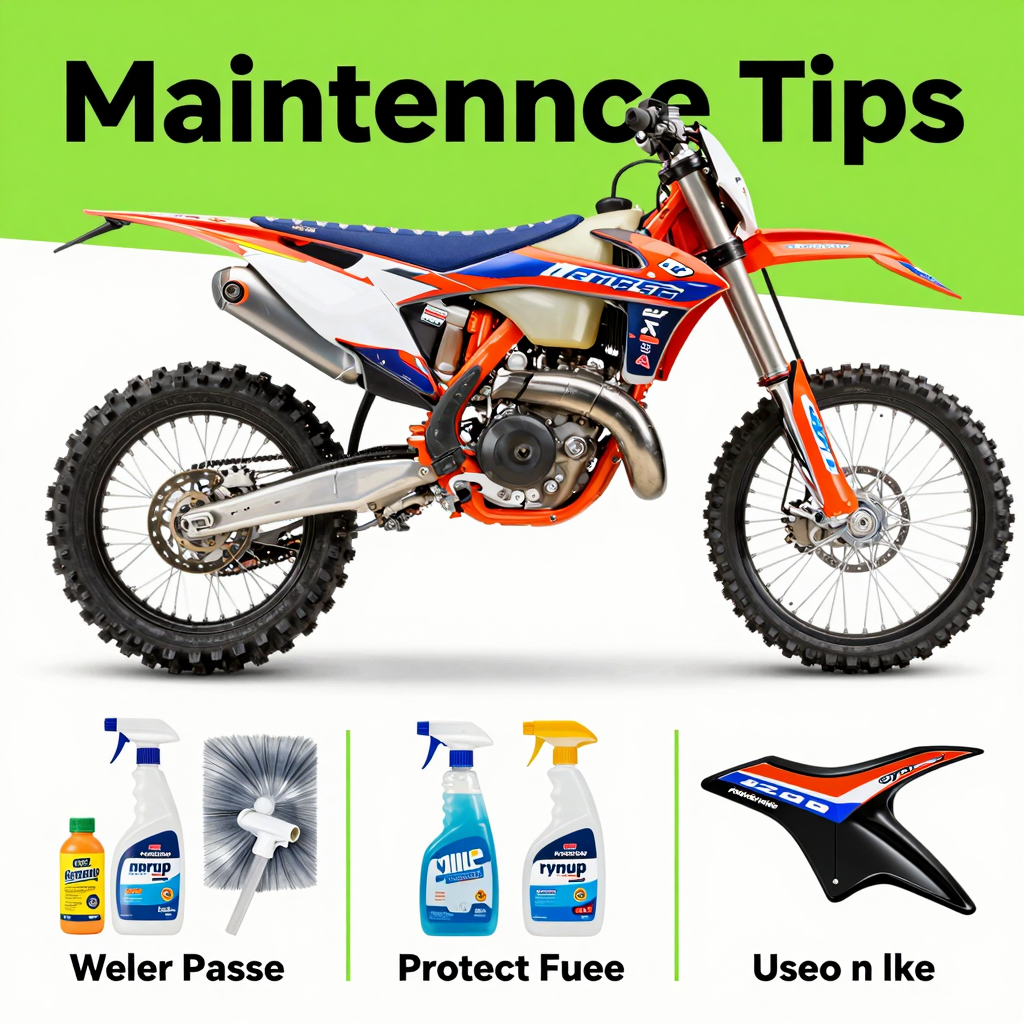
Maintenance Tips for Dirt Bike Plastics and Graphics
Maintaining your dirt bike’s plastics and graphics is crucial to preserving the aesthetics and longevity of your ride. Here are essential tips to keep your plastics shining and graphics looking fresh:
Cleaning Methods
-
Use Specialized Cleaners: Opt for cleaners specifically designed for plastic surfaces to avoid damage and preserve the finish. Avoid products with abrasive components or harsh chemicals that can degrade the plastic over time. Regular cleaning can prevent dirt and grime accumulation that may lead to discoloration.
-
Regular Washing: It’s best to wash your dirt bike every one to two weeks, depending on usage. Use a gentle soap and water solution, and a soft sponge or cloth to clean the surfaces. Rinse well with clean water to remove any soap residue.
-
Dry Thoroughly: After washing, ensure that you dry your bike thoroughly. This will prevent water spots and moisture-related damage that can cause mold or mildew to develop.
Protective Measures
-
Apply UV Protectants: To combat sun damage, apply a UV protectant spray to your plastics. This helps to limit fading, cracking, and discoloration from prolonged sun exposure. It’s advisable to do this after every wash for best results.
-
Regular Inspections: Inspect your plastics and graphics regularly for cracks, chips, or signs of wear. Early detection of damage allows for timely repairs, preventing further deterioration and extending the life of your parts.
-
Avoid Direct Sunlight: When parking your bike, aim to keep it out of direct sunlight for extended periods. If storage is a problem, consider investing in a bike cover that provides UV protection.
Replacement of Worn Parts
-
When to Replace: If your graphics are peeling, fading, or the plastic components are cracked or broken, it’s time to consider replacements. Worn-out graphics can detract from the bike’s aesthetic and may not adhere well if applied over damaged areas.
-
Removing Old Graphics: Before applying new graphics, ensure to remove old ones thoroughly to prevent residue issues. Use a heat gun to soften the adhesive, then use a plastic scraper to lift off the graphics carefully. Clean any remaining adhesive with isopropyl alcohol or a designated adhesive remover.
-
Applying New Graphics: Once the surface is clean and dry, apply the new graphics following the manufacturer’s instructions. Proper application includes ensuring no air bubbles are trapped. This maintains the appearance and integrity of your bike’s design.
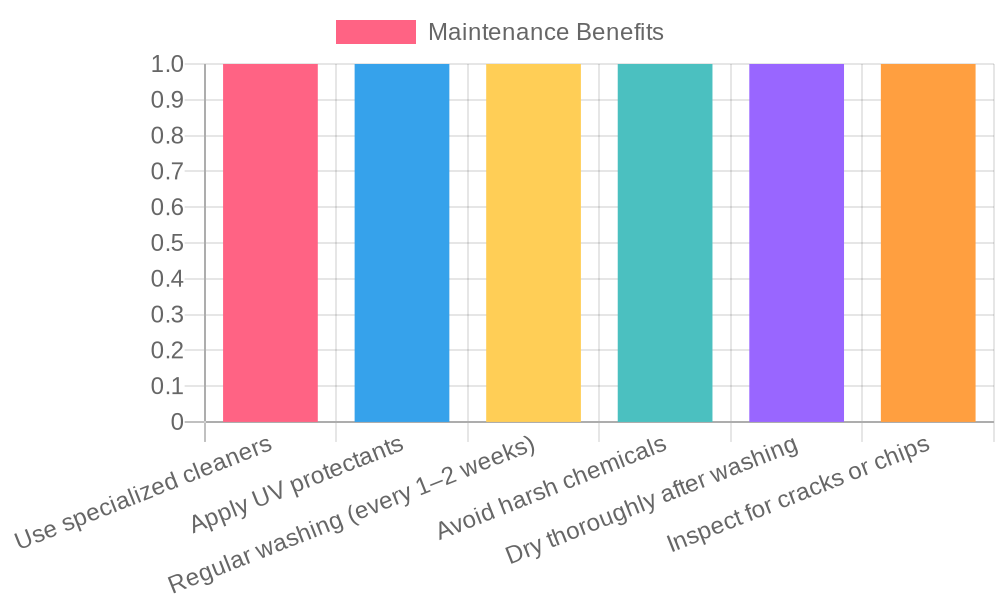
Summary Table of Maintenance Tips
| Maintenance Tip | Benefit |
|---|---|
| Use specialized cleaners | Prevents damage to plastic surfaces and preserves original finish |
| Apply UV protectants | Reduces fading, cracking, and discoloration caused by sun exposure |
| Regular washing (every 1-2 weeks) | Removes dirt, grime, and corrosive elements that degrade plastics |
| Avoid harsh chemicals | Prevents chemical degradation and maintains long-term durability |
| Dry thoroughly after washing | Prevents water spots and potential moisture-related damage |
| Inspect for cracks or chips | Allows early detection and repair to prevent further deterioration |
For more tips on improving your bike’s appearance, consider checking out top dirt bike wrap options and custom dirt bike graphics to enhance your ride.
Visuals of Maintenance Practices
By adhering to these maintenance tips, dirt bike owners can ensure their machines not only perform well but also look great for many rides to come!
Importance of Quality in Motorcycle Plastics and Graphics
In the world of motorcycle maintenance and customization, the choice of materials significantly affects both performance and aesthetic appeal. As emphasized by industry experts, quality is paramount.
“Graphics aren’t just about looks-they’re part of the vehicle’s identity and must withstand UV exposure, road debris, and temperature extremes. Using durable, UV-resistant vinyl with a scratch-proof laminate ensures your customization lasts beyond one season.”
- Marcus Trent, Expert Customizer Cycle World Magazine
This quote captures not only the importance of high-quality graphics but also the necessity of using superior plastics. Durable materials significantly contribute to the longevity and visual appeal of custom dirt bikes, making it essential for motorcycle owners and technicians to carefully consider their options.
For those looking to elevate the aesthetic of their dirt bike, there are multiple resources available. Check out our recommendations for custom dirt bike graphics to get started!
Comparison of High-Quality vs. Low-Quality Plastics
Here’s a chart illustrating the key differences in characteristics and benefits of high-quality plastics compared to low-quality alternatives:

This visual representation highlights the significant advantages high-quality plastics have, such as increased durability, lighter weight, and better overall performance compared to their low-quality counterparts. For more insights on enhancing aesthetics and functionality with high-quality materials, consider checking out our article on top dirt bike graphics kits and custom graphics for dirt bikes.
Conclusion on the Importance of Investing in Quality Dirt Bike Plastics and Graphics
Investing in quality dirt bike plastics and graphics kits is crucial for both the performance and aesthetic appeal of your motorcycle. As we explored in this article, high-quality plastics not only safeguard your bike against potential damage from impacts and abrasions but also enhance its overall handling and aerodynamic efficiency. Research from Dirt Bike Magazine emphasizes that superior materials improve airflow, reduce drag, and contribute to better riding dynamics, which can make a significant difference in high-speed scenarios.
Moreover, graphics kits serve as a means of self-expression for riders, allowing them to showcase their personality and style. As customization trends grow-reporting a 37% increase in demand over the past two years, according to a Motorcycle Industry Association report-personalized graphics have become essential in making your bike stand out. Quality graphics not only offer durability against the elements but also contribute to the visual appeal of your bike, ensuring it catches eyes on the trails.
Investing in premium plastics and graphics is also financially savvy. Customized bikes generally command higher resale values, appealing to savvy buyers who seek unique, personalized machines. A study from BikeRadar highlights that the market for customized dirt bikes is increasingly lucrative, making it a prudent choice for enthusiasts looking to enhance their investment.
Caring for your dirt bike through regular maintenance of these elements further extends the lifespan of your ride. By selecting high-quality components, you minimize the frequency of replacements, thereby ensuring continued performance and style.
In conclusion, do not underestimate the power of quality in dirt bike customization. Whether it’s improving performance on rugged terrains or ensuring your bike reflects your individual style, investing in quality plastics and graphics kits pays dividends. Explore the various options available at MotoGraphics to transform your ride today!